After 30 plus hours of editing in my part time, I finally finished the video for our 2011 meet. Its not PERFECT in my pinion, but hopefully everyone likes it!!!
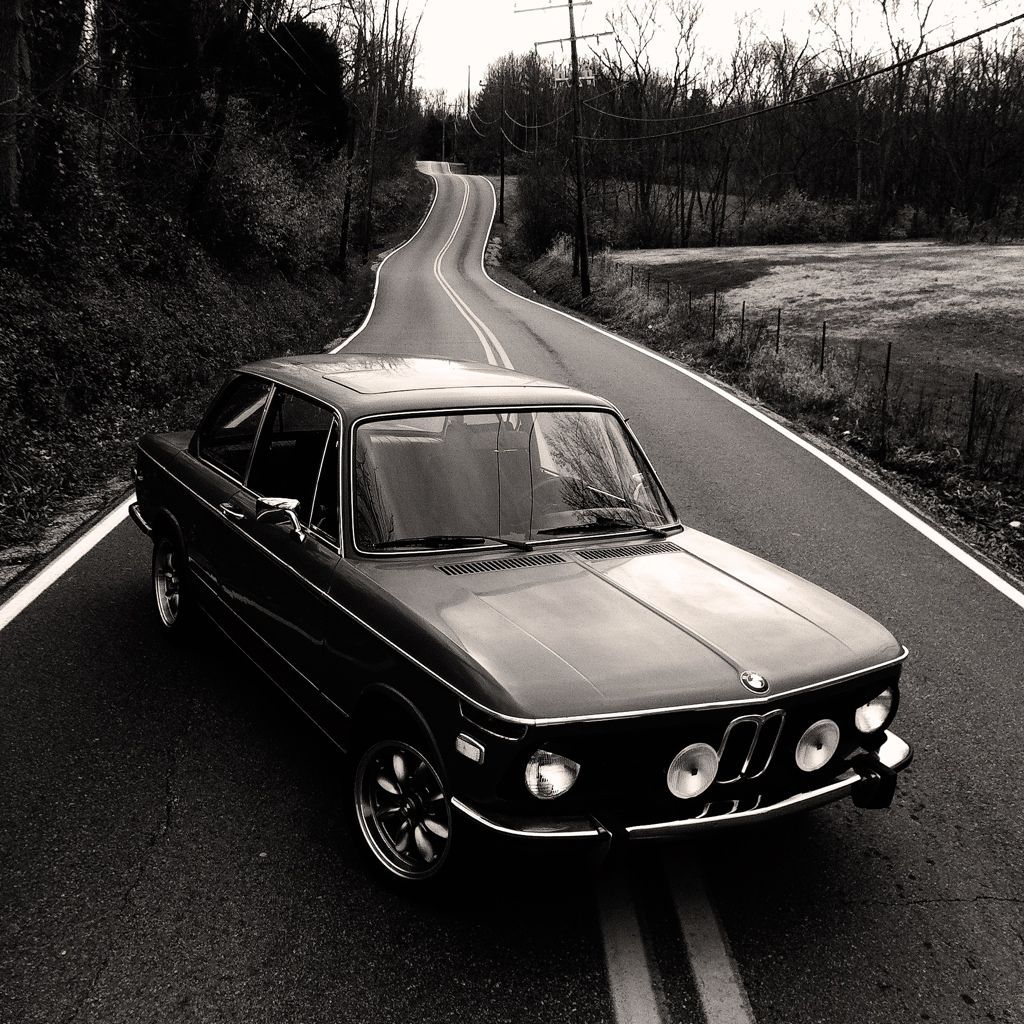
Ridge Run 2011
Henry and his new Race Car..
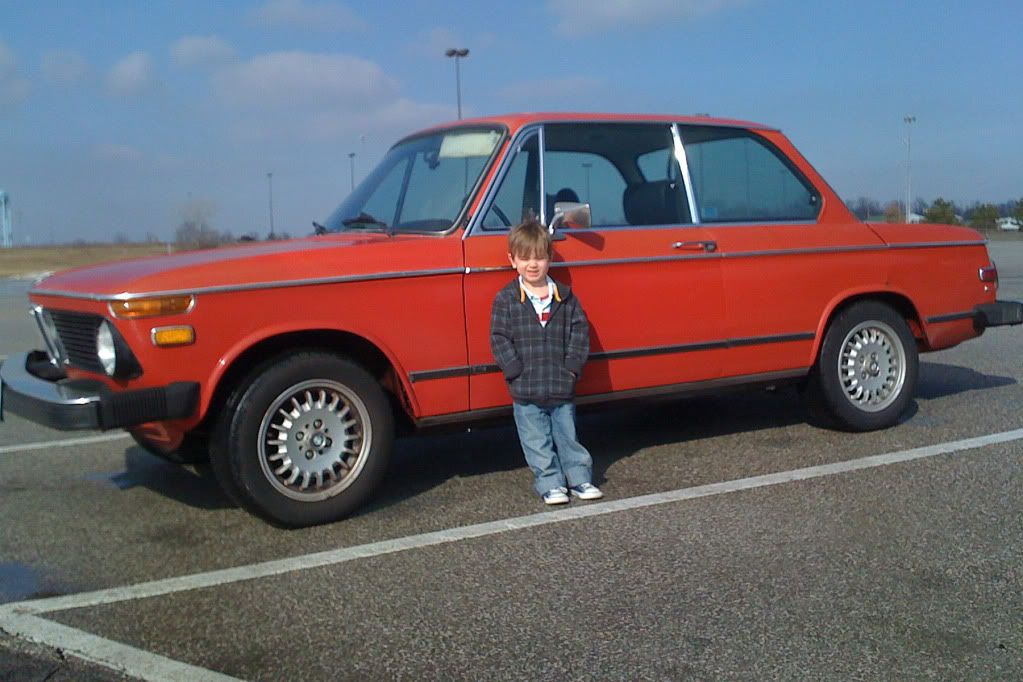
Early 2009
Monday, December 19, 2011
Saturday, December 3, 2011
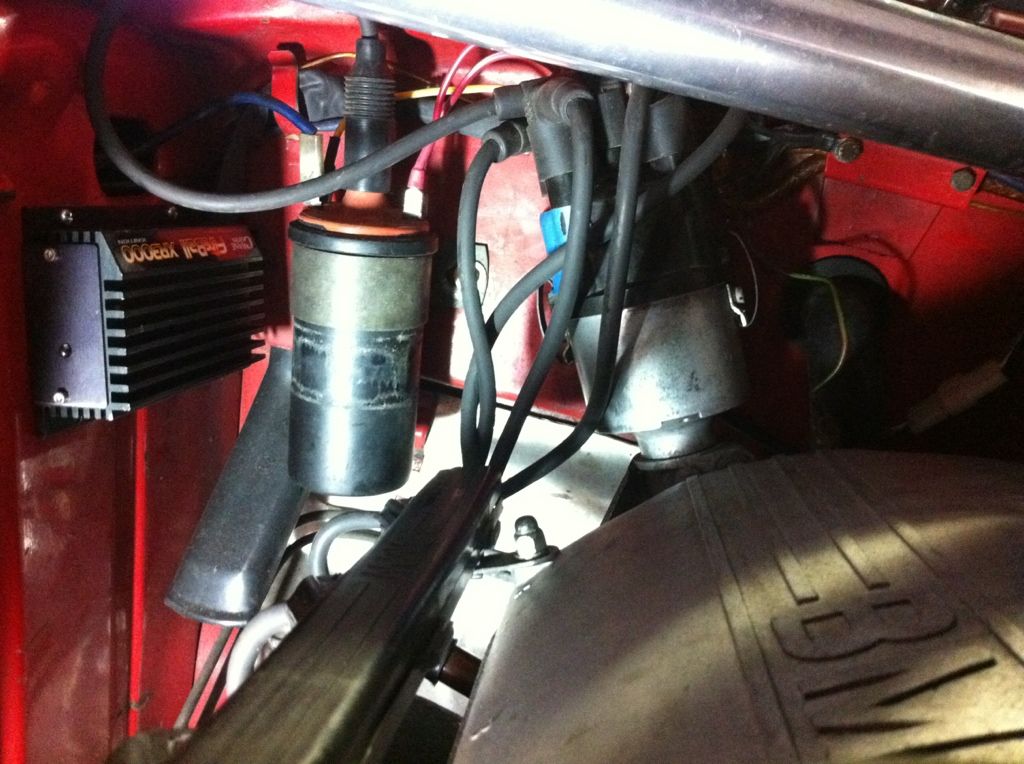
Crane Cams XR3000-0226 Points Replacement Kit.
I finally made a decision on an ignition system. But, mostly because I found a NIB XR3000 on Craigslist, Dallas Texas..
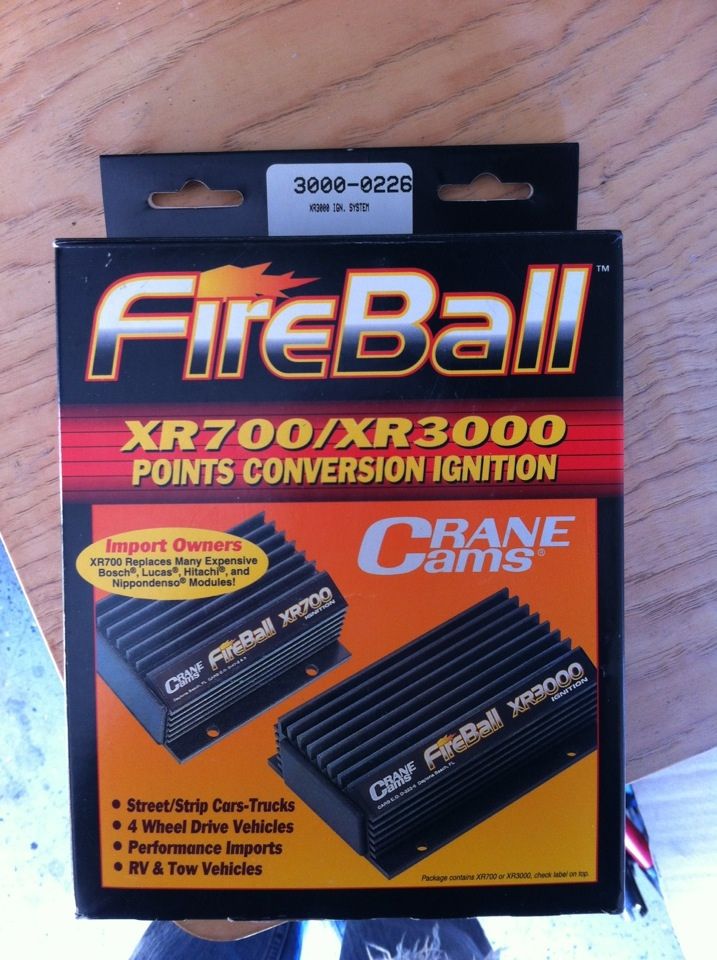
I didn't know which installation kit was in the box, so I just crossed my fingers. For 50 dollars shipped, it was worth the risk.
After a few nail-biting days (**craigslist purchase**), the box arrived and it was "as advertised".. Sweet!
According to everything I had read, I should have purchased the -0231 installation kit. And when this arrived as a -0226, I was concerned. So I cracked it open and began to rummage through the installation bits.
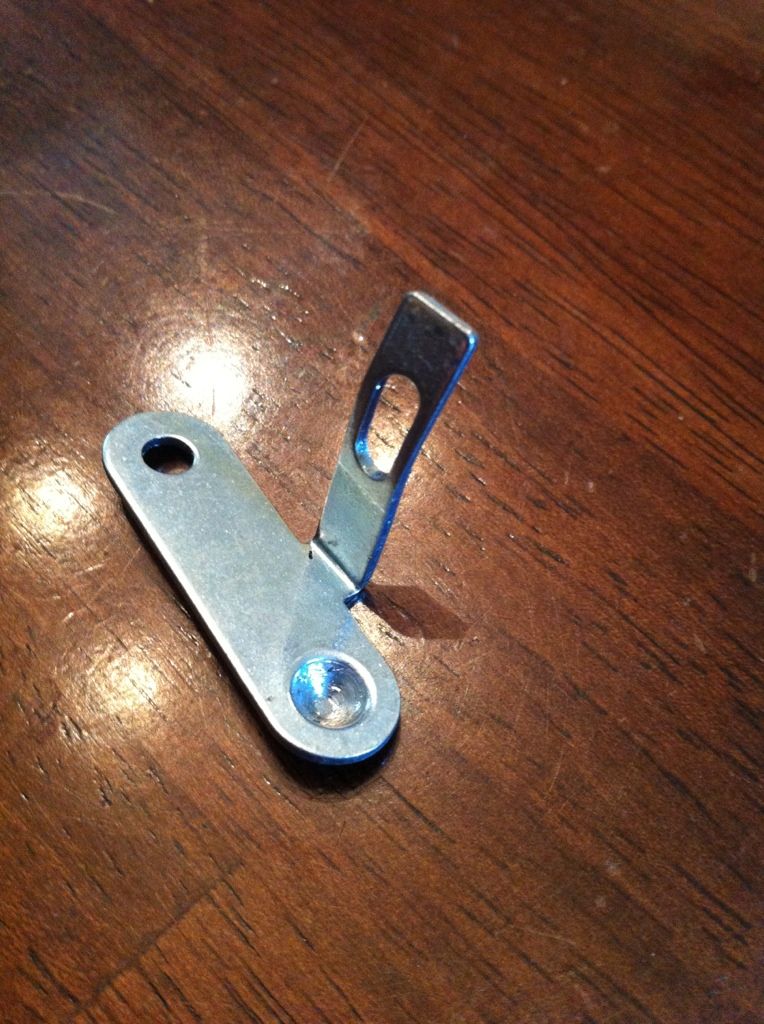
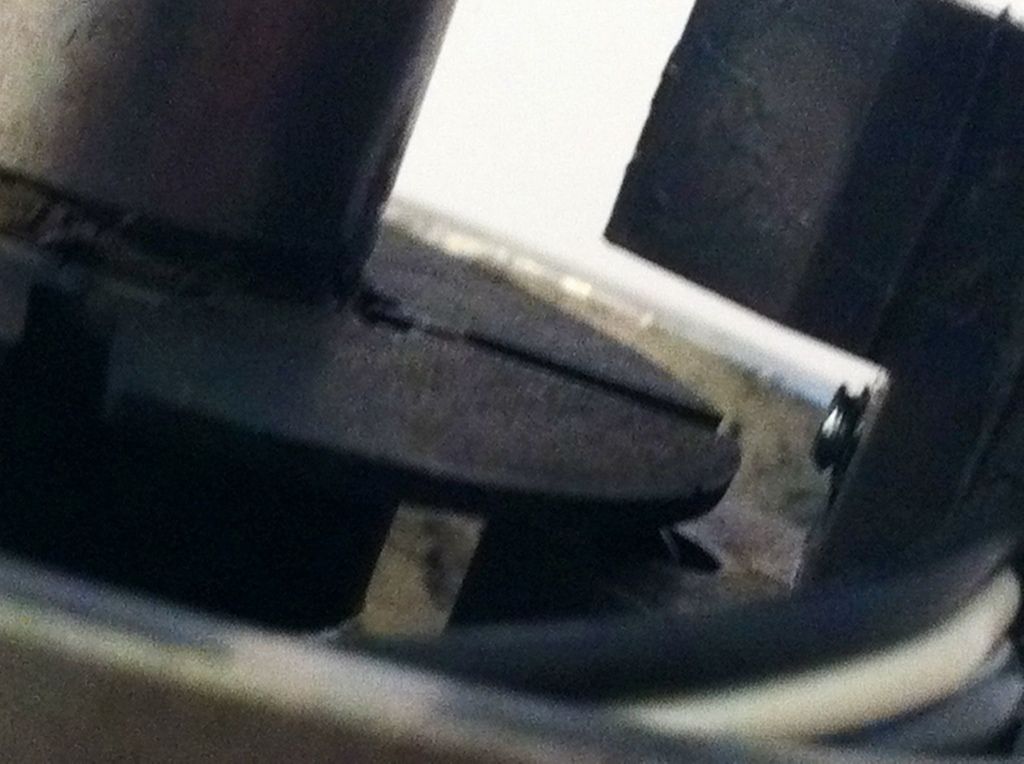
Upon inspection, I noticed that most brackets required two screws as mounting points in the distributor. And knowing our distributor, there aren't two screws to use. But then one little guy stood out. It had the same pin/screw mounting style as a stock set of points uses for installation into the dizzy! But according to all I had read, this looked NOTHING like the sets the guys had used in the past, and recommended to everyone else!! So I pulled the points from the car, and sure enough, it was a spot on match!
There were actually two that were very similar, but only one of them used the exact span as the points. It also has a perfectly straight mounting tab. Here is a pic of the one I DIDN'T use.
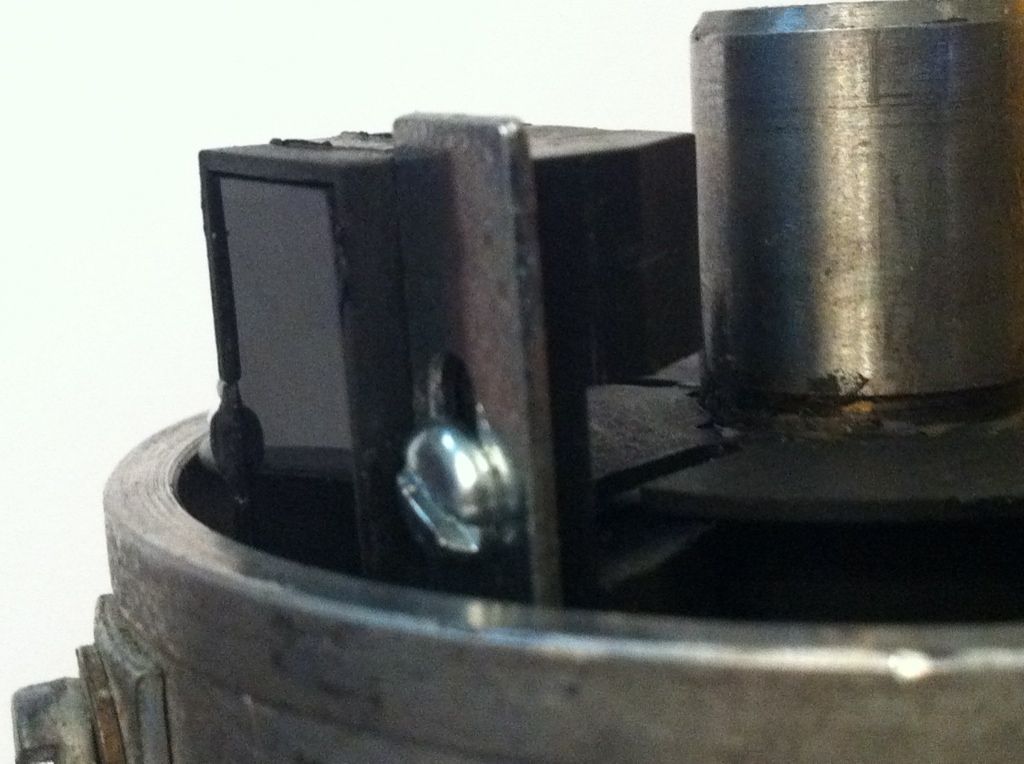
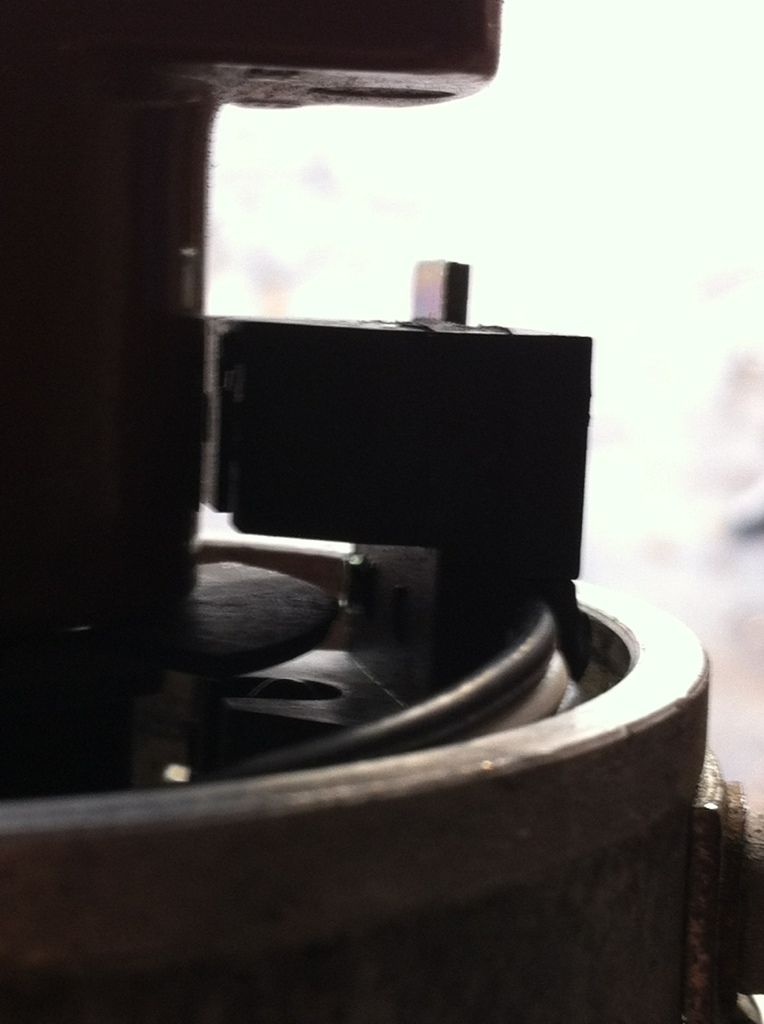
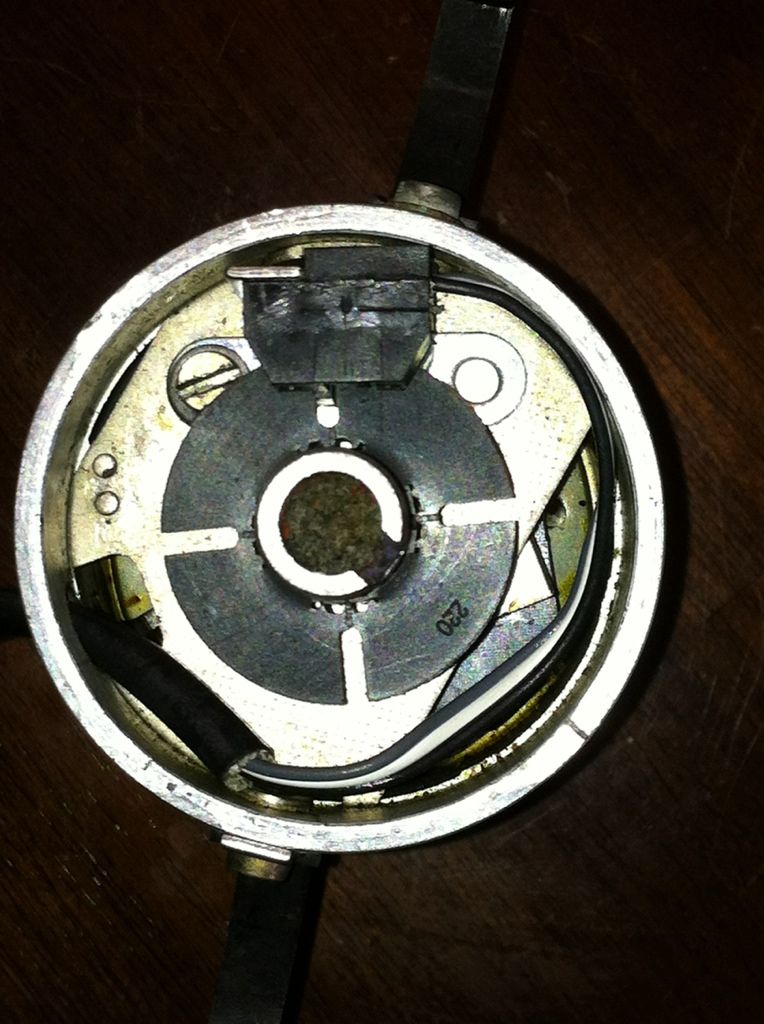
So after that, I noticed that the kit also has the #220 shutter wheel that I needed! It was on!!!
So after deciding on a location for the box, and running a new wire from the #12 fuse (to replace the resistor wire in the desmog post), I installed the parts into the dizzy.
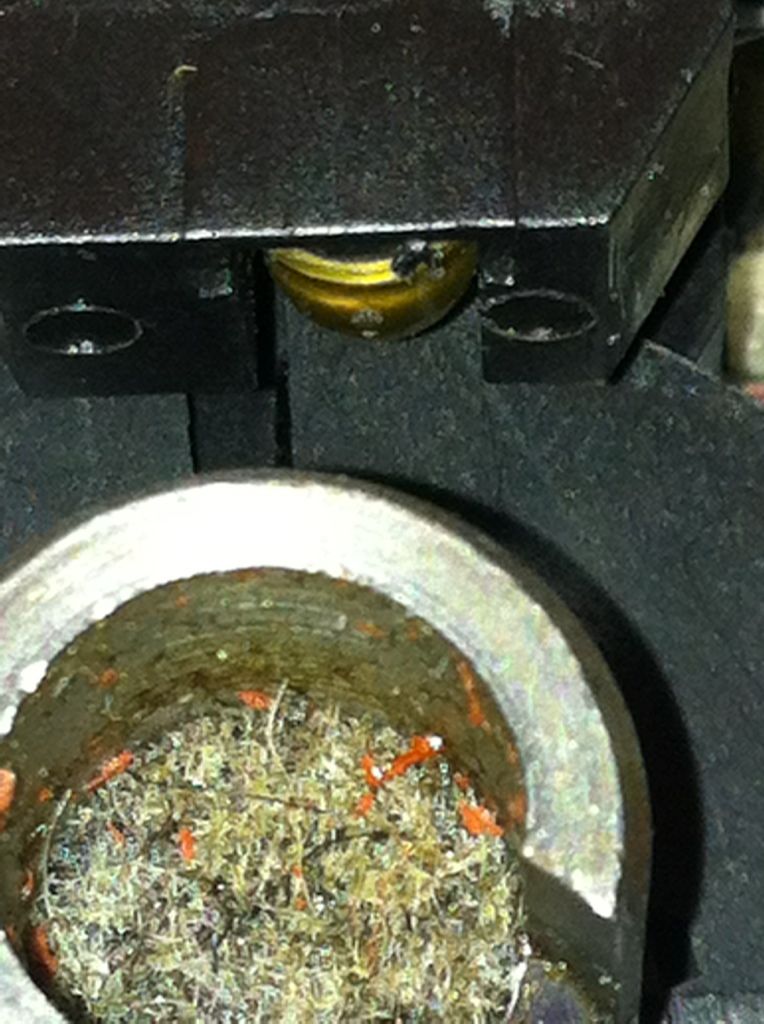
The only issue that I encountered with the mounting bracket was that it didn't allow the eye to sink into the dizzy housing enough to center the shutter wheel in between the light and the sensor.
This was easily remedied by using a file to elongate the mounting slot in the bracket. Once I had this worked out, it was smooth sailing.
One other concern with this bracket (vs. the one recommended), is that there is a stated need for "indexing" the shutter and sensor for timing sake. The recommended bracket has adjustability where this has NONE. But once again, dumb luck struck, again. This is obviously the intended kit for our distributors, as opposed to the -0231 kit, because the indexing was spot on, with no need for adjustment.
As you can see in the next photo, the slot in the shutter wheel is just at the leading edge of the light when the notch in the distributor shaft is aligned on the TCD mark on the rim of the dizzy.
Perfect!
So I set the motor to top dead center, and installed the distributor. Then tidied up the wiring by shortening and terminating where necessary, wrapping the harness from the box with 1/2" shrink tubing, and connecting it all up!
She fired up on the first attempt. Once I dialed in the timing by ear and let her warm up, she purred like a kitten.
Good times.
Friday, December 2, 2011
2002 Under-seat subwoofer enclosure
Here is the first enclosure to come from the mold I spent the summer preparing! FINALLY! Testing to commence later today. (!!)


Tuesday, November 22, 2011

Saturday, November 19, 2011
Monday, October 24, 2011
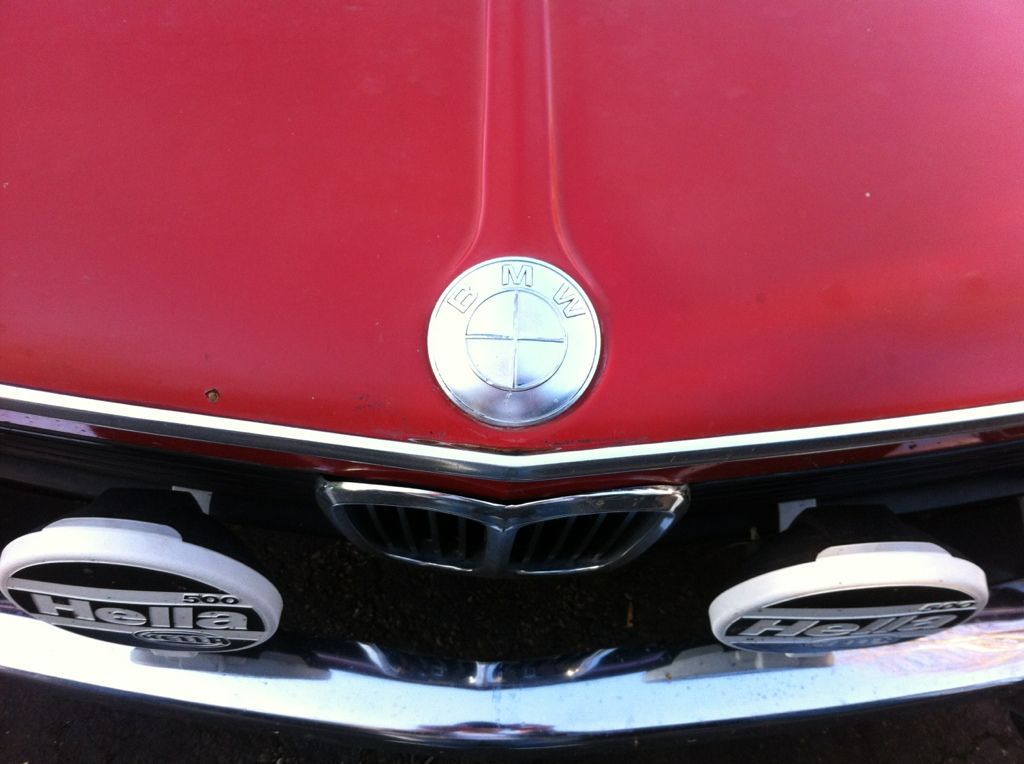
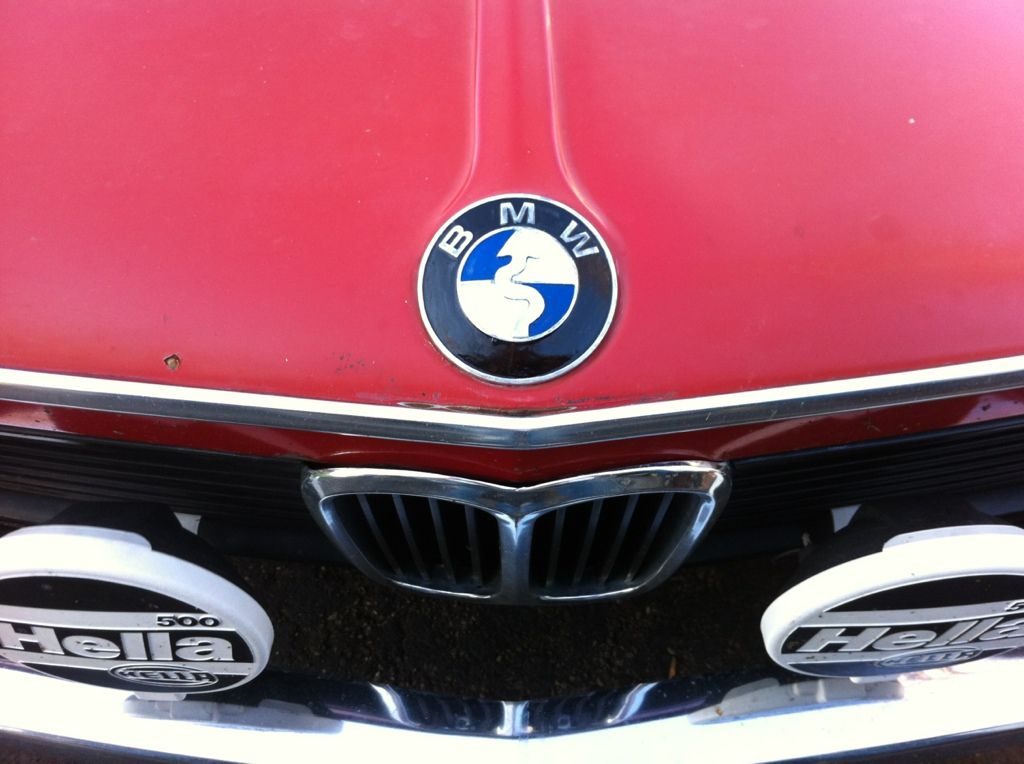
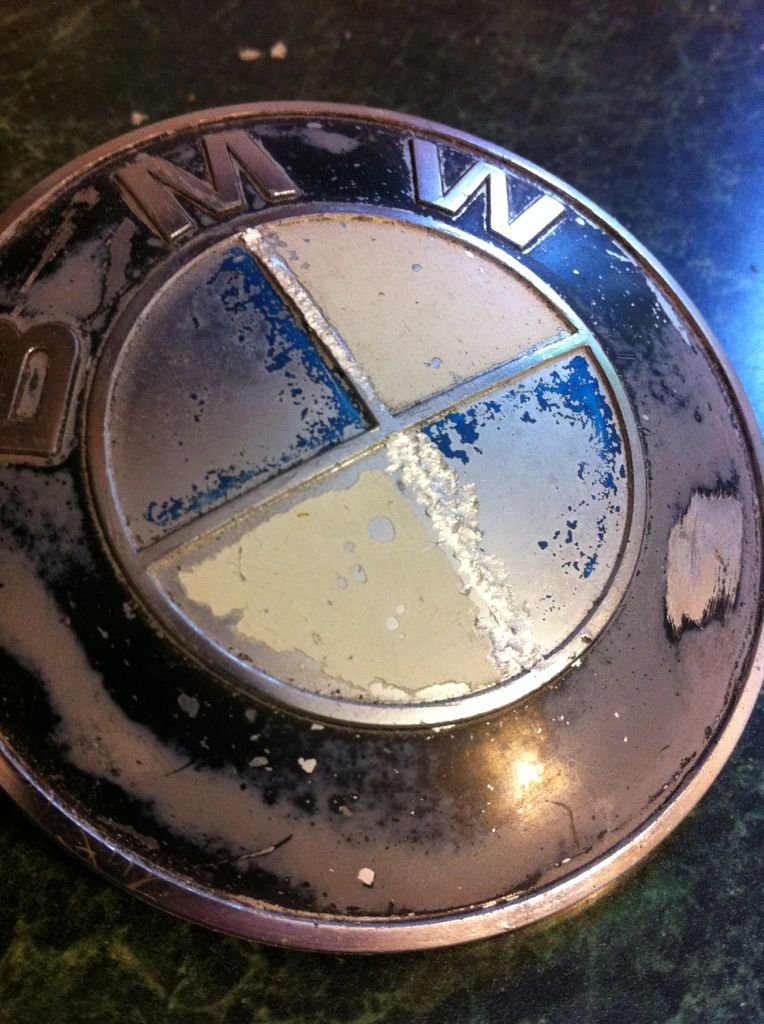
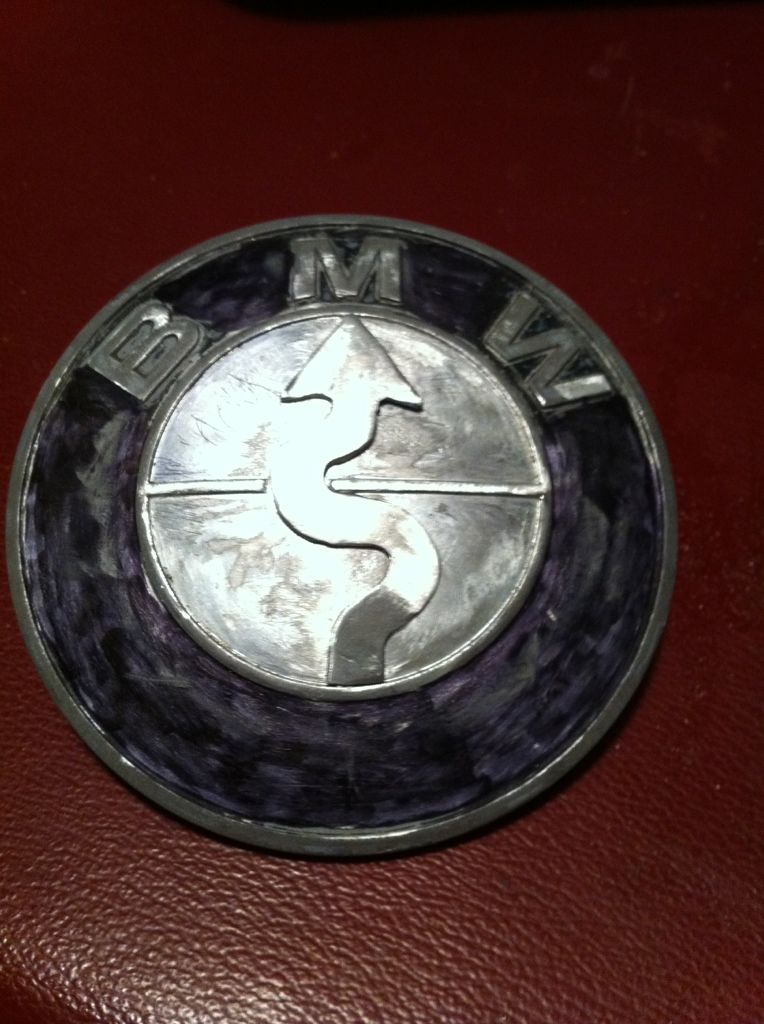
Custom RGB 2002 Groupe Roundel!
So I had an idea. And this one actually worked. It's metal worker, meets jeweler, meets bored guy after kids are in bed
Before:
After:
I started with grinding off the vertical line. I measured my hood roundel and drew a 45mm arrow to scale in Adobe Illustrator. Printed it on paper and stick glued it on a spare hood roundel for test fit.
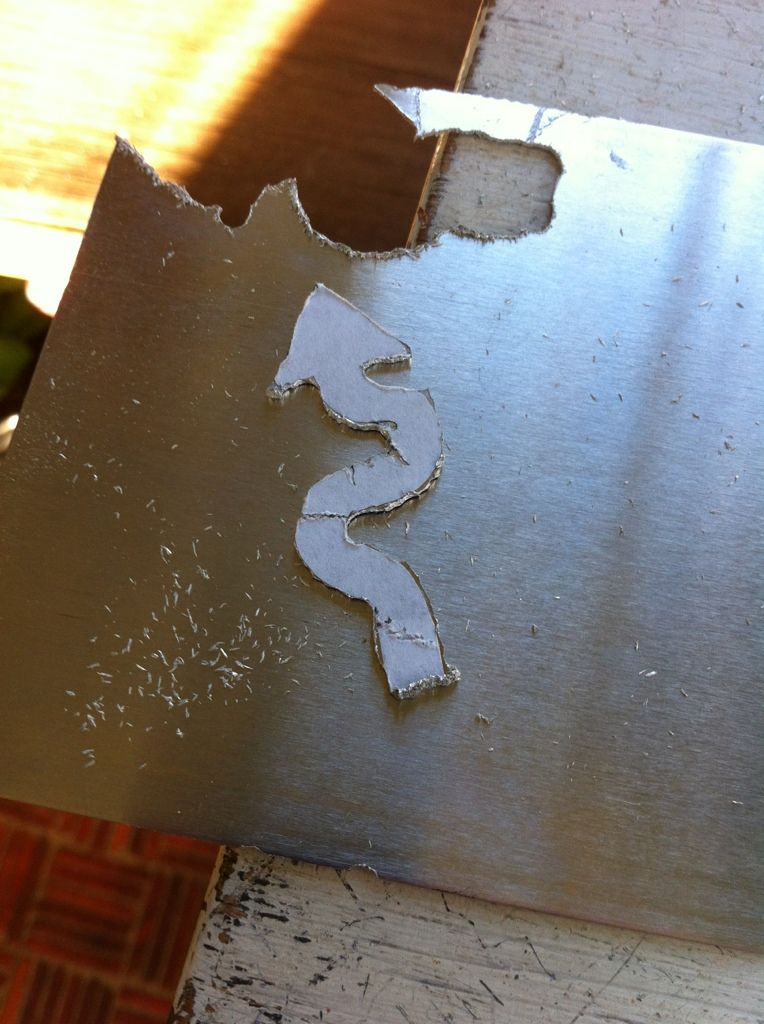
Then I made a trip to Hobby Lobby for 8 bucks worth of supplies..

I printed another and glued it to the .032" aluminum sheet and cut the arrow out with a Dremmel.
After some finish grinding, it looked good to go...

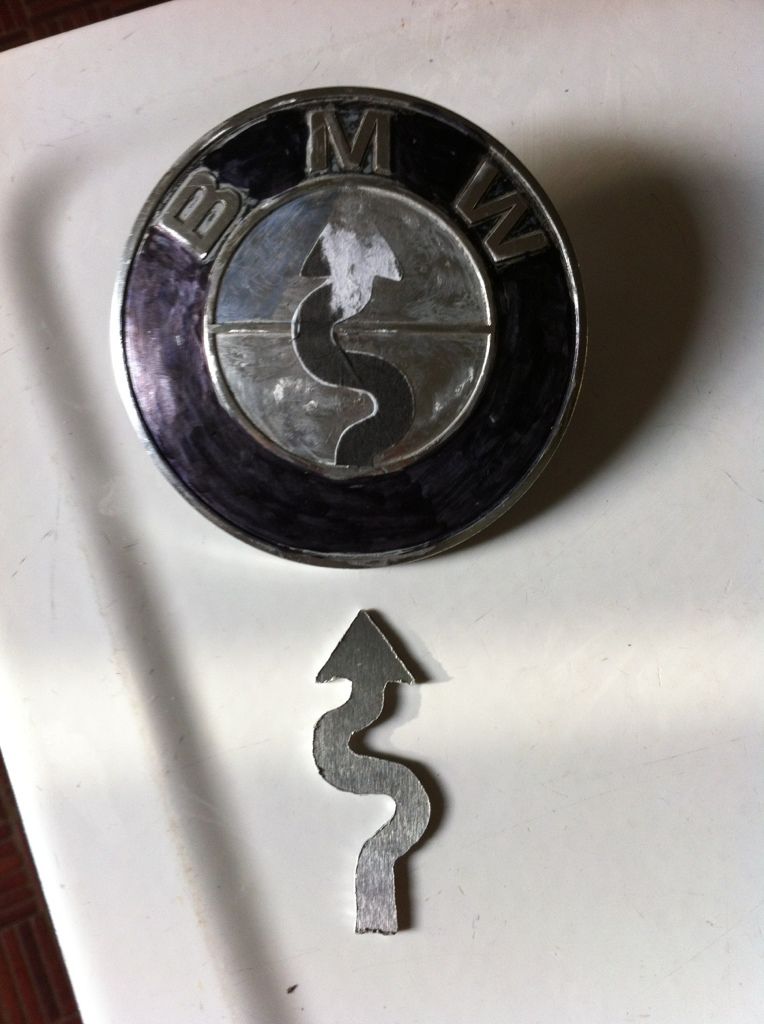
Then I clearanced the horizontal line for the arrow. And used a small hammer to form the arrow to the contour of the roundel. I trimmed it to fit snugly into the ID of the circle and kept working it to lay as flat as possible before adhering. Once I liked the fit, I outlined the arrow with a sharp pencil and painted in some contractor grade contact cement and glued it down.
After some sanding with a disc on the Dremmel, I painted it in with Testors paint.
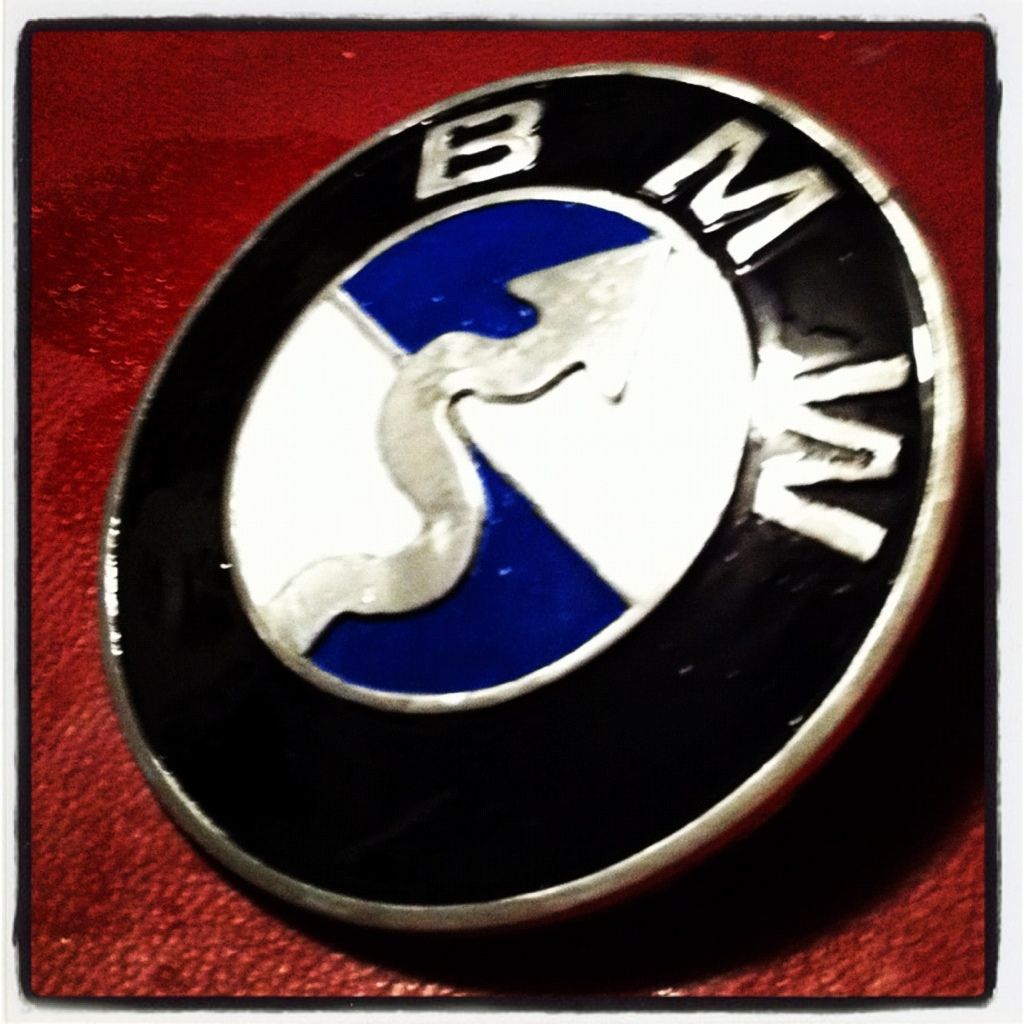
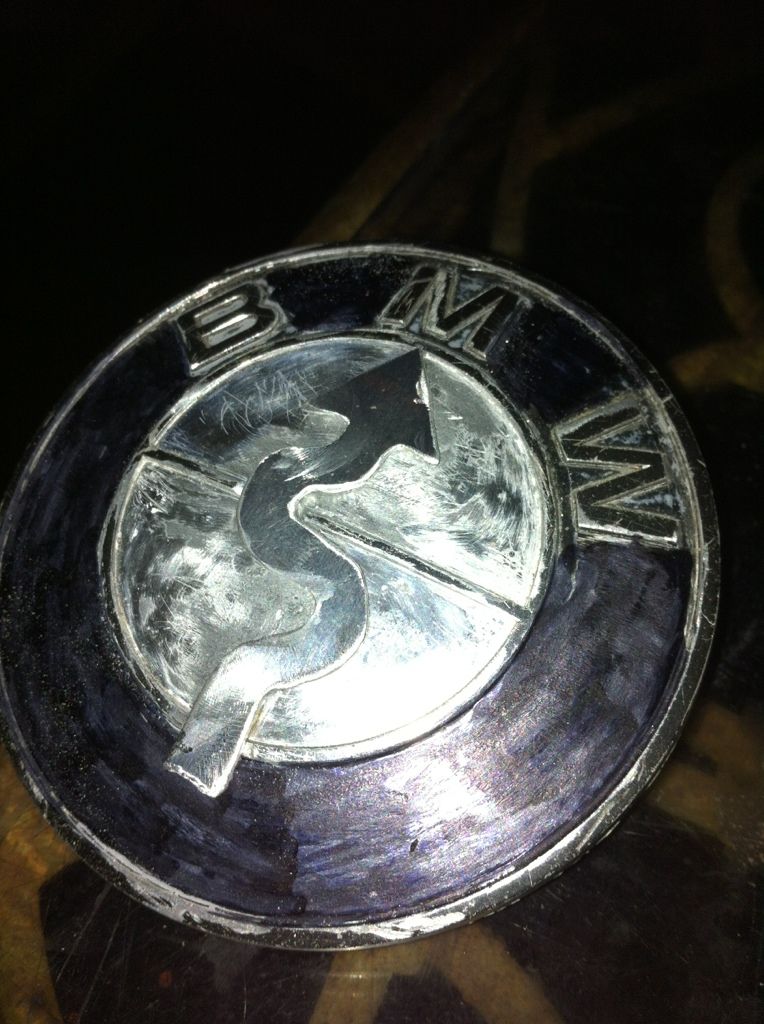
Then I sanded off any sloppy paining errors and threw it on this morning, just in time for cars and coffee..!
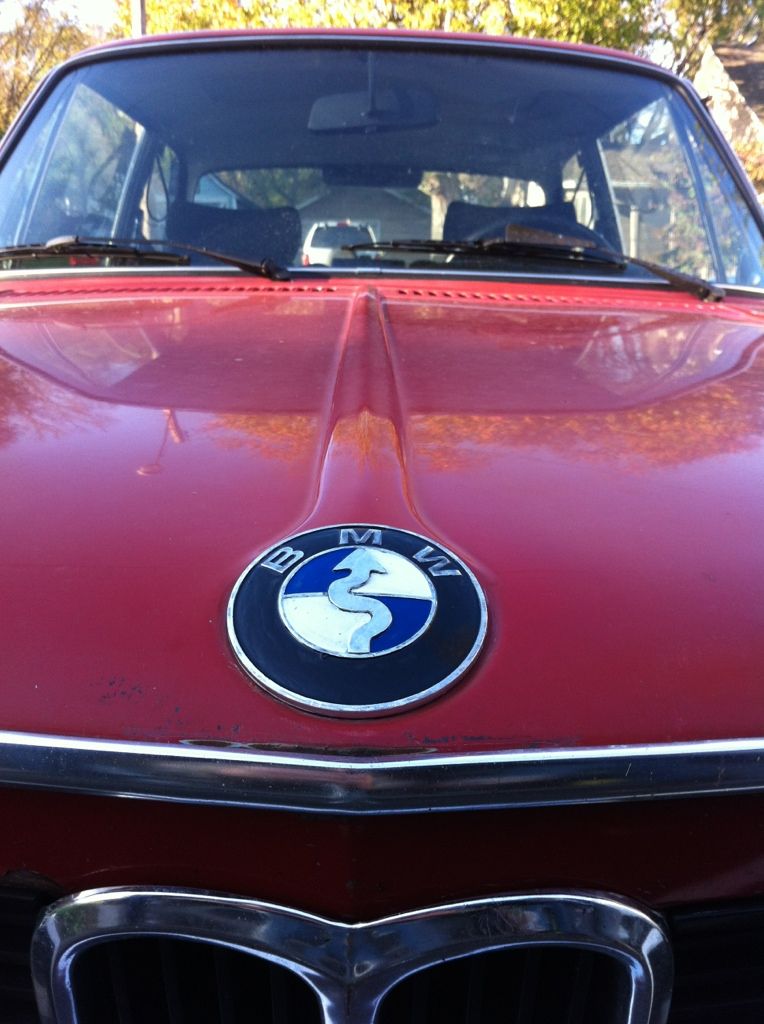
It makes me chuckle every time I look at it! I can't believe I pulled it off. The only improvement would be polishing the aluminum and giving it a cleaner paint job. But I love it as it is!
Monday, September 19, 2011
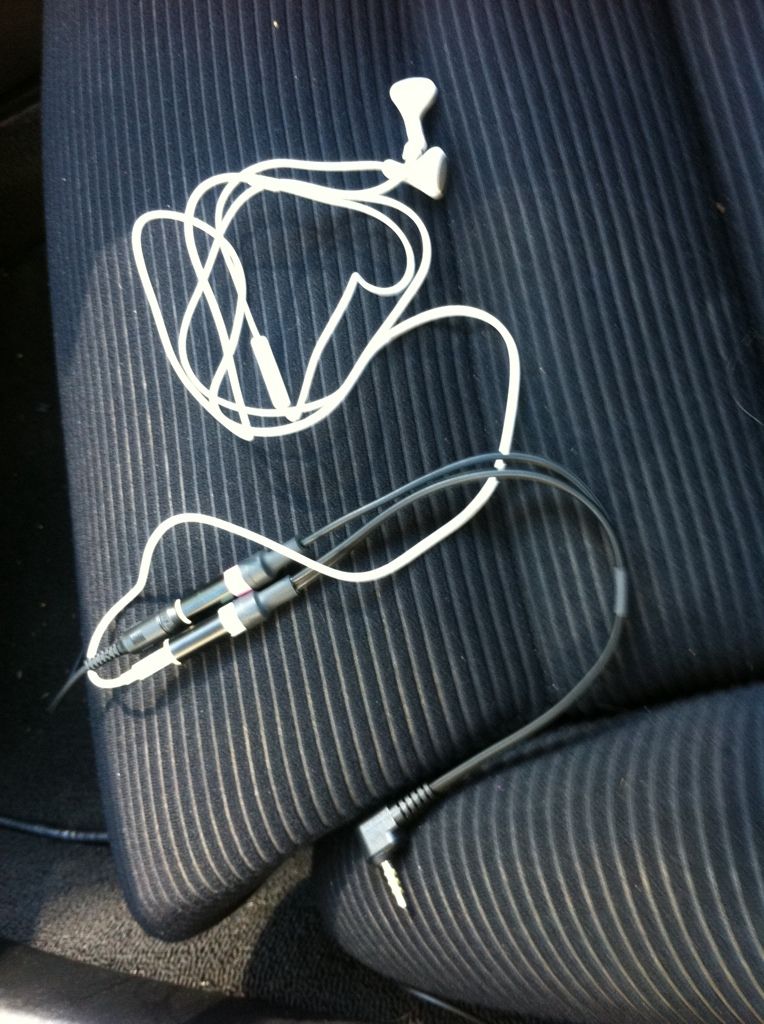
Dual microphone system for iphone video in car.
In my quest for great video during our drives and what not, I had become dissatisfied with the audio from video recorded in the car, and the wind noise when recorded out side the car... It was distracting and not immersive enough for my taste. I looked into go pro, etc. But they do not yet offer an external audio input.. Hmmmm. So I got to digging around and figured out a great system for low buck. Well, compared to pro recording systems its low buck. But the problem was that it all had to be designed around a mini jack connection!! This is what 112 bucks-ish got me.
First, I found a break out cable for the mic and head phone plug on the phone..
Although pretty simple, I find it very exciting and effective. Now conversation in the car while driving and recording isn't a problem! And the immersive effect of hearing the woosh of the carburetor and the growl (granted only 70Hz+) of the exhaust is VERY subtle but COOL.
Here are some examples. I have only had the opportunity to mess with it twice now, but I will get it dialed in. Now I just need a more stable iphone4 mounting system..
First recording..
First, I found a break out cable for the mic and head phone plug on the phone..
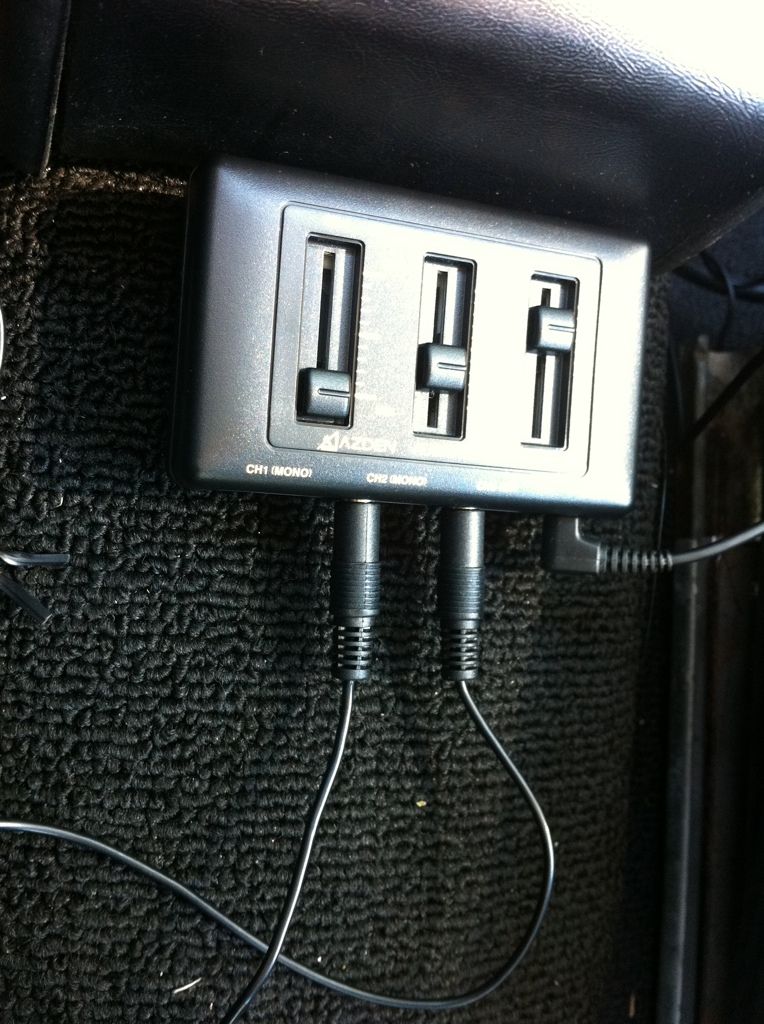
And then I needed a mini jack mixer for setting recording levels..
This little guy is not powered, but offers 2 mono inputs and one stereo. And of course an output. All via mini jack.
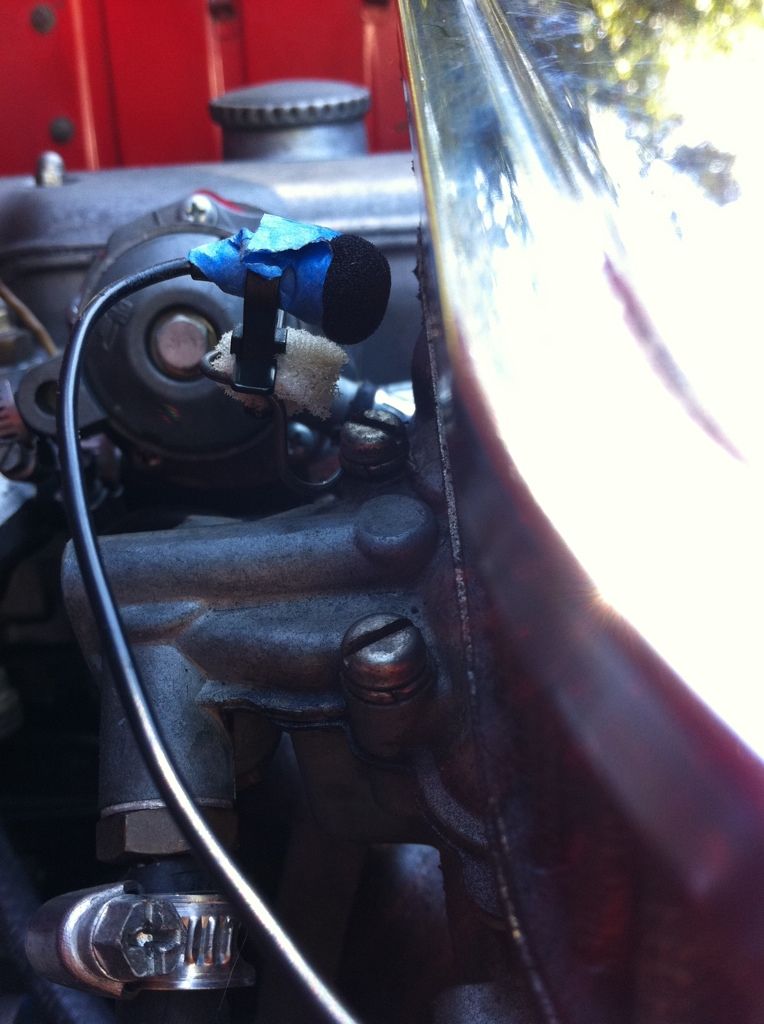
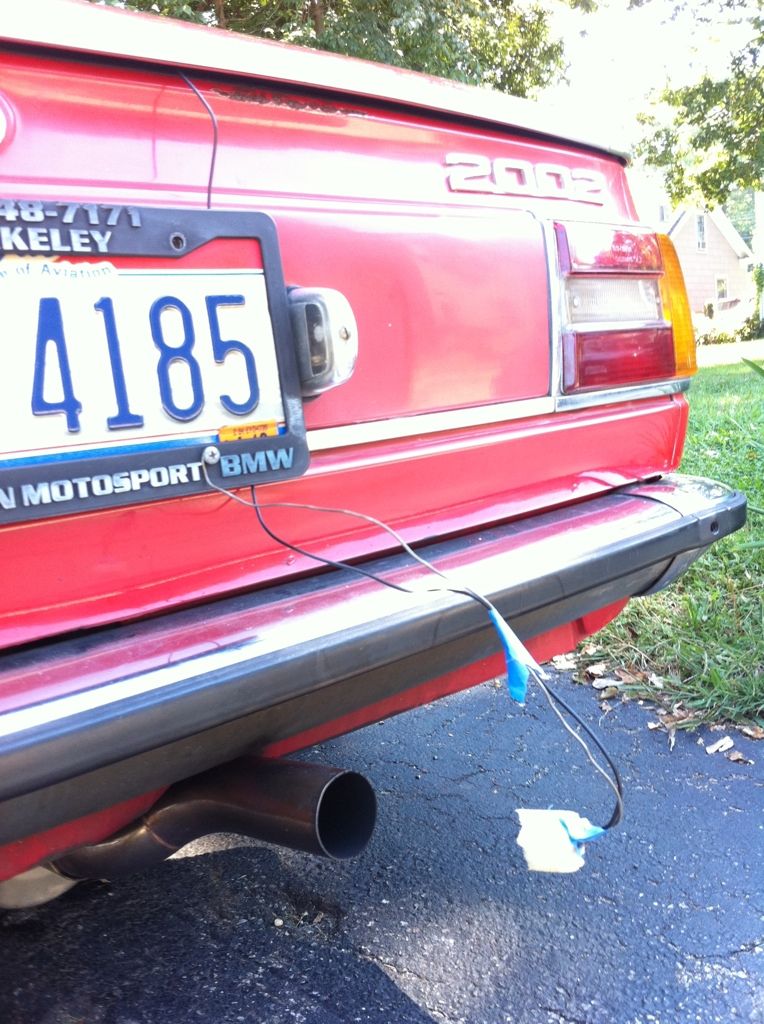
Next, due to the fact that I had no powered mixer, and hence no phantom power, I needed two or more mics that are small, self powered, and with long cords.. I found lavaliere microphones to be the ticket! And under 20 dollars each!!
I mounted one at the tail pipe, and one at the carb in my initial testing. While the range on these is only down to 70Hz, its not bad for the $. I would have to add a power inverter and a phantom power box with better mics, and that would cost big bucks. Maybe when GoPro adds an audio input would it be worth the expense.
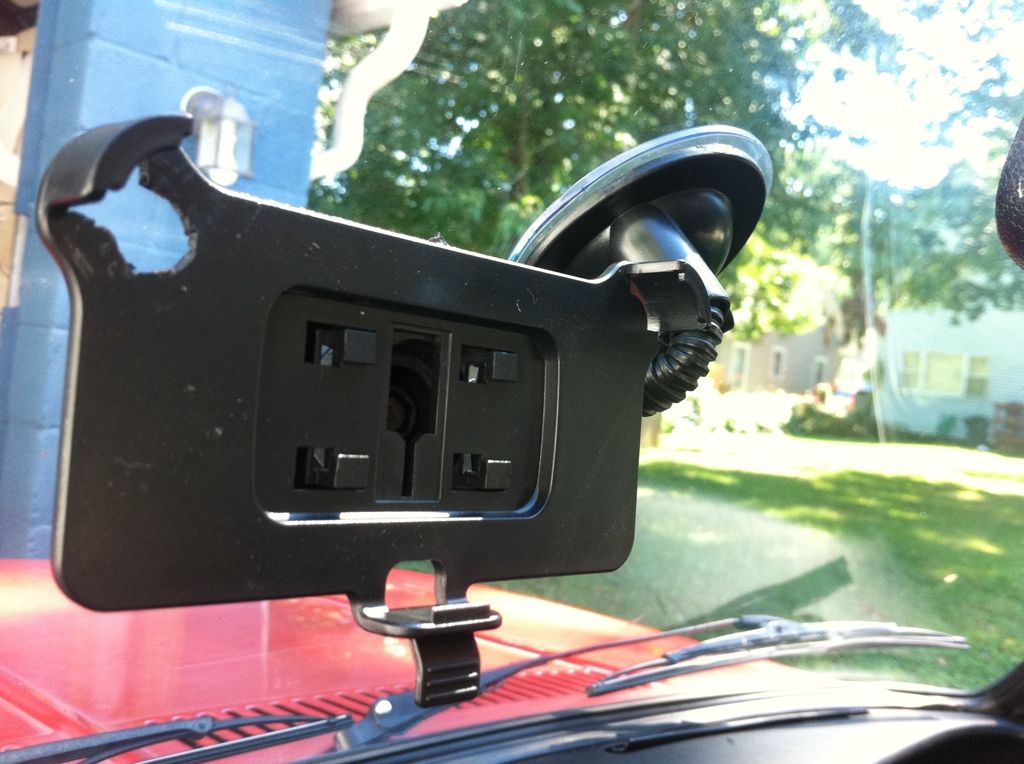
And then it all hangs on a $4 window mount on the front glass.. I had to make a hole for the camera!
Here are some examples. I have only had the opportunity to mess with it twice now, but I will get it dialed in. Now I just need a more stable iphone4 mounting system..
First recording..
After adjusting mic locations and getting a better level setting. I still need to remove the metal PCV valve to eliminate that metallic rattle you hear..
Subscribe to:
Posts (Atom)