
I didn't know which installation kit was in the box, so I just crossed my fingers. For 50 dollars shipped, it was worth the risk.

After a few nail-biting days (**craigslist purchase**), the box arrived and it was "as advertised".. Sweet!
According to everything I had read, I should have purchased the -0231 installation kit. And when this arrived as a -0226, I was concerned. So I cracked it open and began to rummage through the installation bits.
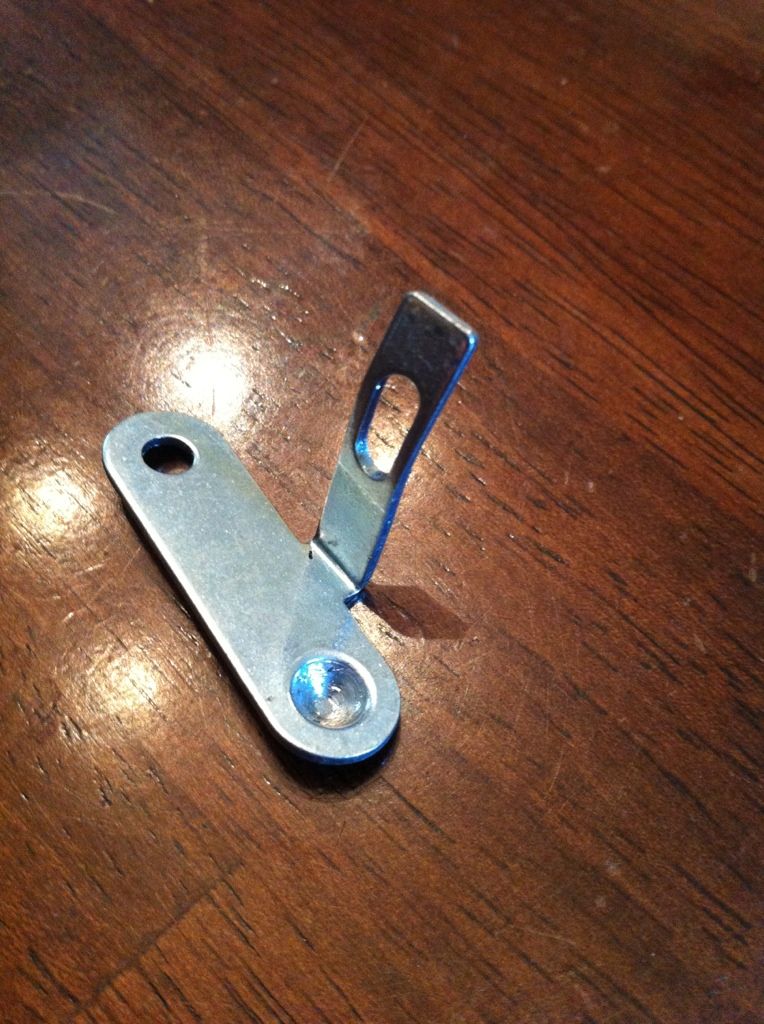
Upon inspection, I noticed that most brackets required two screws as mounting points in the distributor. And knowing our distributor, there aren't two screws to use. But then one little guy stood out. It had the same pin/screw mounting style as a stock set of points uses for installation into the dizzy! But according to all I had read, this looked NOTHING like the sets the guys had used in the past, and recommended to everyone else!! So I pulled the points from the car, and sure enough, it was a spot on match!
There were actually two that were very similar, but only one of them used the exact span as the points. It also has a perfectly straight mounting tab. Here is a pic of the one I DIDN'T use.
So after that, I noticed that the kit also has the #220 shutter wheel that I needed! It was on!!!
So after deciding on a location for the box, and running a new wire from the #12 fuse (to replace the resistor wire in the desmog post), I installed the parts into the dizzy.
The only issue that I encountered with the mounting bracket was that it didn't allow the eye to sink into the dizzy housing enough to center the shutter wheel in between the light and the sensor.
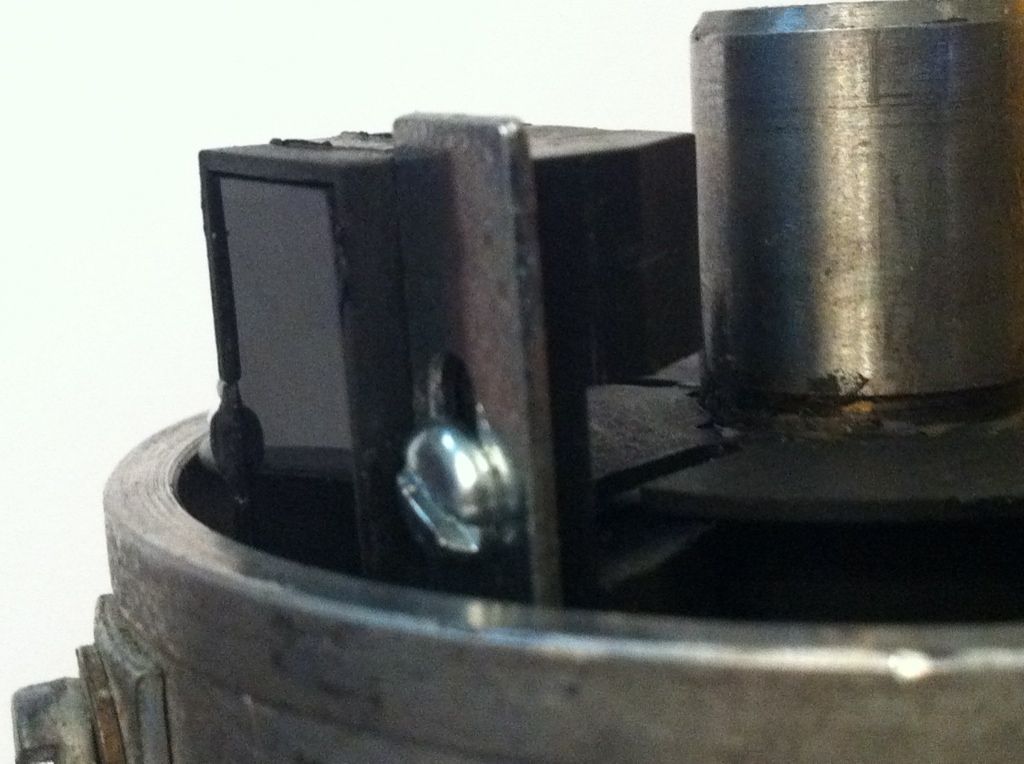
This was easily remedied by using a file to elongate the mounting slot in the bracket. Once I had this worked out, it was smooth sailing.
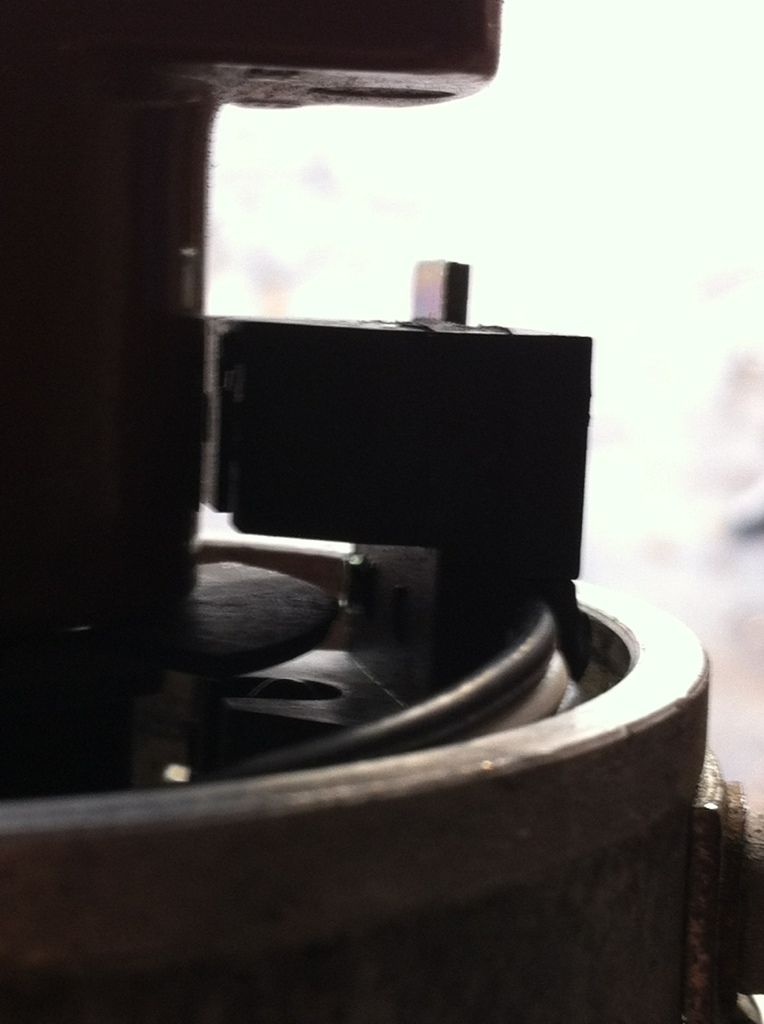
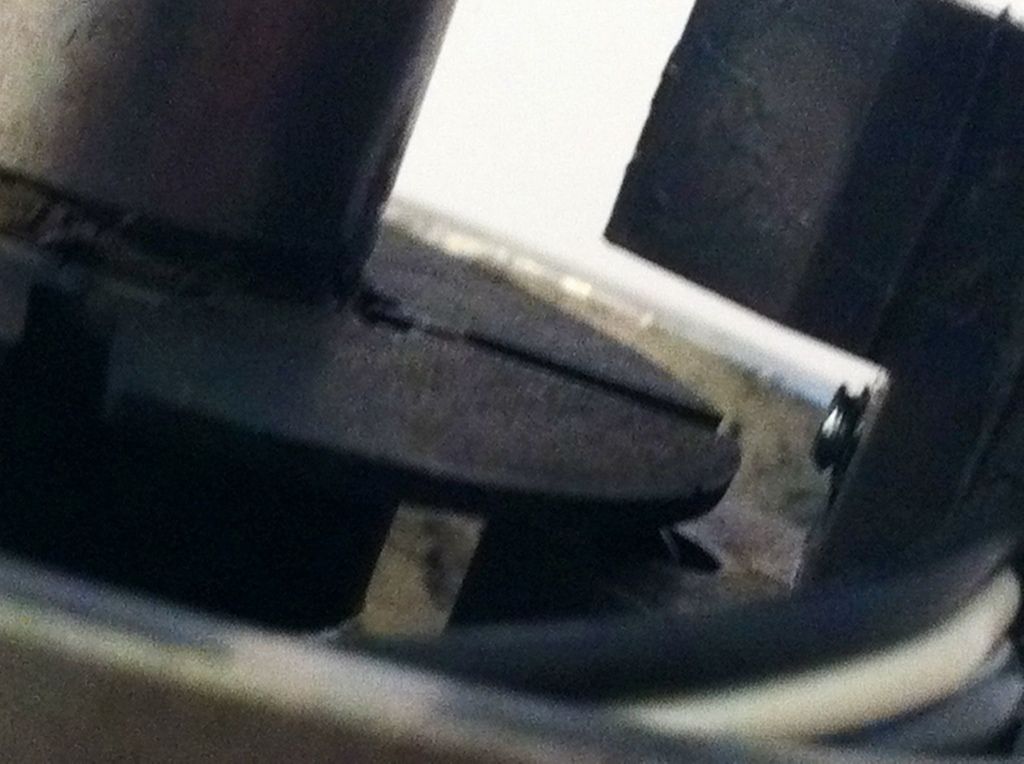
One other concern with this bracket (vs. the one recommended), is that there is a stated need for "indexing" the shutter and sensor for timing sake. The recommended bracket has adjustability where this has NONE. But once again, dumb luck struck, again. This is obviously the intended kit for our distributors, as opposed to the -0231 kit, because the indexing was spot on, with no need for adjustment.
As you can see in the next photo, the slot in the shutter wheel is just at the leading edge of the light when the notch in the distributor shaft is aligned on the TCD mark on the rim of the dizzy.
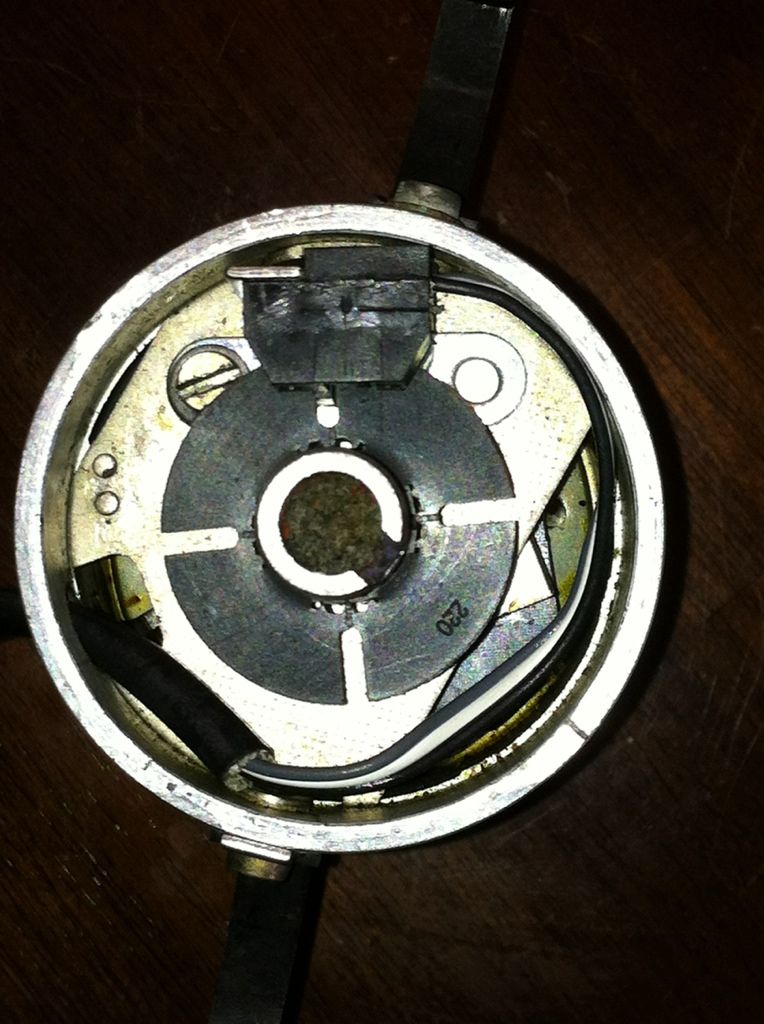
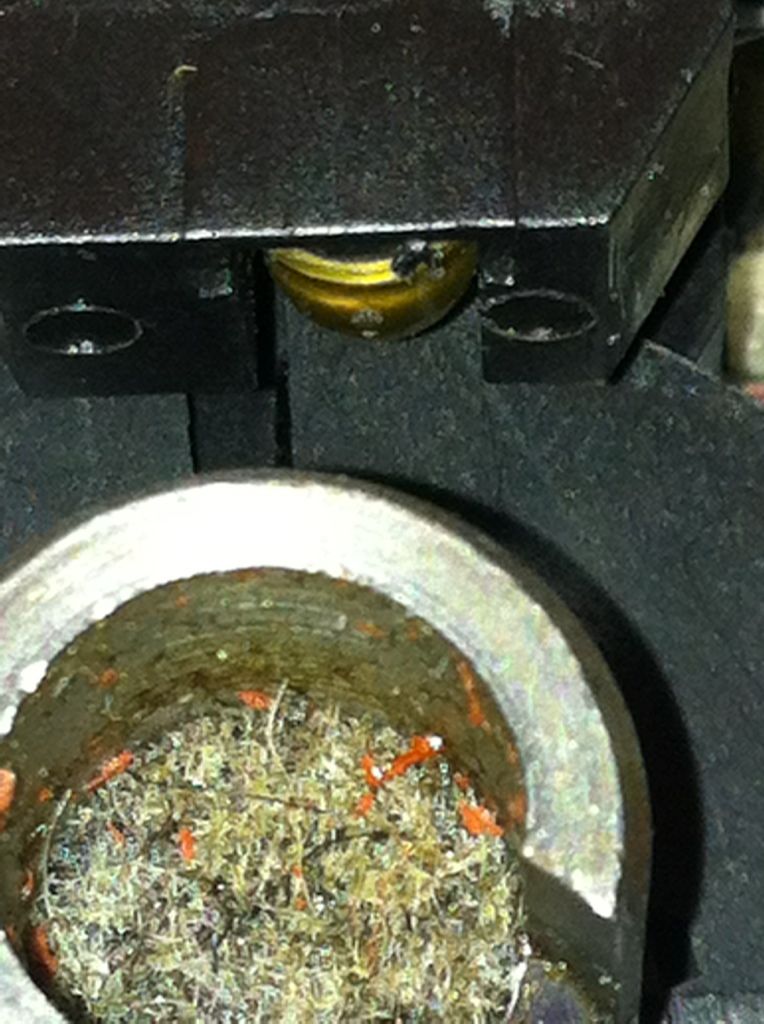
Perfect!
So I set the motor to top dead center, and installed the distributor. Then tidied up the wiring by shortening and terminating where necessary, wrapping the harness from the box with 1/2" shrink tubing, and connecting it all up!
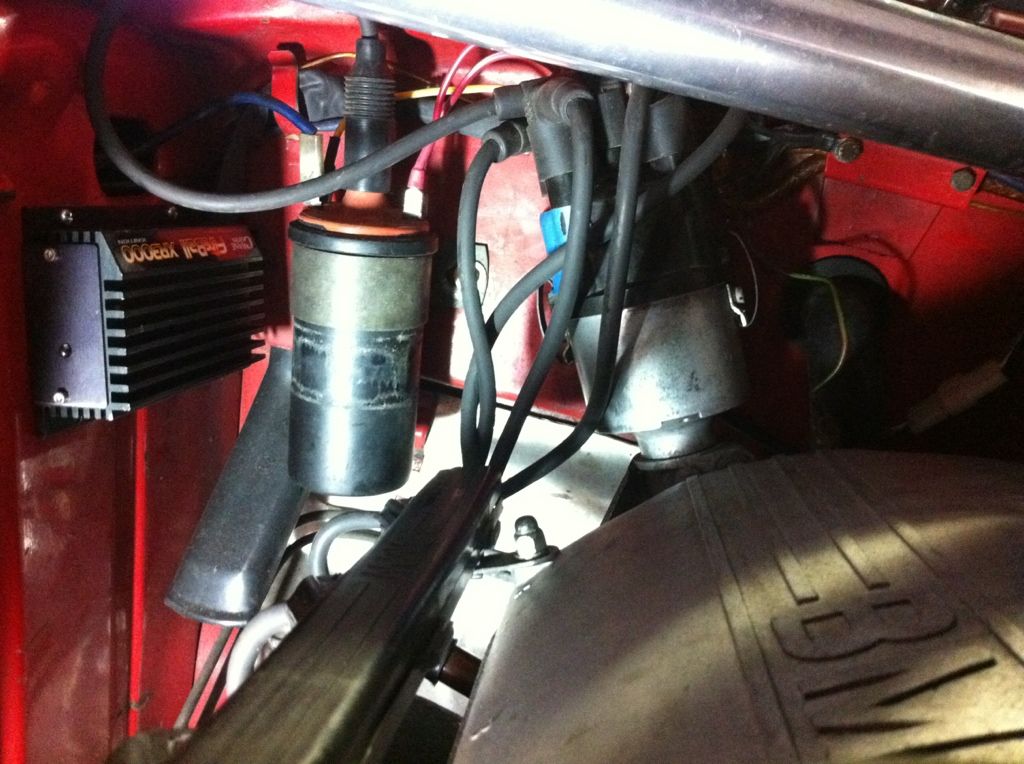
She fired up on the first attempt. Once I dialed in the timing by ear and let her warm up, she purred like a kitten.
Good times.