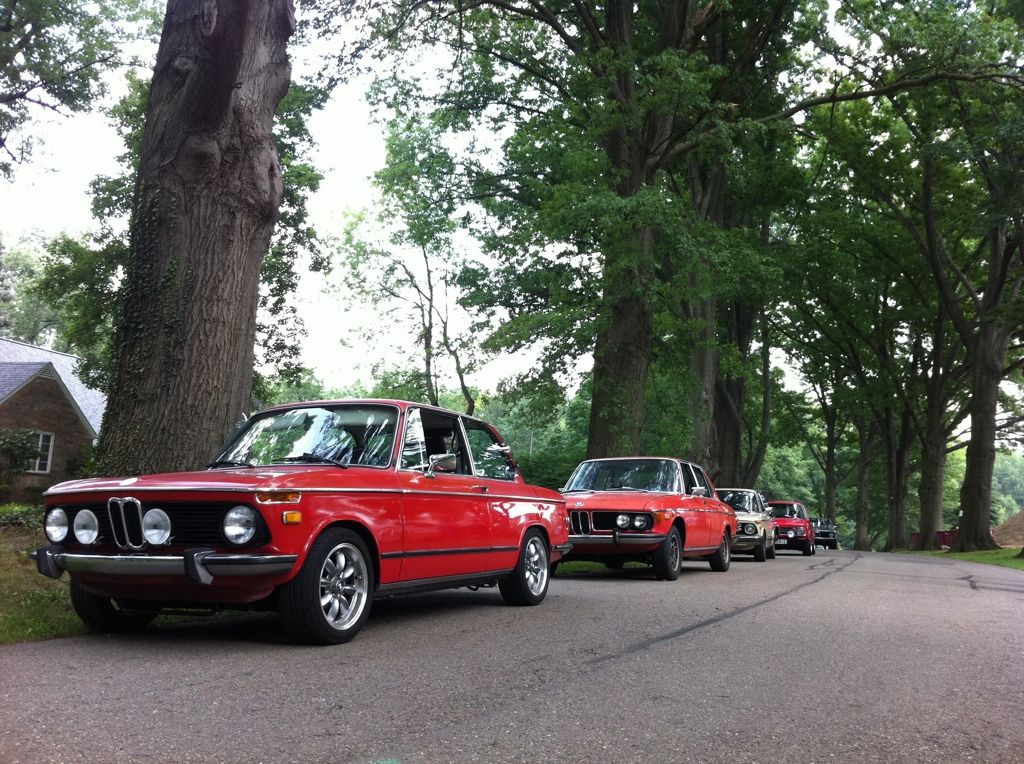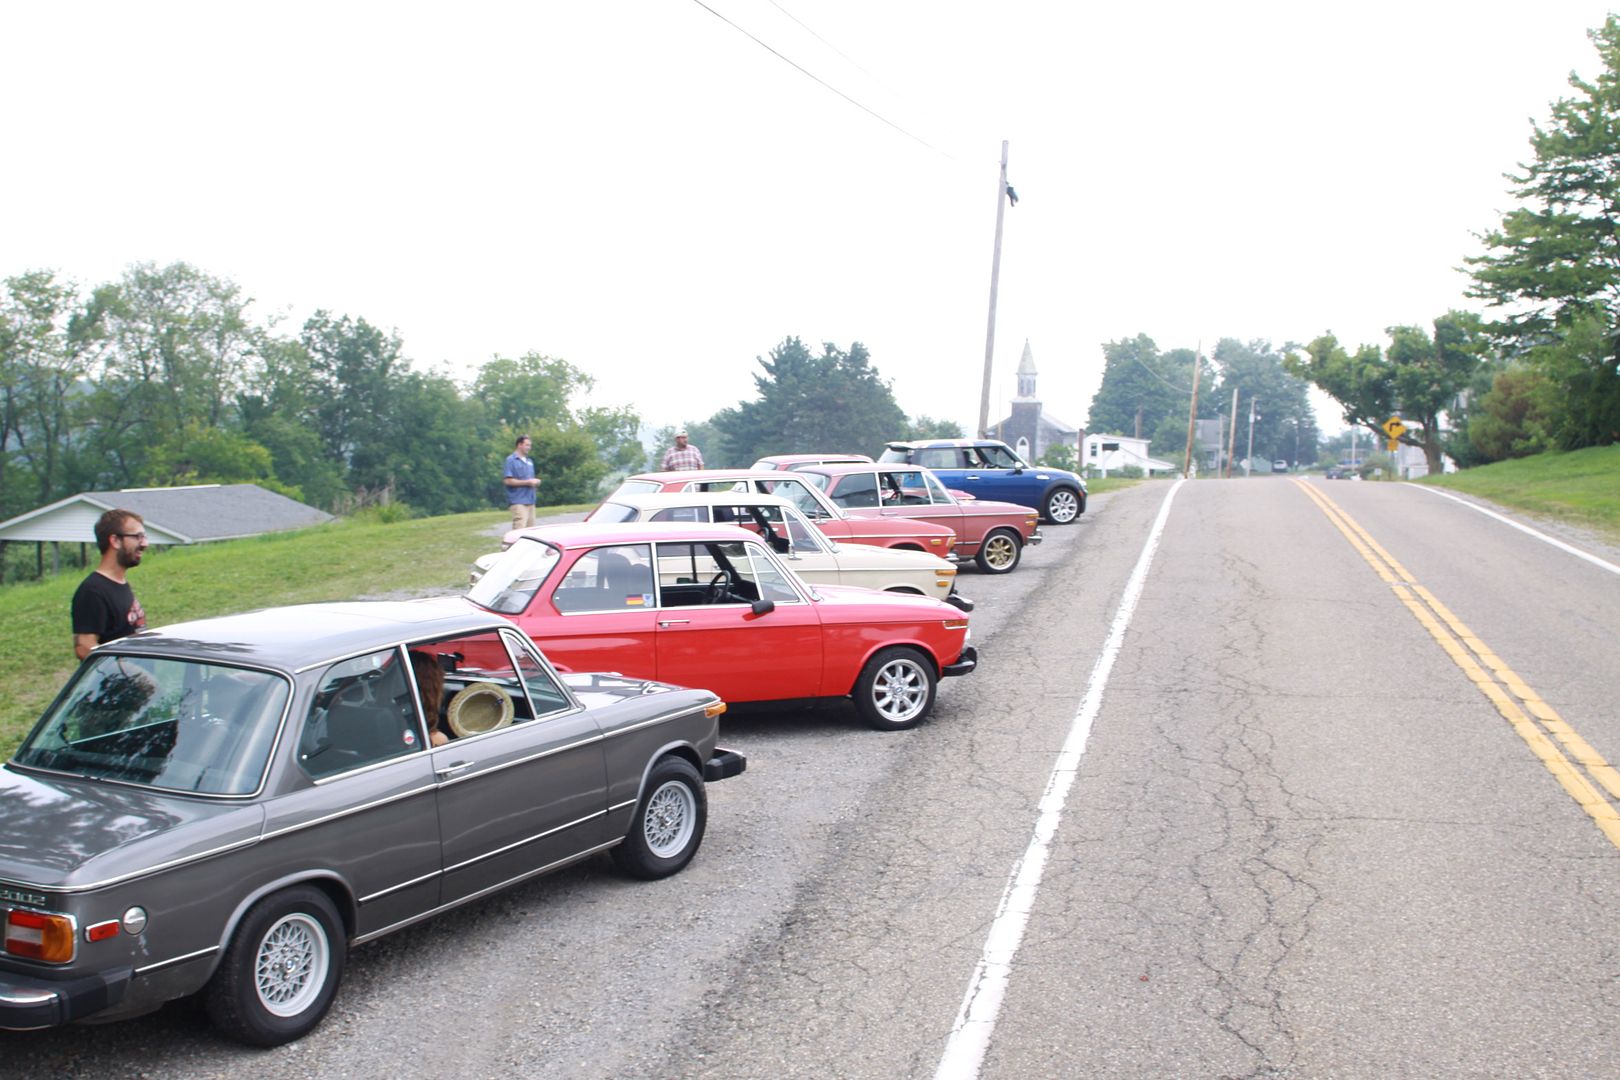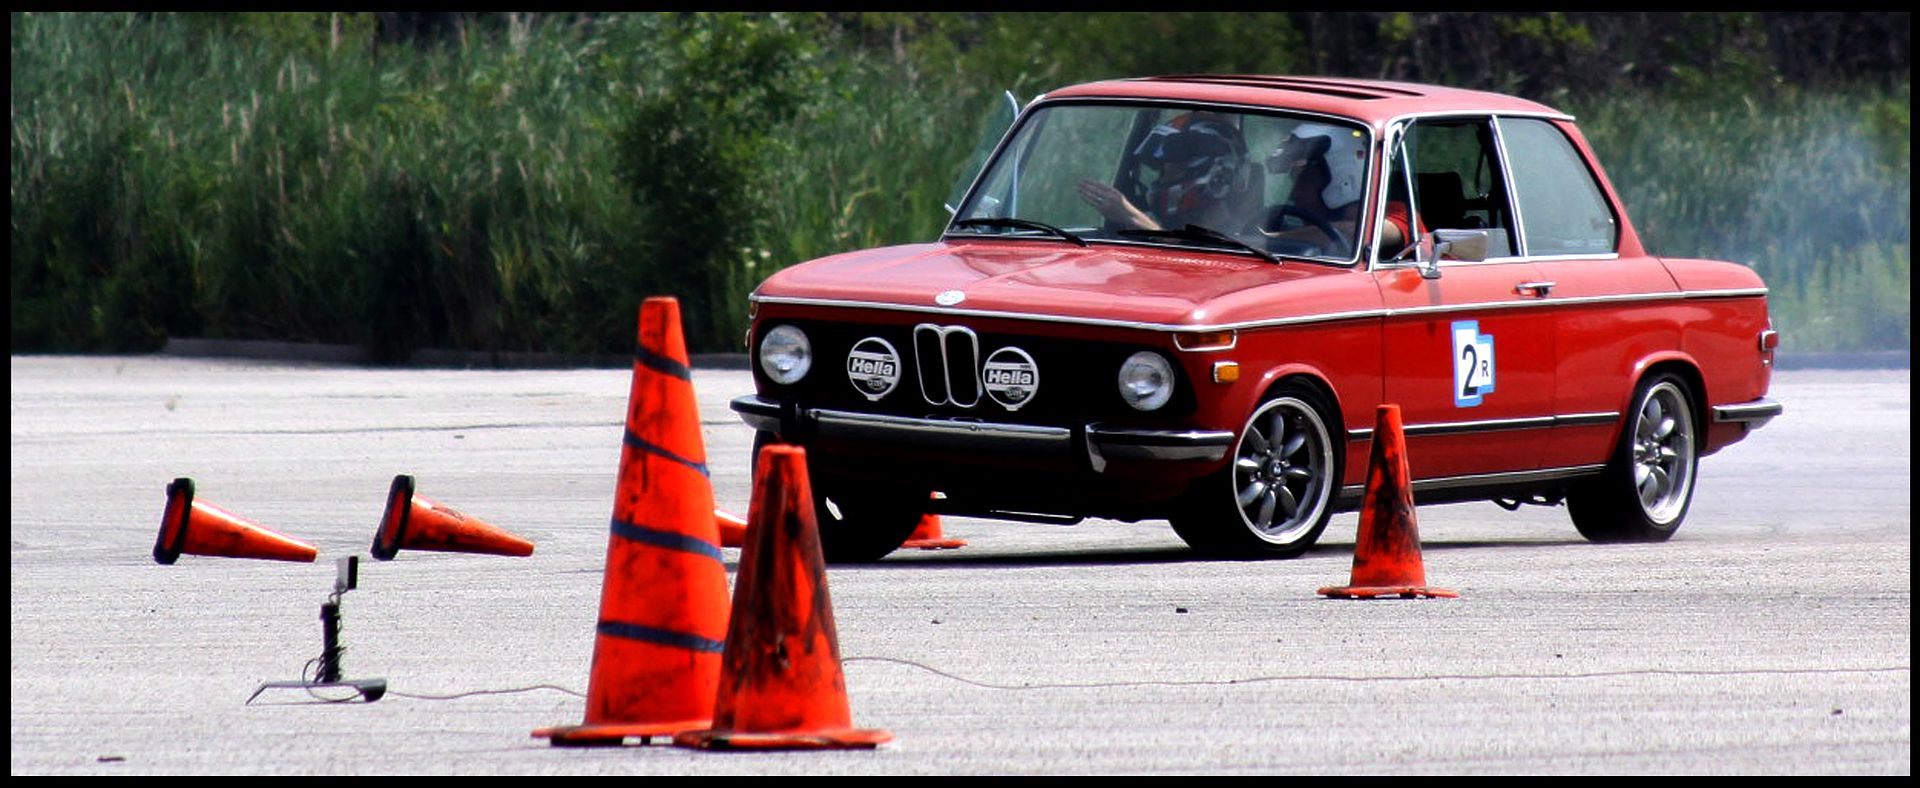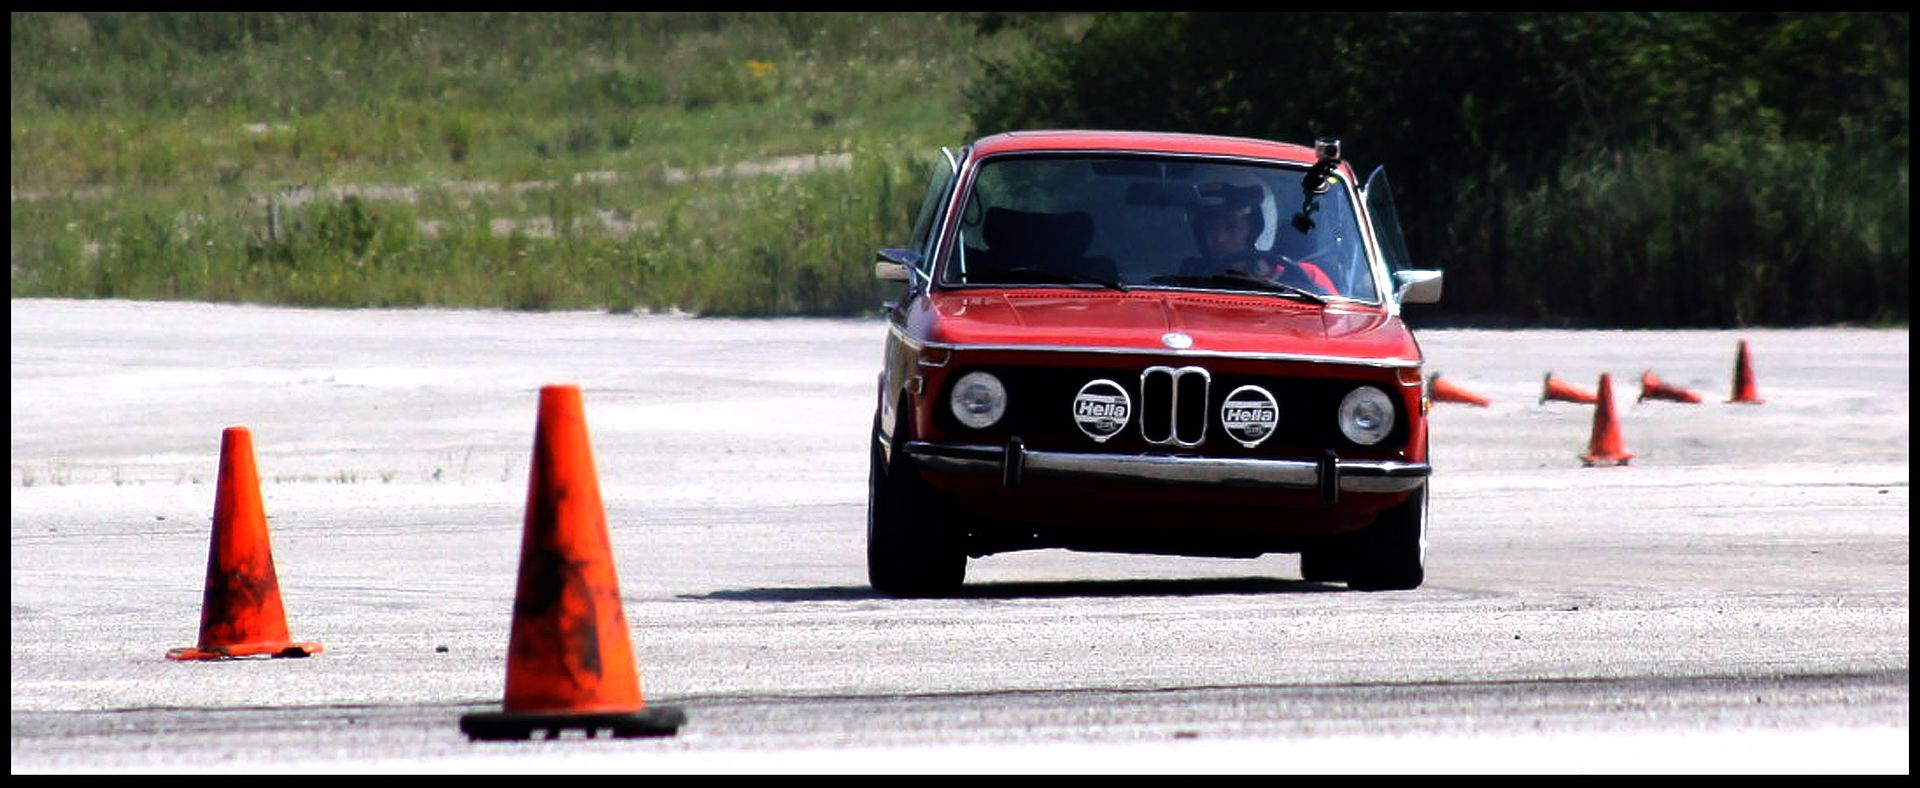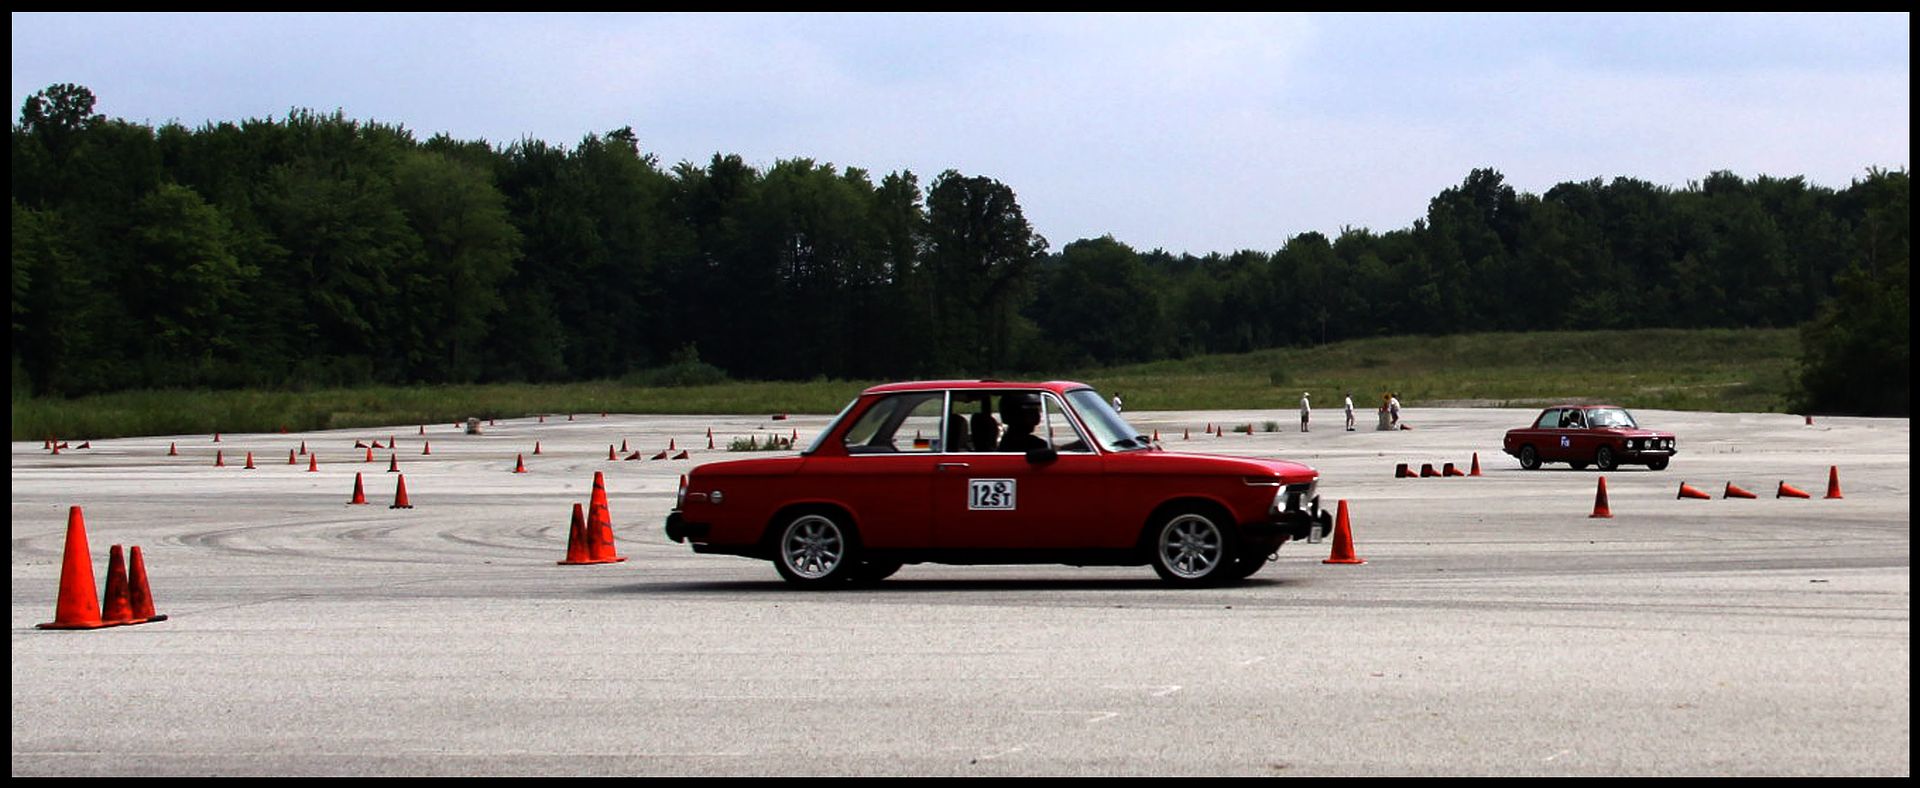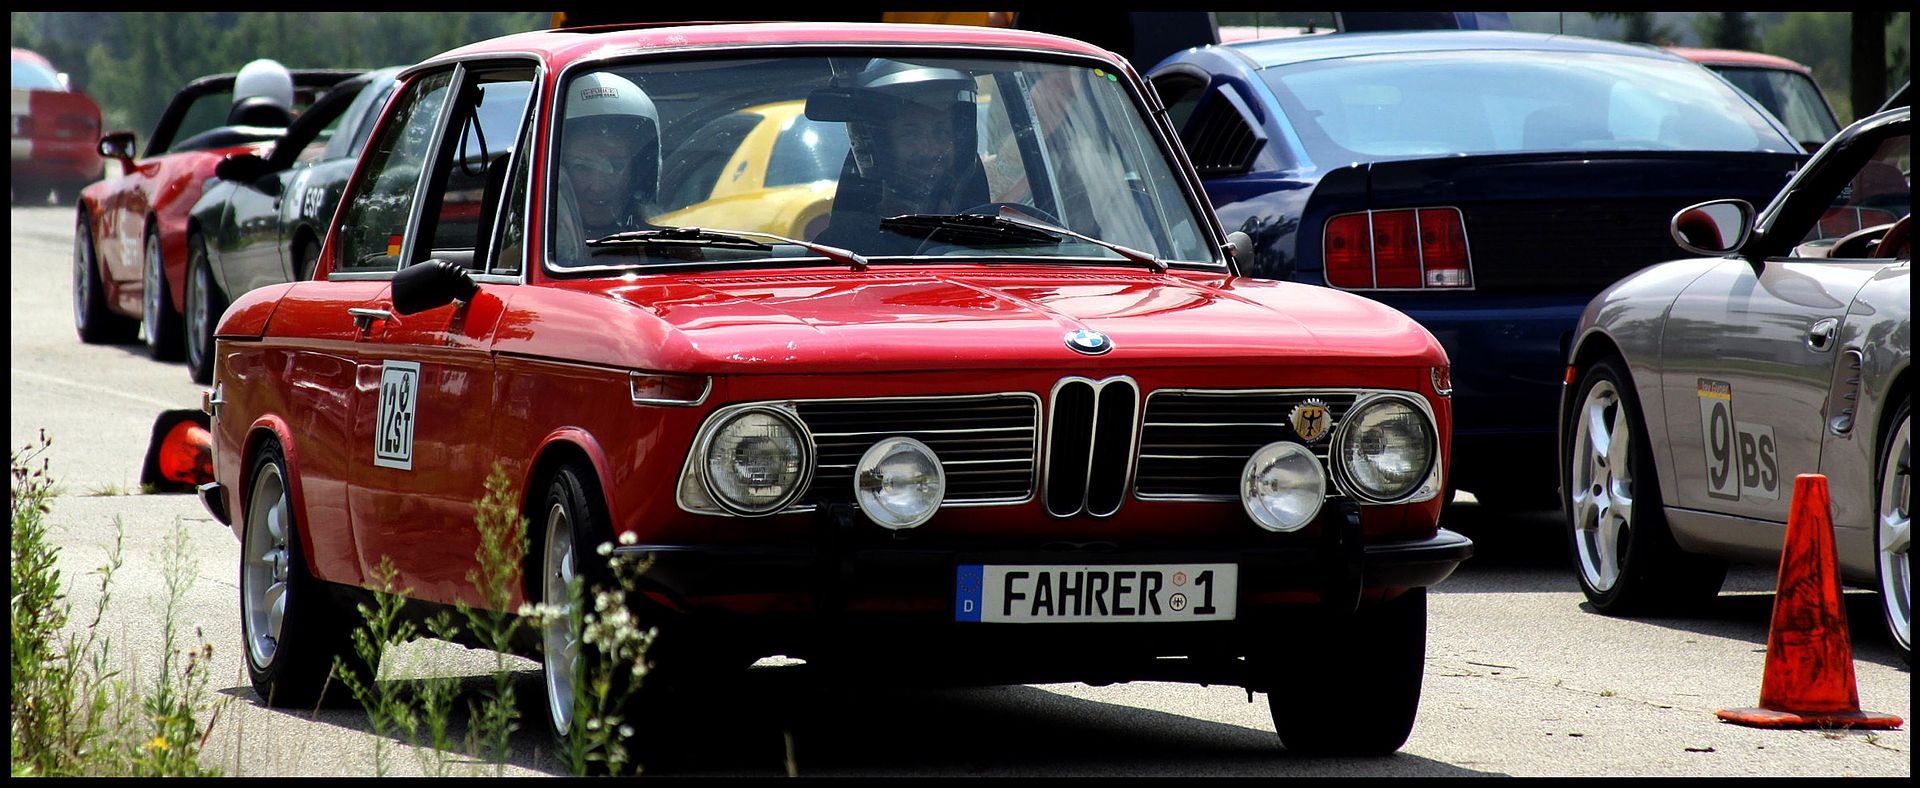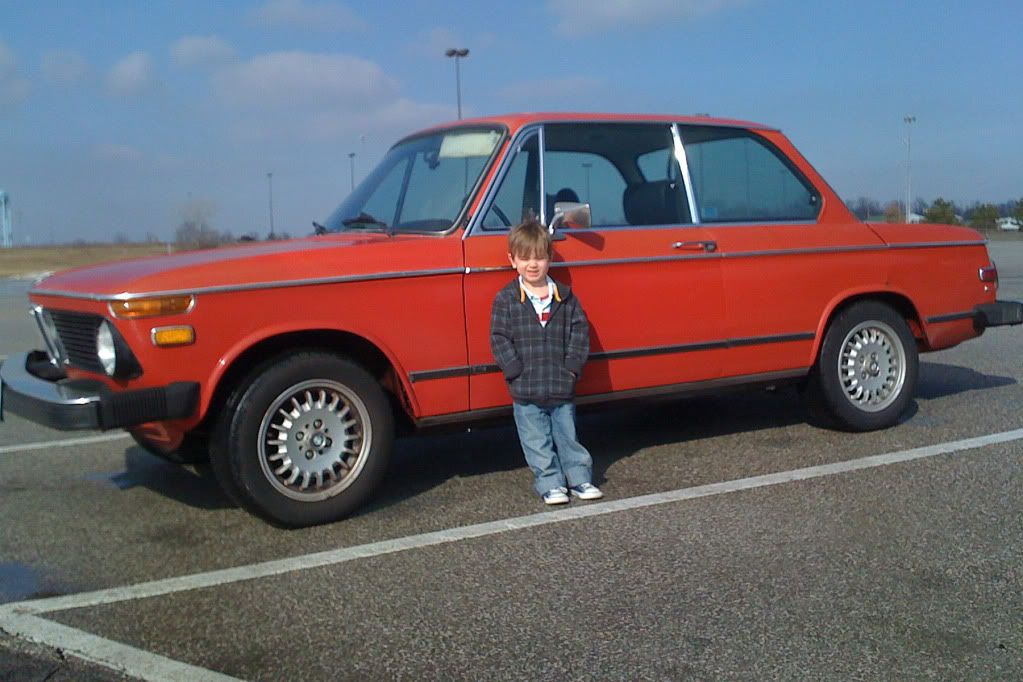
Henry and his new Race Car..

Henry and his new Race Car..
Early 2009

Monday, September 19, 2011

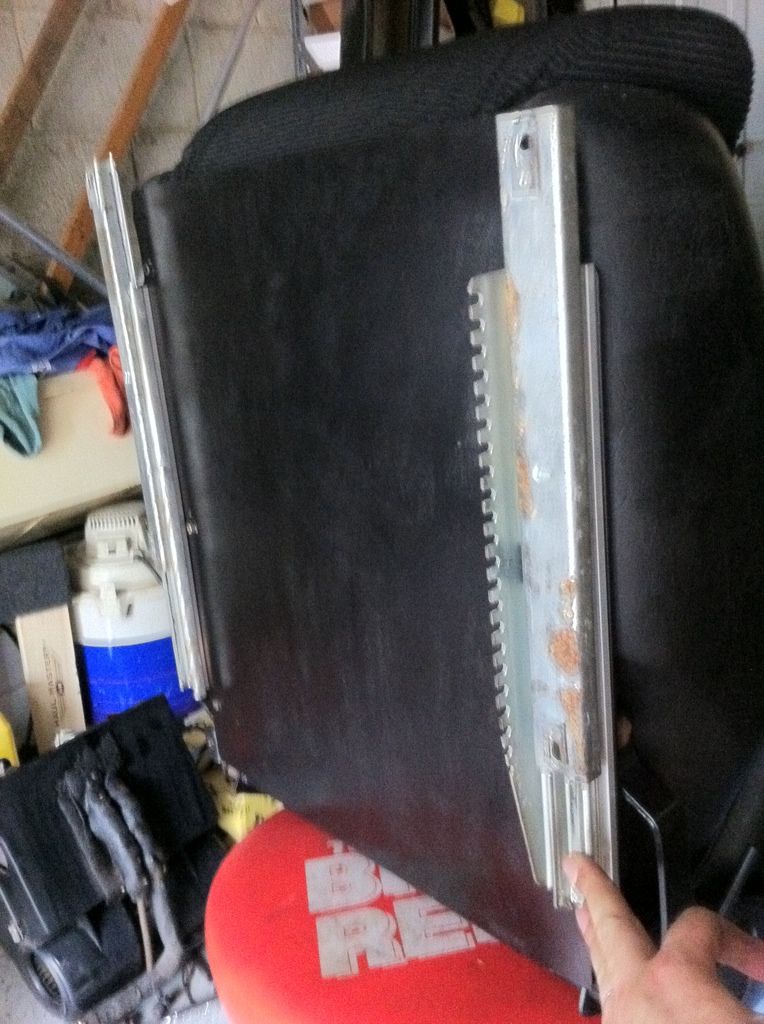
Scheel (and maybe Recaro) seat adapters for 2002.

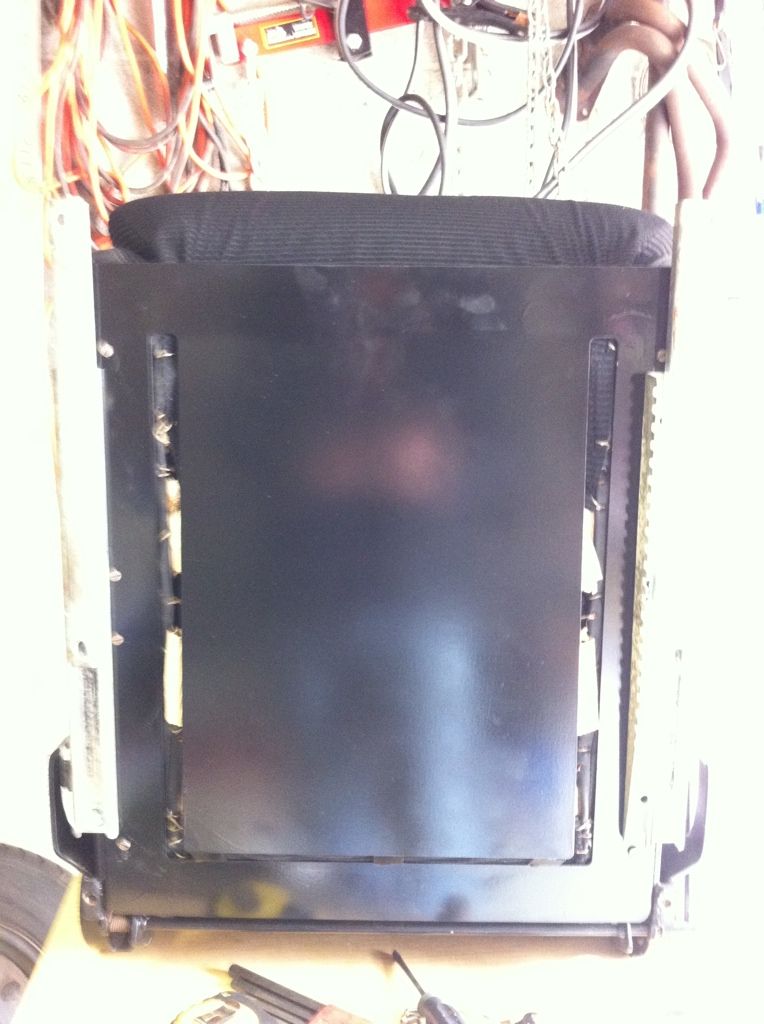
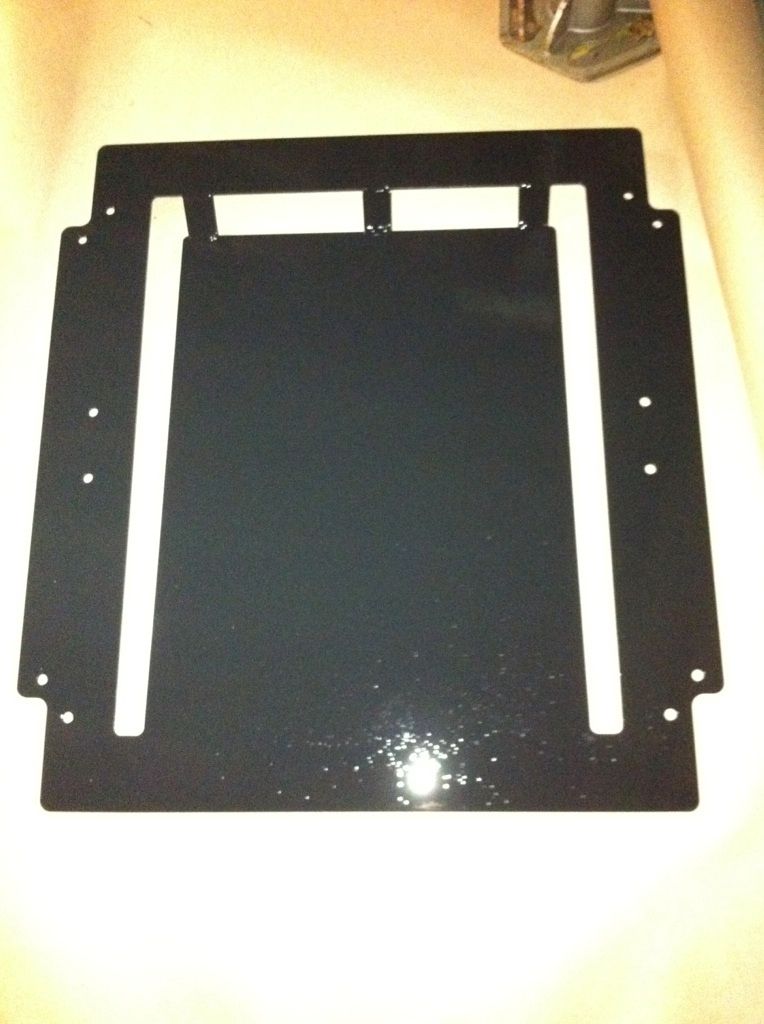
So.  I wasn't real fond of the ride height for the Scheel seat sliders with an adapter.  My dang hat was brushing the ceiling of the car..!  So I originally bent sheet metal adapters that lowered the seats to a respectable height.  But in my quest for an even lower seat height, I teamed up with a friend and made a solid solution.  After careful measurements and Jon's input while drawing up the CAD file, I had a first prototype!  Just a solid plate of 1/8" CNC laser cut.


Upon installation, the ride height was terrific.  Fit was spot on, with no modification needed.  The only issue I found was that the plate was too flat.  With the strong lumbar support of the seat back, I was actually pushed forward and the seat lacked the natural rake, back to front, that would have been present with the seat suspension under my body weight.  So a version 2 and 3 were put into motion.

I had Jon draw a hollow center bracket that would allow seats with strong webbing to function as designed.  So for guys with nicely rebuilt seats, the frames are simple and clean.
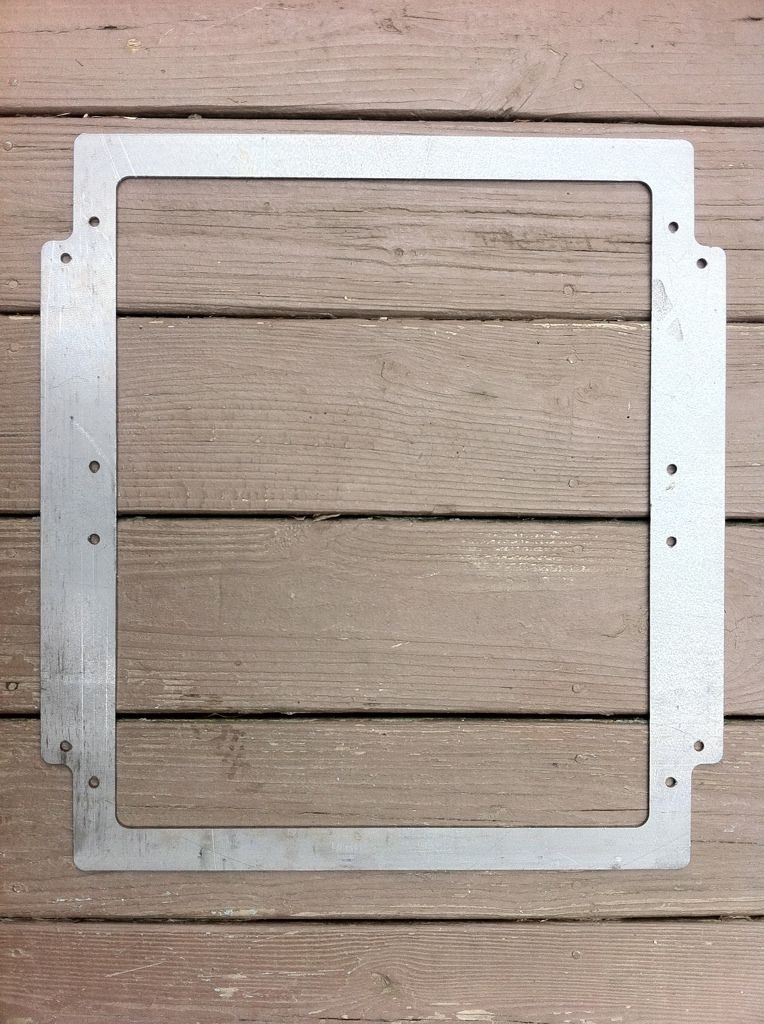


But for cheap skates like me, I needed a better design that would support the center, but allow the missing rake.  So I came up with this..
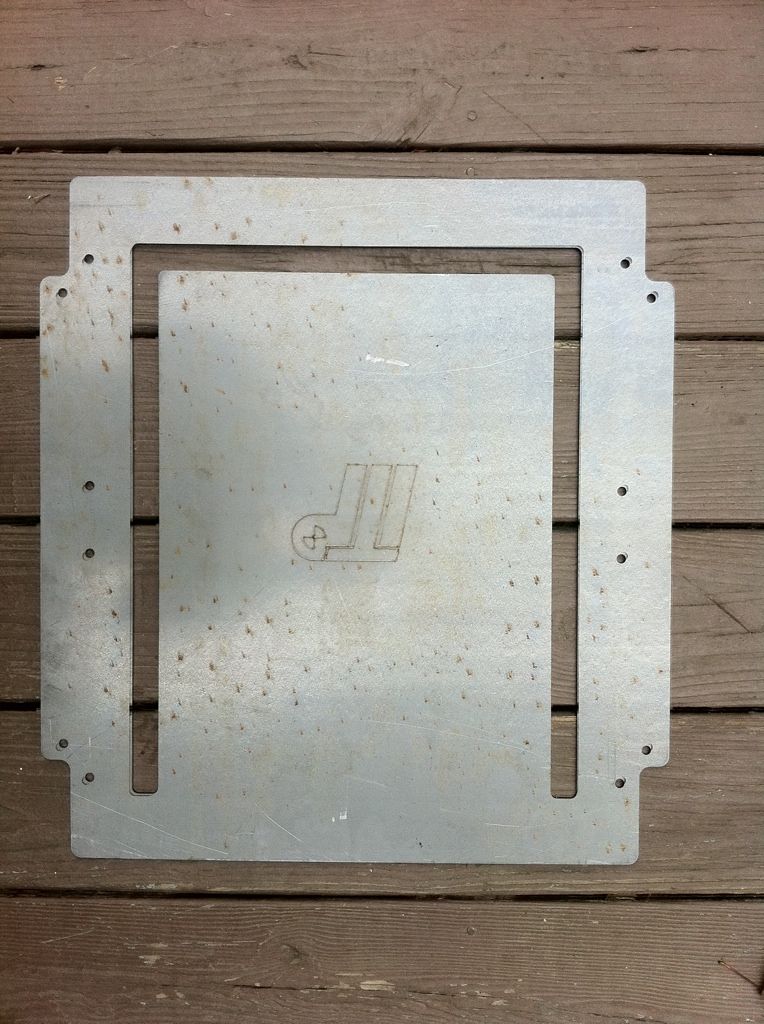

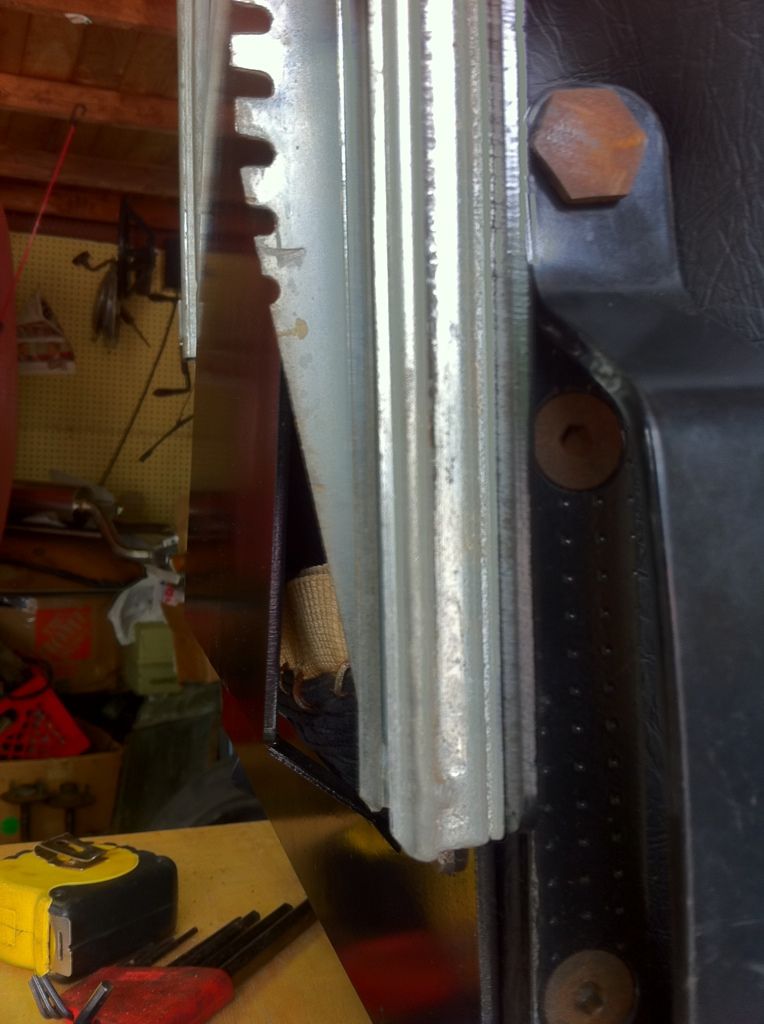
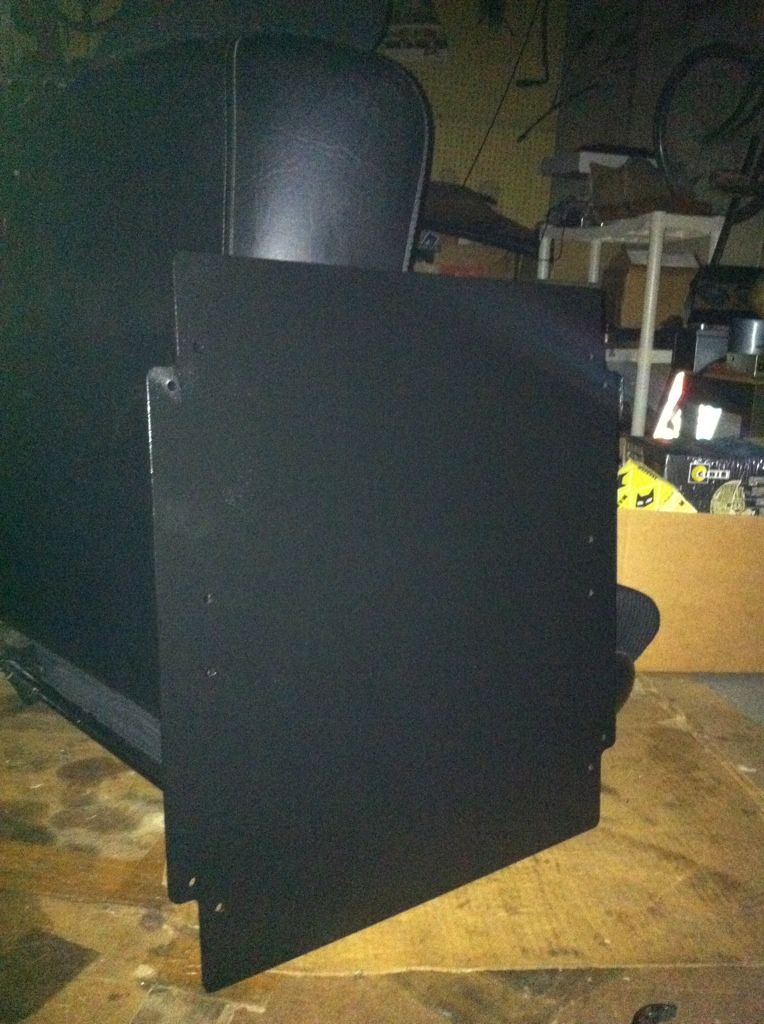
As pictured, the adapter is incomplete.  The concept is to weld in tabs on the back that allow the center to drop at the rear.  Here is the finished raw adapter.
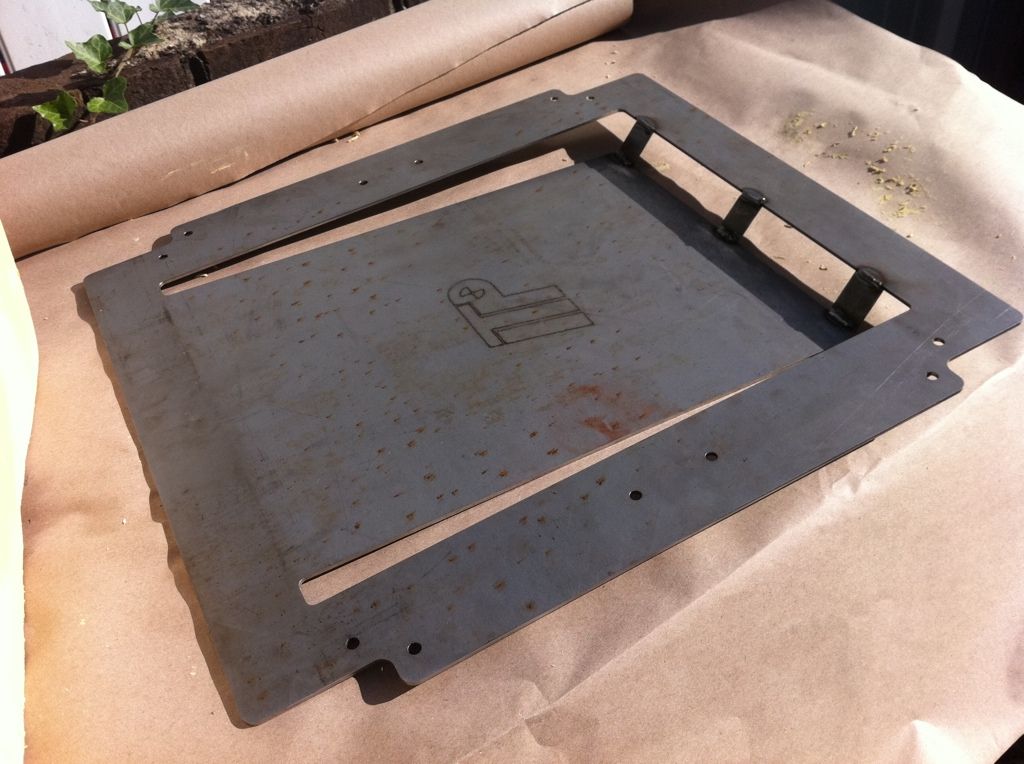


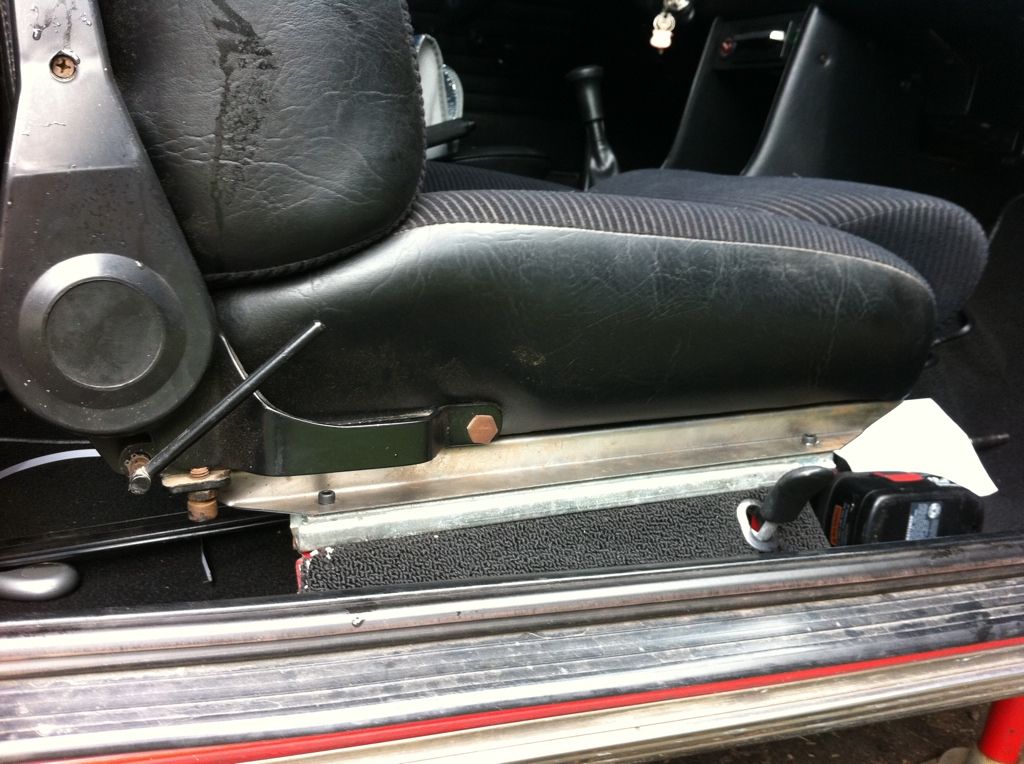
After prime and paint, the new design was shaping up and looked very promising.  Once installed, I found the slightly lower positioning to be very comfortable in the seat.  And for driving.  Simple, functional, and supportive of my tired webbing.  This design would also be bonus for any seat being that it would prevent wear on new webbing and the aging fabric of original seats.


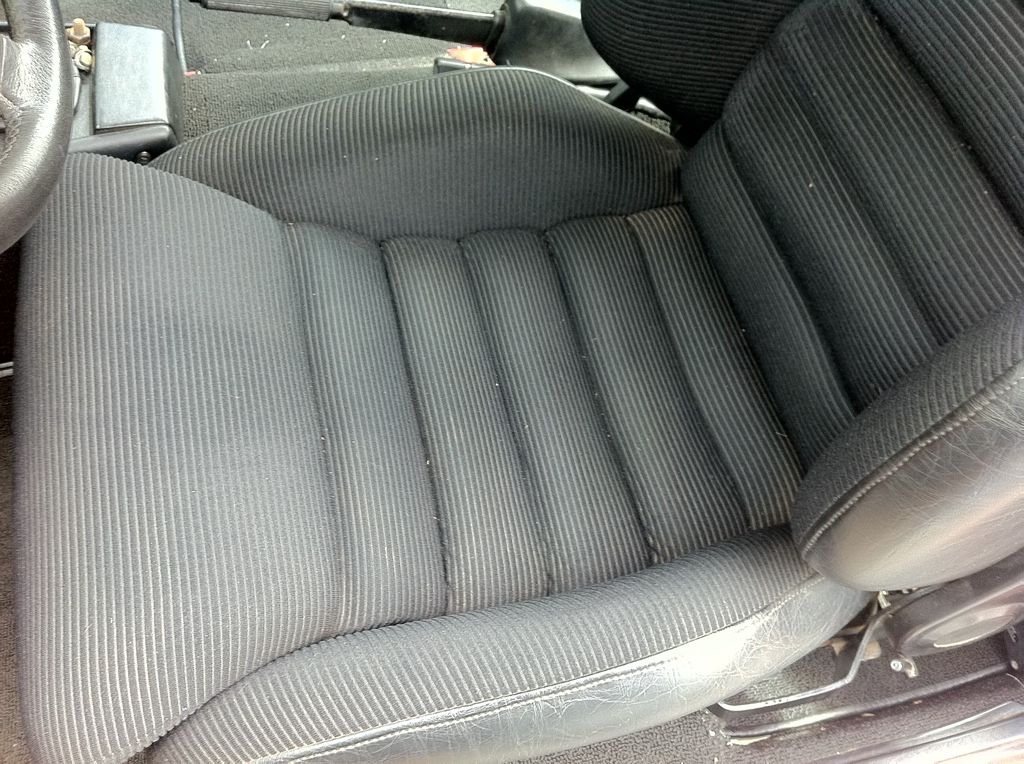
Mounted in the car and on the seat..
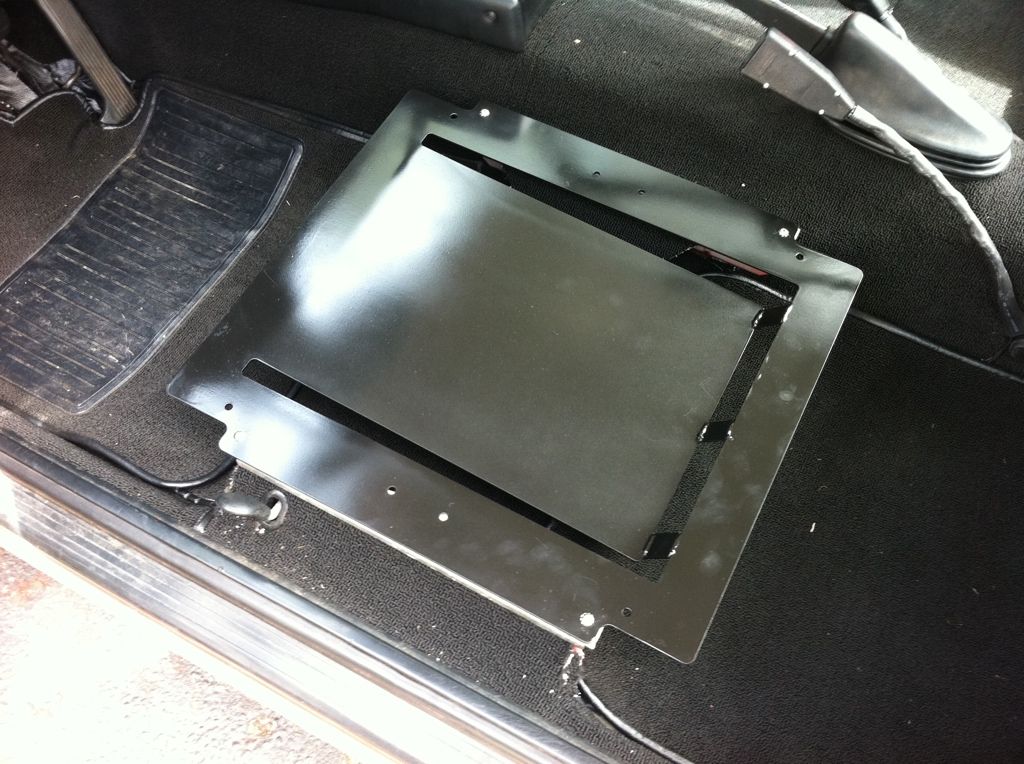


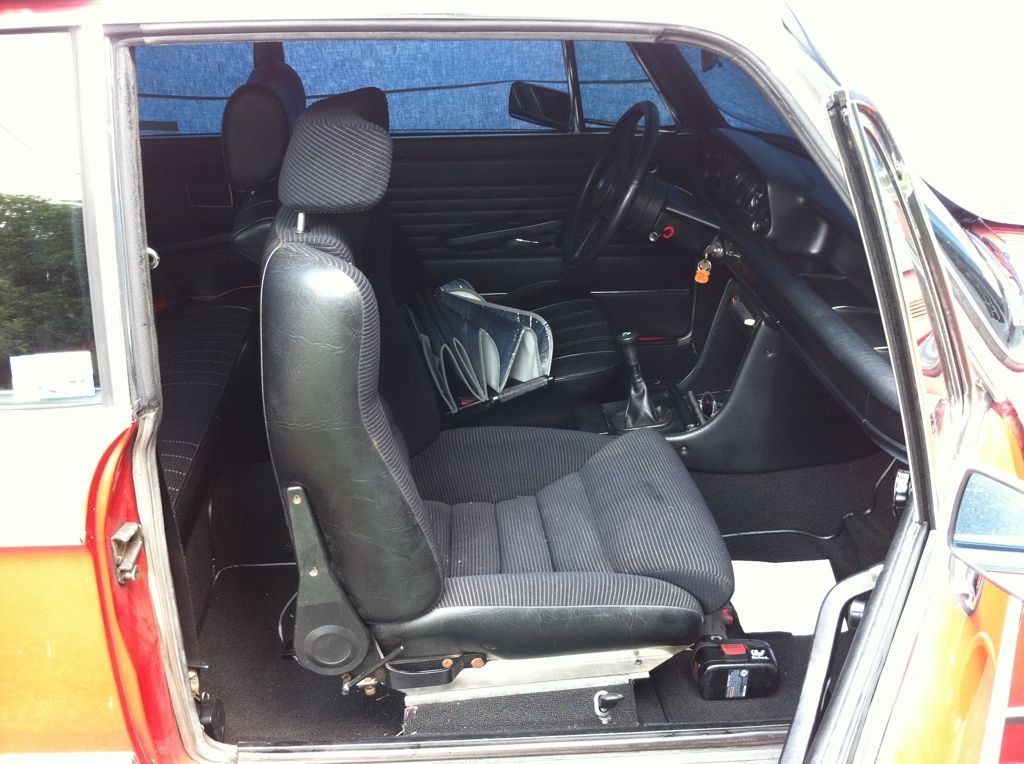
And in the car!
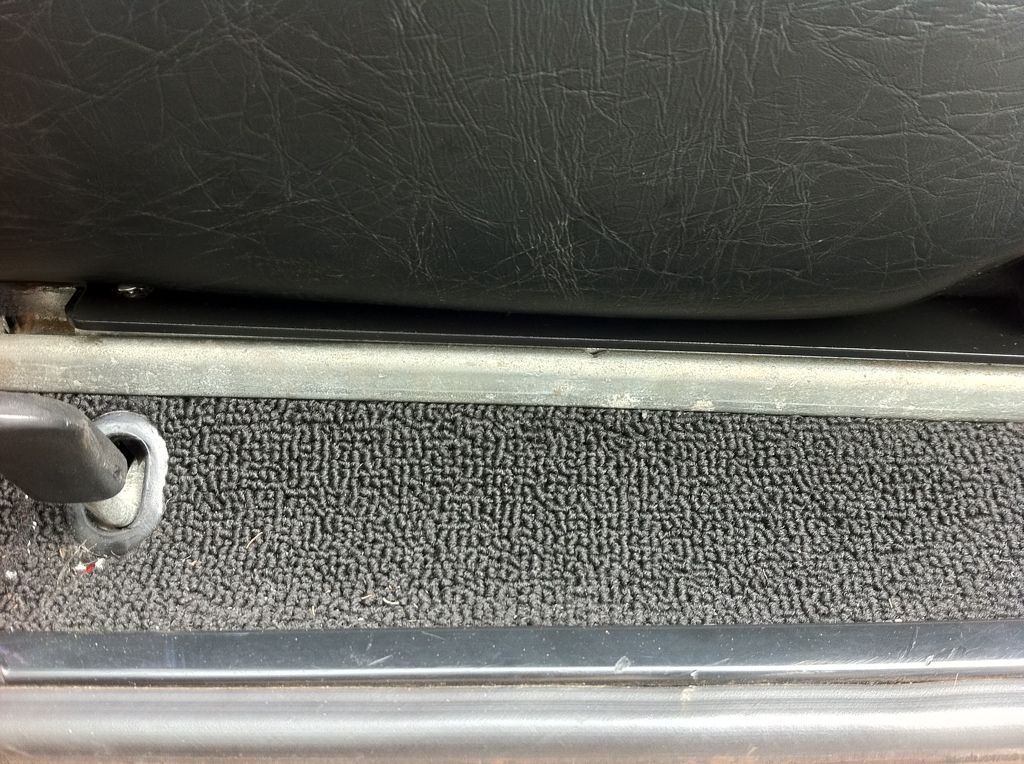


This shot is to illustrate the location of my shoulders in relation to the height of the seat back..  I am 5'10".


So in the end, I say its a GO!  with either design, I think anyone would be content.

Lets take a drive,,,,!


Monday, August 22, 2011

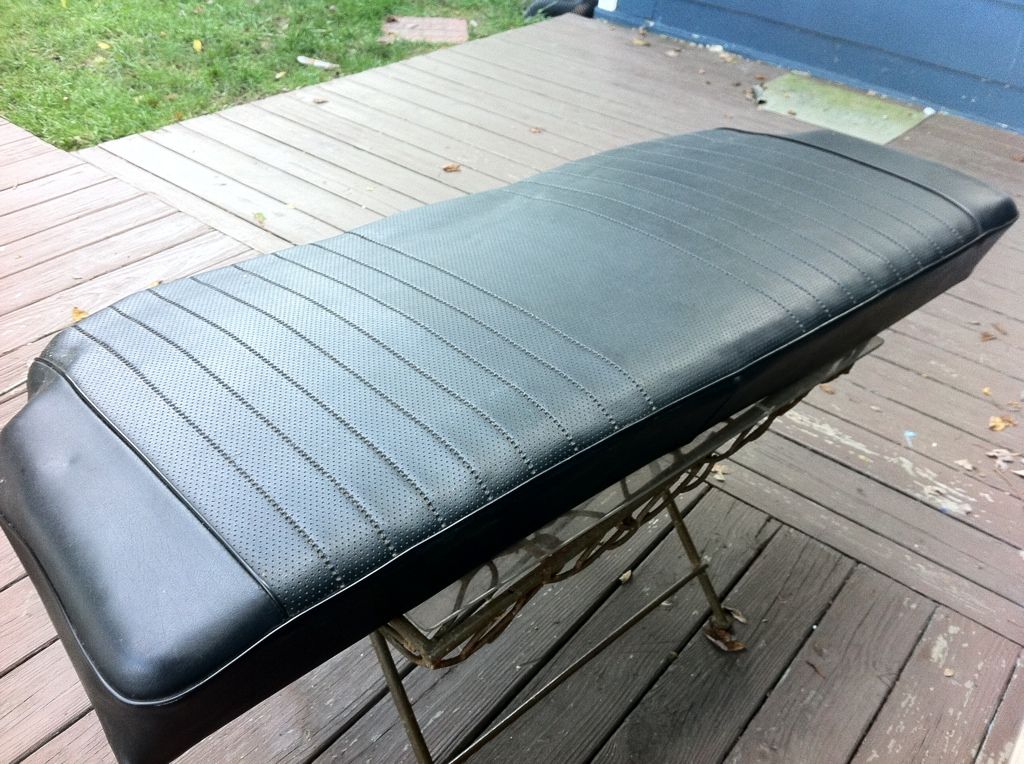
Re-re-stuffing the rear seats.

So I had a rear set from a 1973 parts car that had strong (looking) stock stuffing.  I had shoved it in the garage attic for an evening project, something like a year ago..
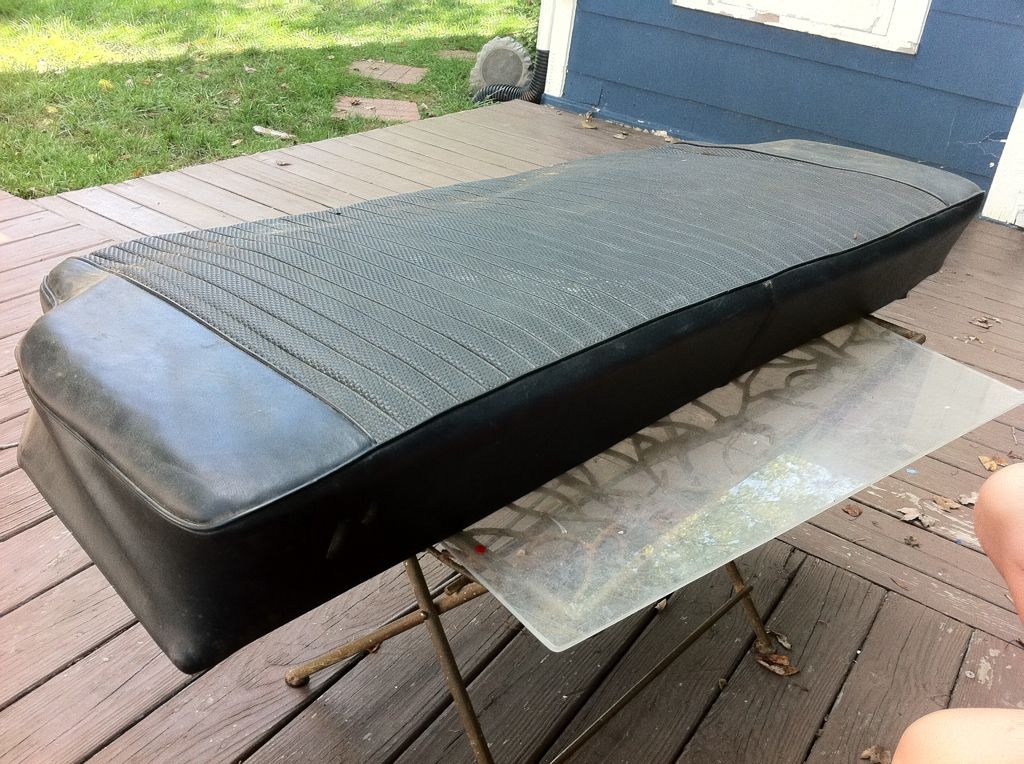
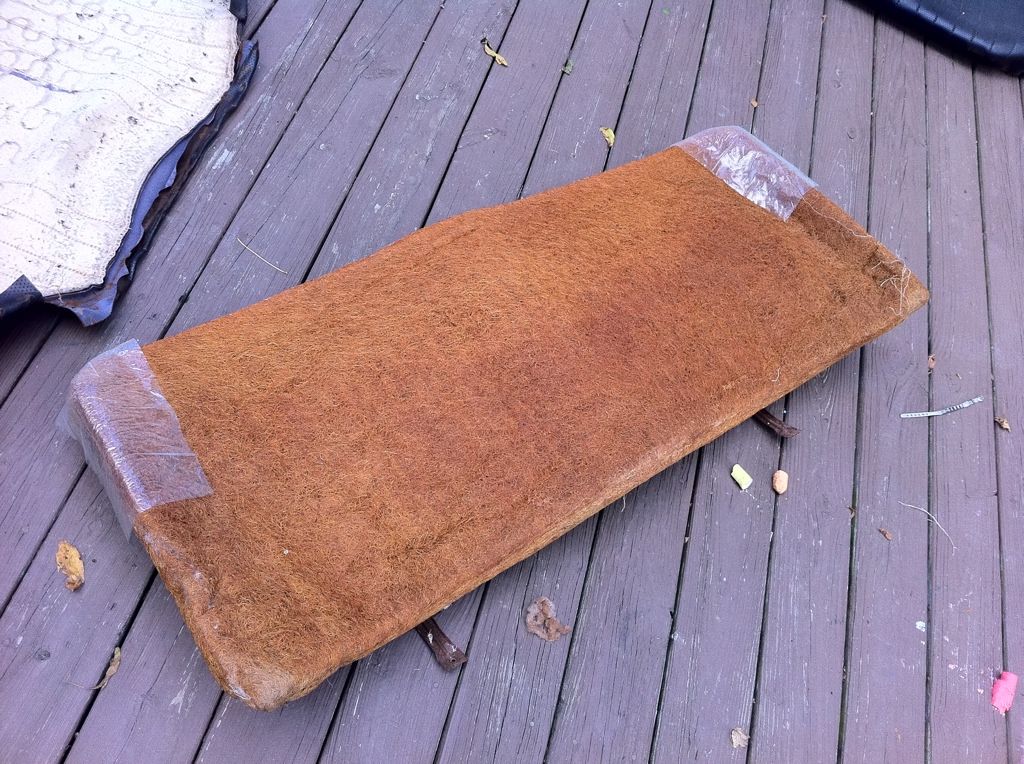
Tonight, while offering advice not he FAQ regarding my experiences using foam for the rear, I decided to break out that set and go for it.  I tore my seats back out (3 minutes or less) and pulled off all the covers.  It went real dang easy.  And the final product isn't too shabby!  My covers were stretched a touch from the puffier stuffing, but it wasn't bad.
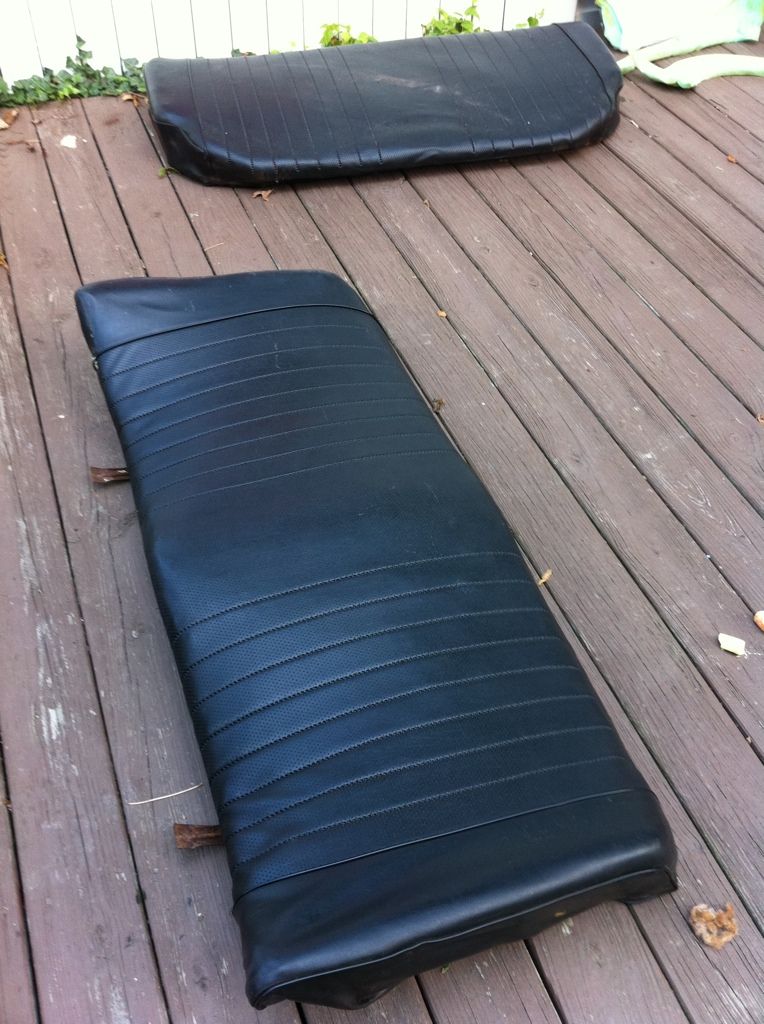
The 1973 cover..


My cover on the 1973 frame!


The back 1973 stuffing exposed.


Then add some 1975 love..


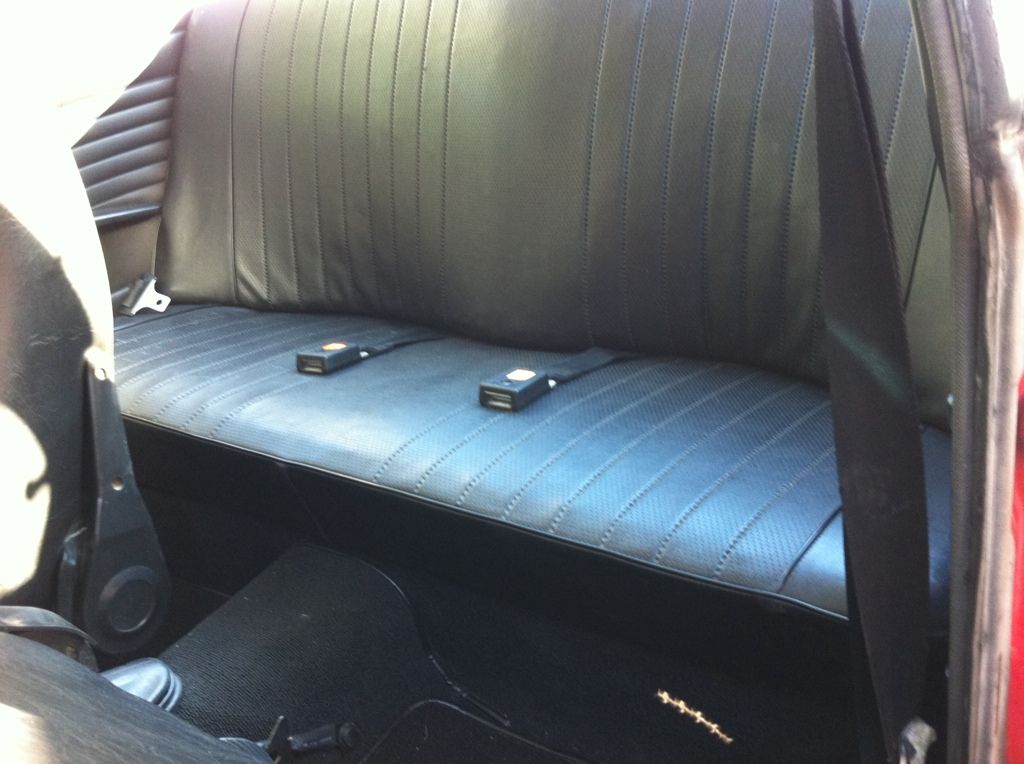
After the above picture, I went back of the set and re stretched to be sure it was as good as it could get and here is the final product.


So, it appears that it's good logic to score a set of early seats and reuse the entire frame, with gummihar stuffing, and wrap them with the later '74-'76 vinyl.


Cheers!


Monday, August 8, 2011

The Gummiring and AutoCross weekend in Akron.

Drove to see friends in Northeast Ohio.  They put together a good driving route and after party.  Thanks to BJ and Mae Barbieri and Mark Cartechine for a great time!!!

A few pics..


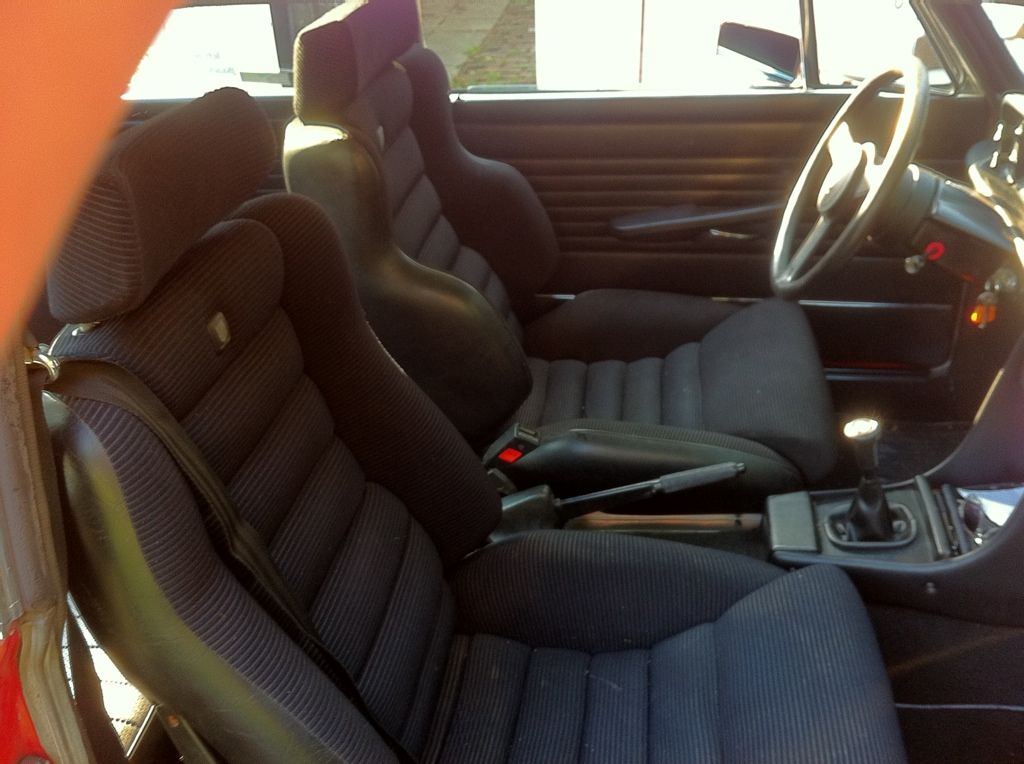
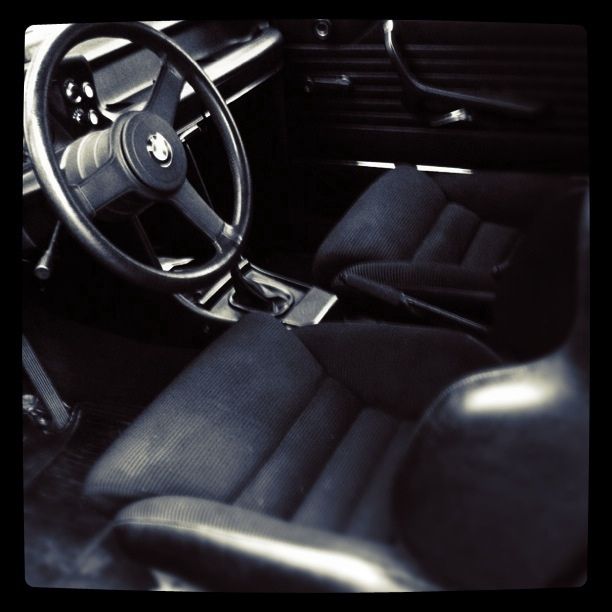
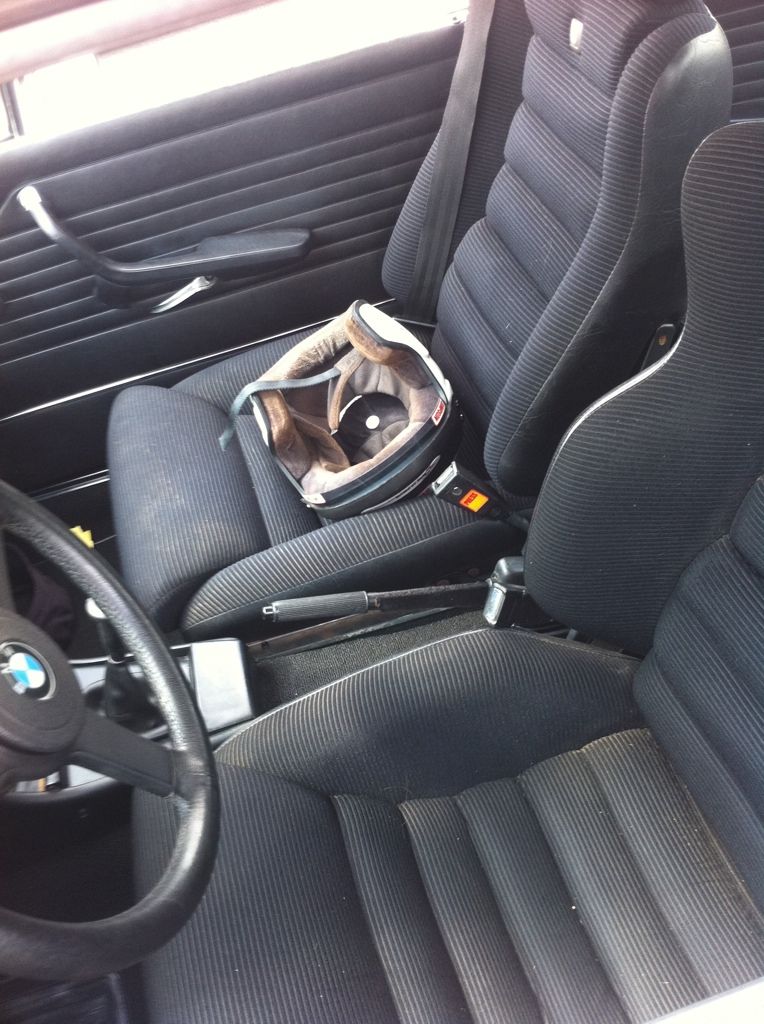
Scheel Mann Seats

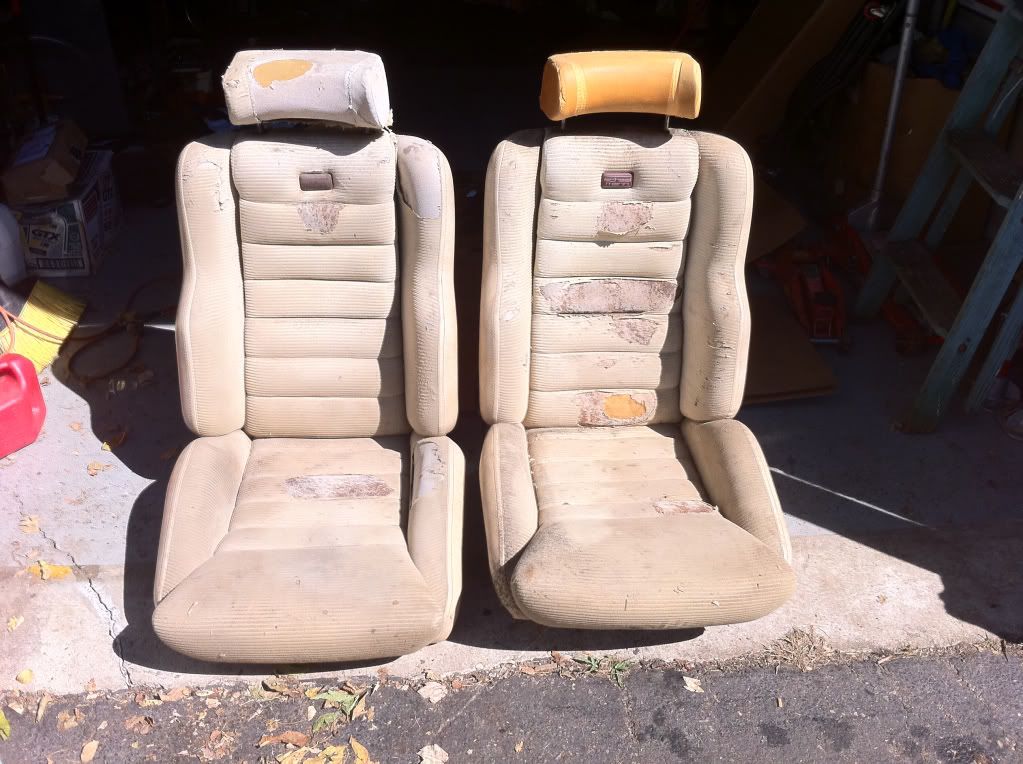
So, I have been on the hunt for the right set of Scheels for over a year.  I bought a set in a parts lot for 100 bucks, and being that I needed another 1400 to get them recovered, I just stored them for 6 months or so.. But before I could get to that point, hard times hit and demanded a sale.  I posted them, and they old in minutes to a forum member..


Then this spring, I found a set of Scheel seats at a great price in Seattle.  Had them shipped to Cincinnati, only to find that they were way too aggressive and narrow for my fat AZZ.  So, I sold them to Lance White here in Cincinnati.. Which funded the next move.


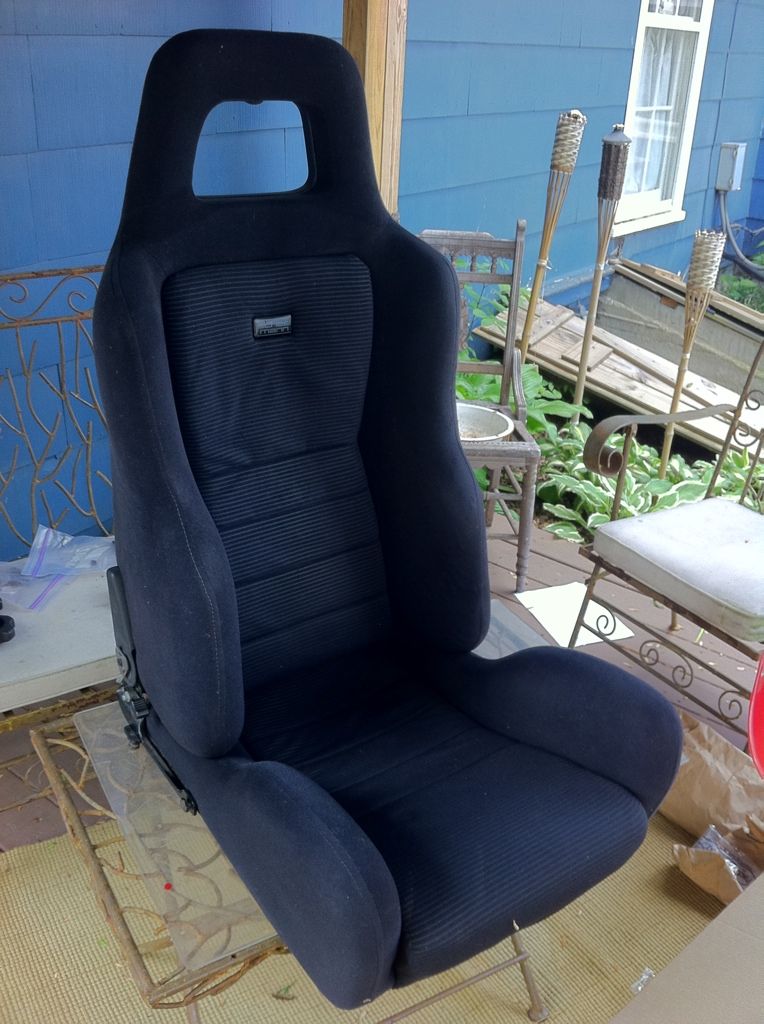
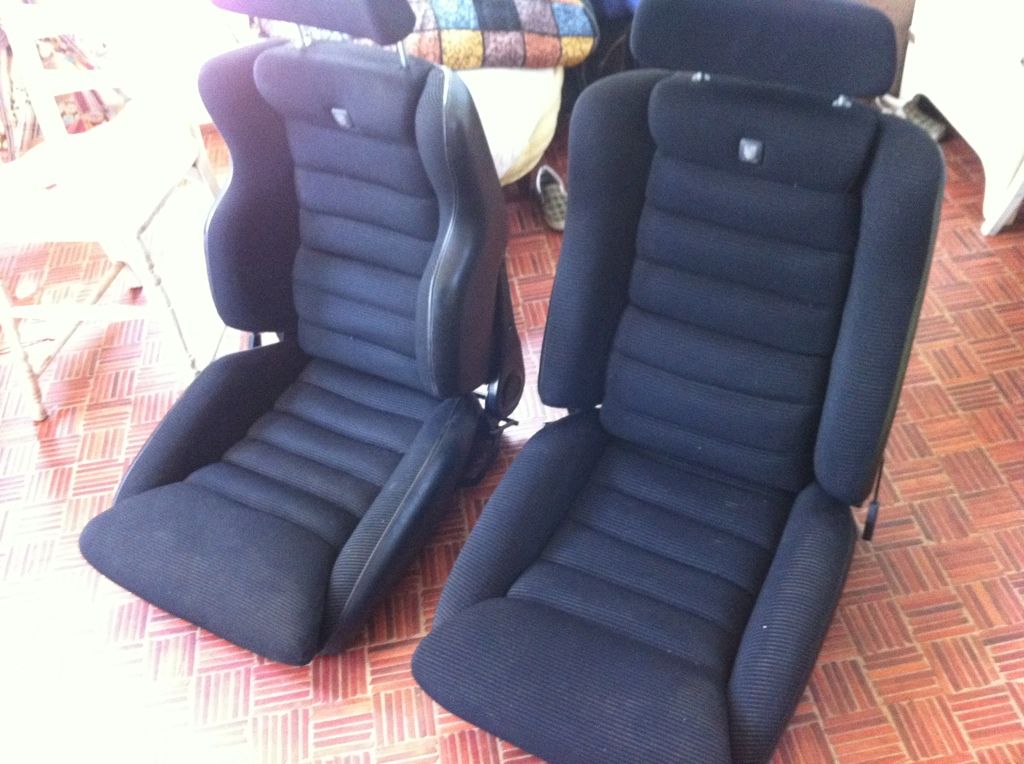
And then in a desperate Craigslist search, I found the PERFECT set for my build..

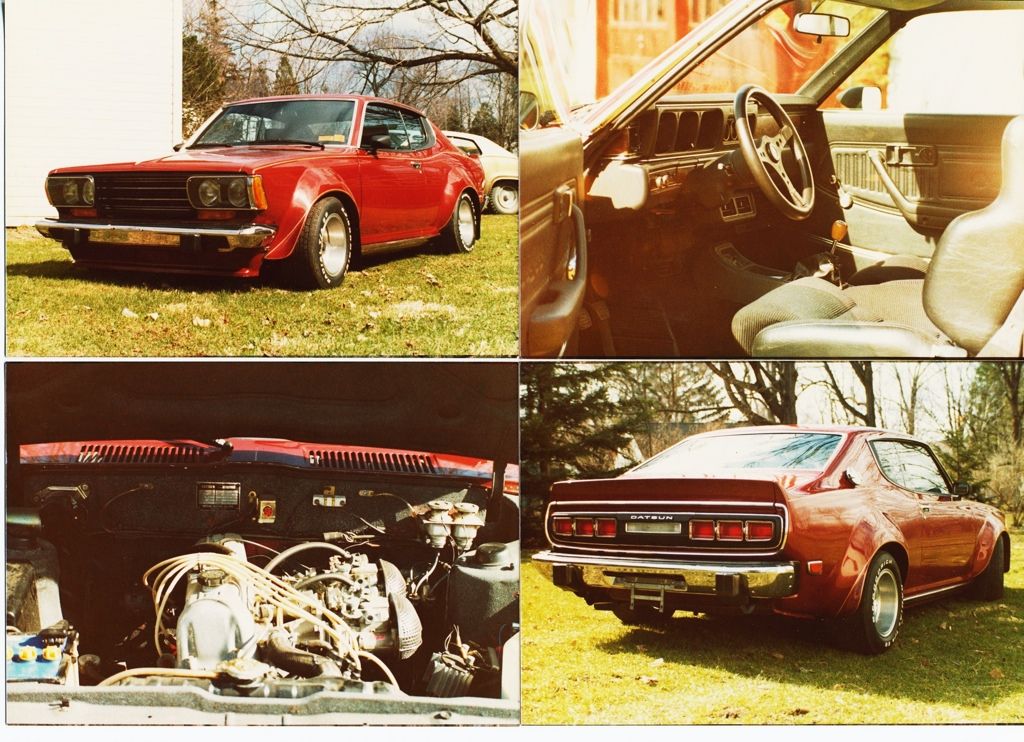
Originally purchased in 1975 for a custom Datsun 610.  The original owner ordered one high bolstered seat for the driver side, and an aesthetically matching, low bolstered passenger seat, for the comfort of his girl..
When he sold the car in the early 80's he pulled them when he sold the car and put them in storage until he posted them for sale in 2011!

Here is the car they were originally in:


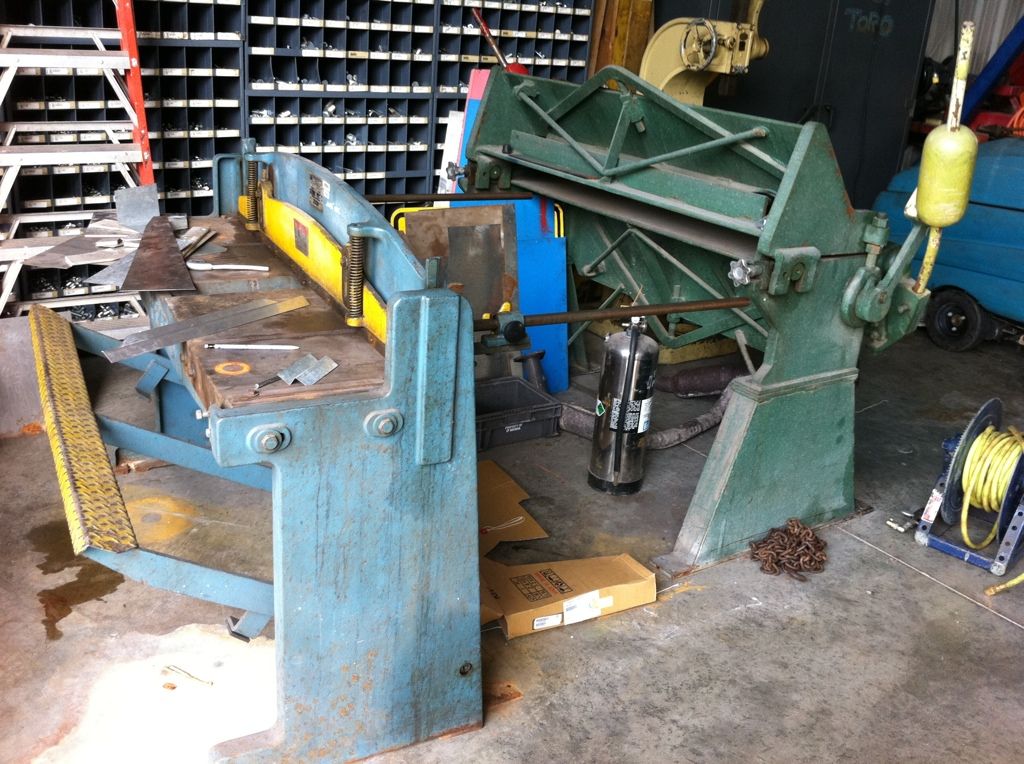
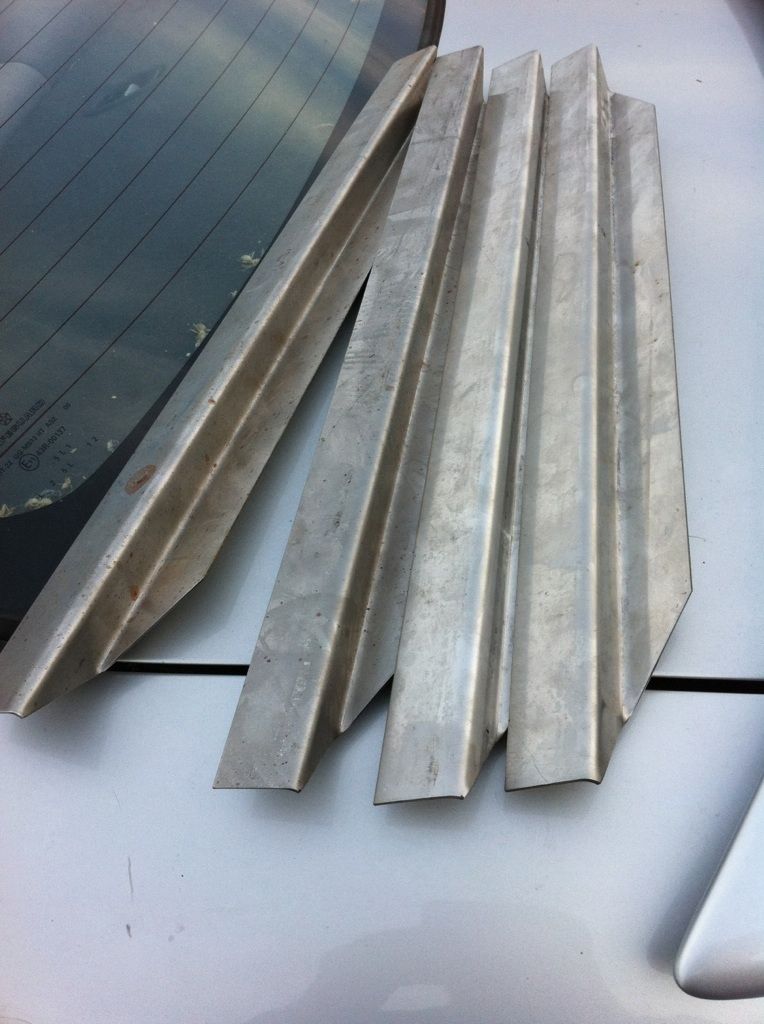
Being that the new seats are narrower and deeper, I had to fab adapter brackets.  So I found a local guy with a sheet metal sheer and break, and then went to town on an eight dollar piece of stainless that I picked up at a scrap yard.


Now they just need a good steam cleaning..


Front End Goodies!

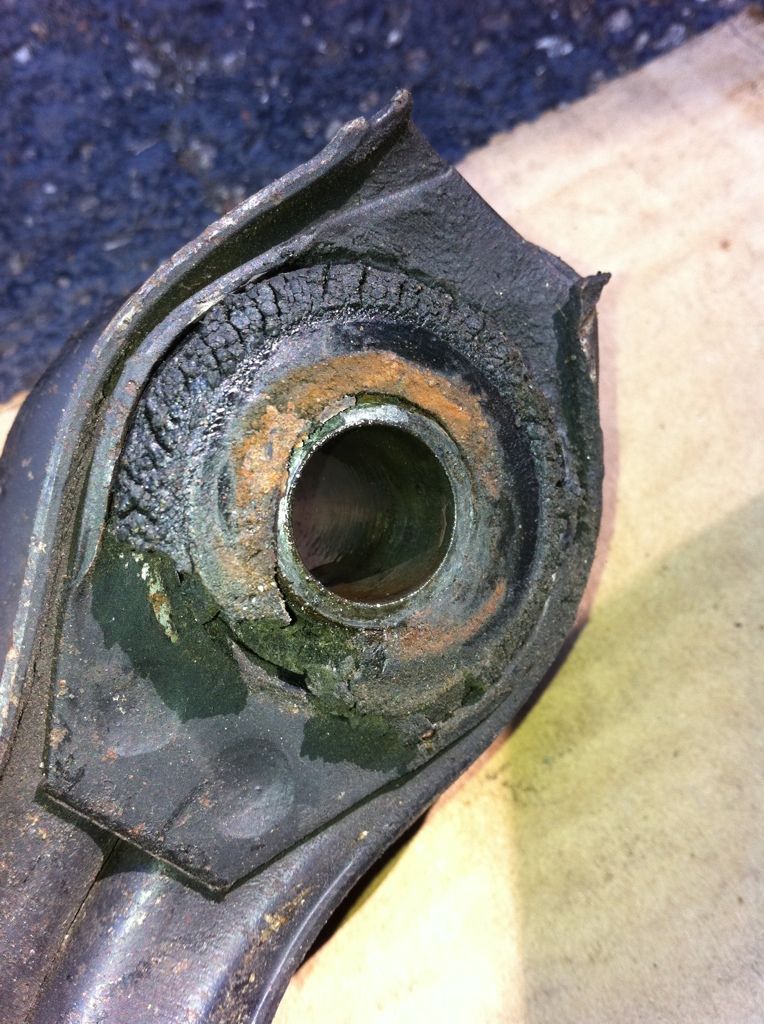
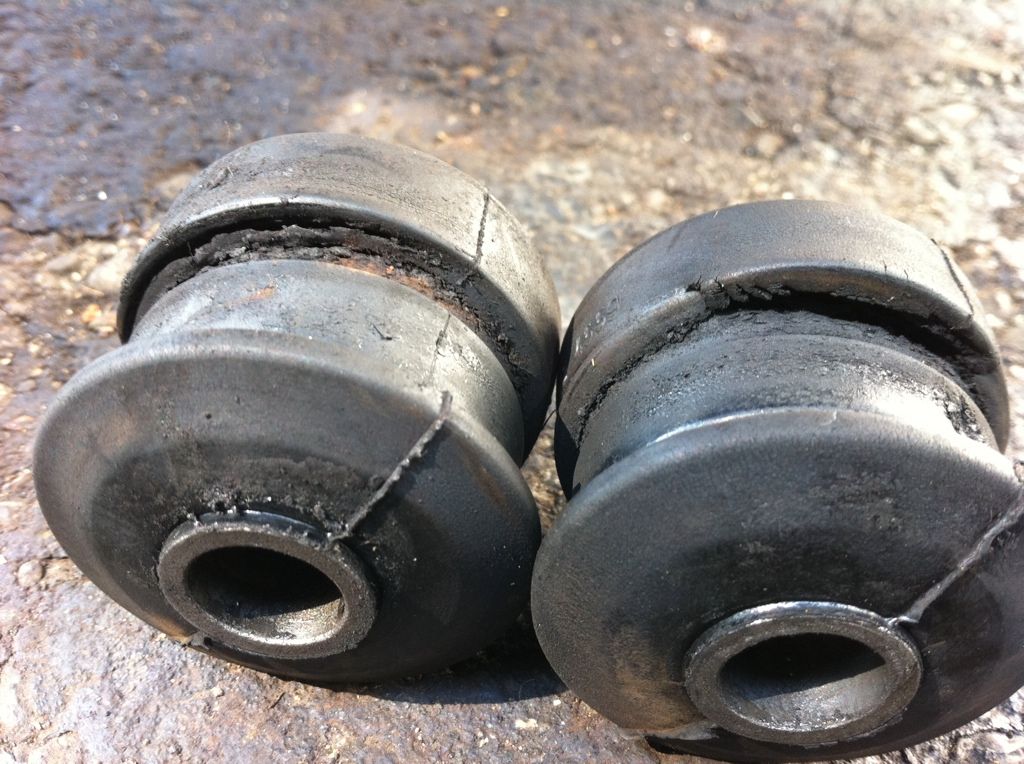
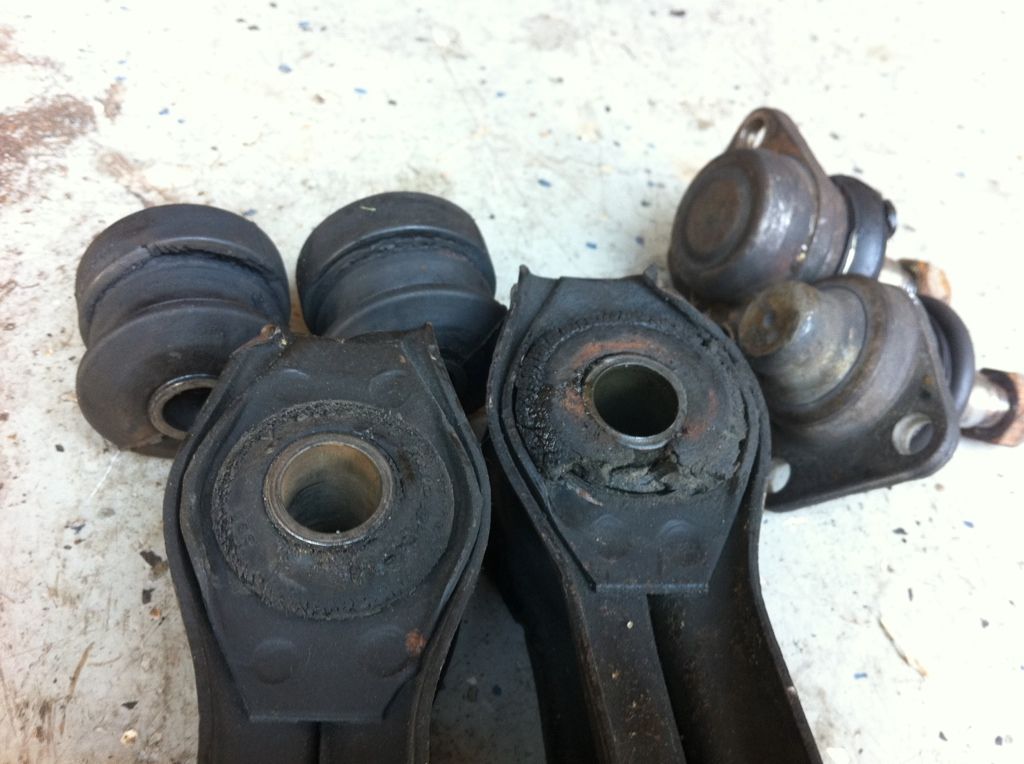
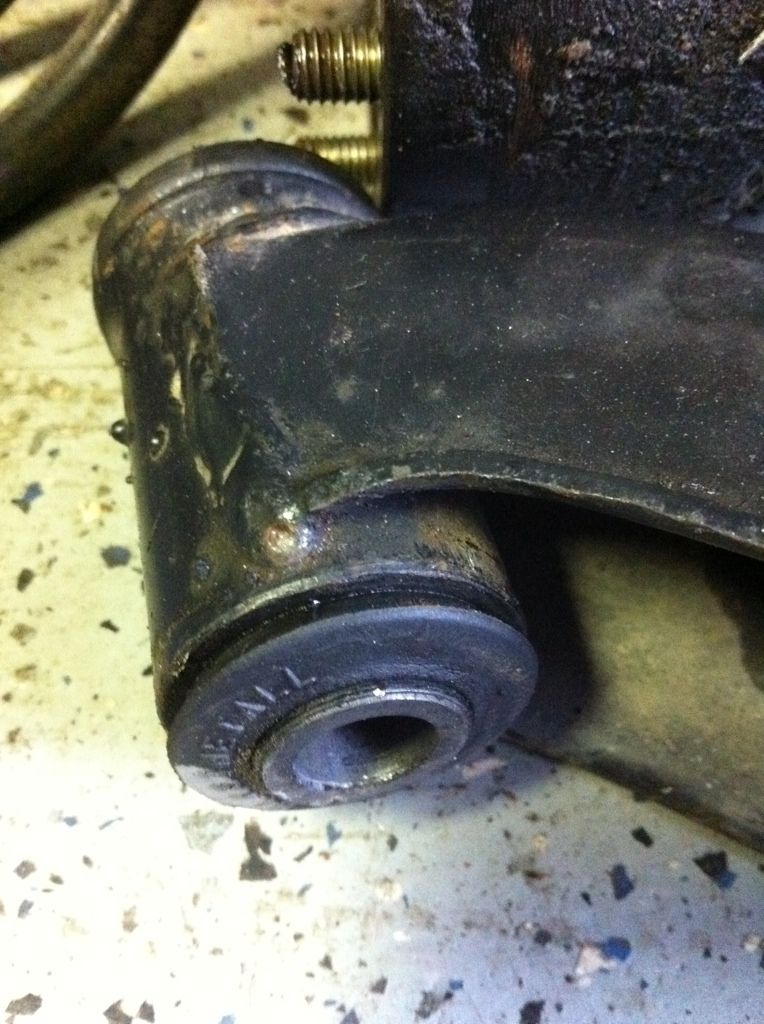
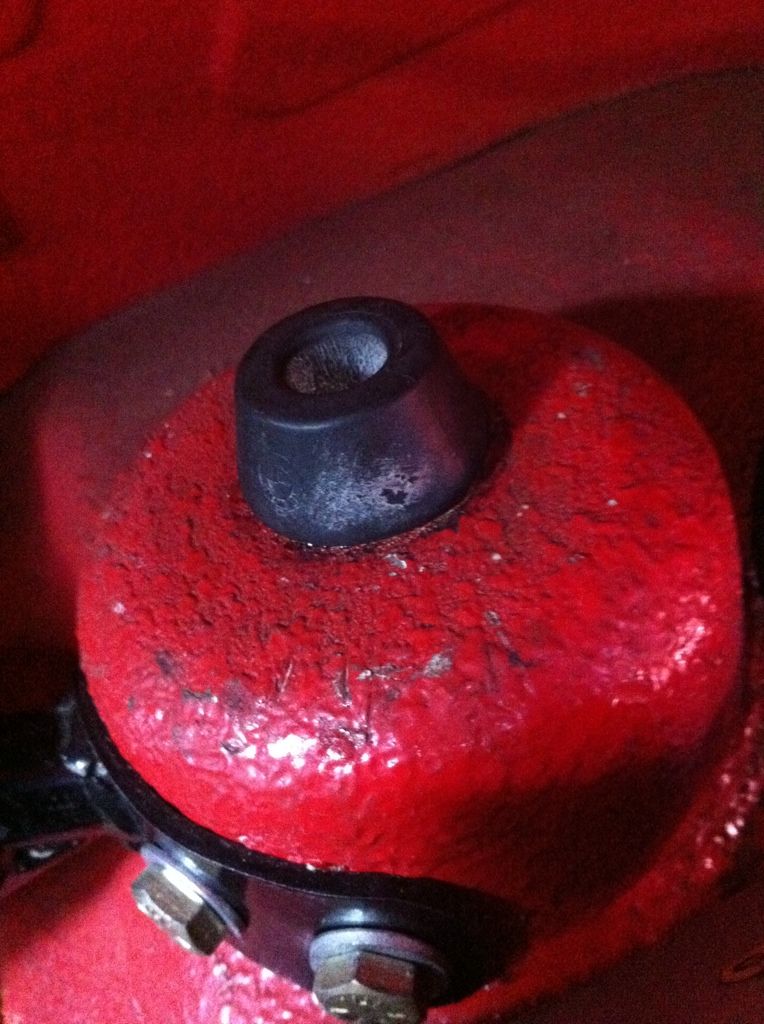
Over time I had replaced a few of the steering bits, and the strut bearings.  But the rubber in the suspension hadn't been touched, and boy was it due!  Take a look!


The car had been a daily driver in a past life, so bits were replaced as needed I suppose.  You can see it was a bit of a mixed bag.

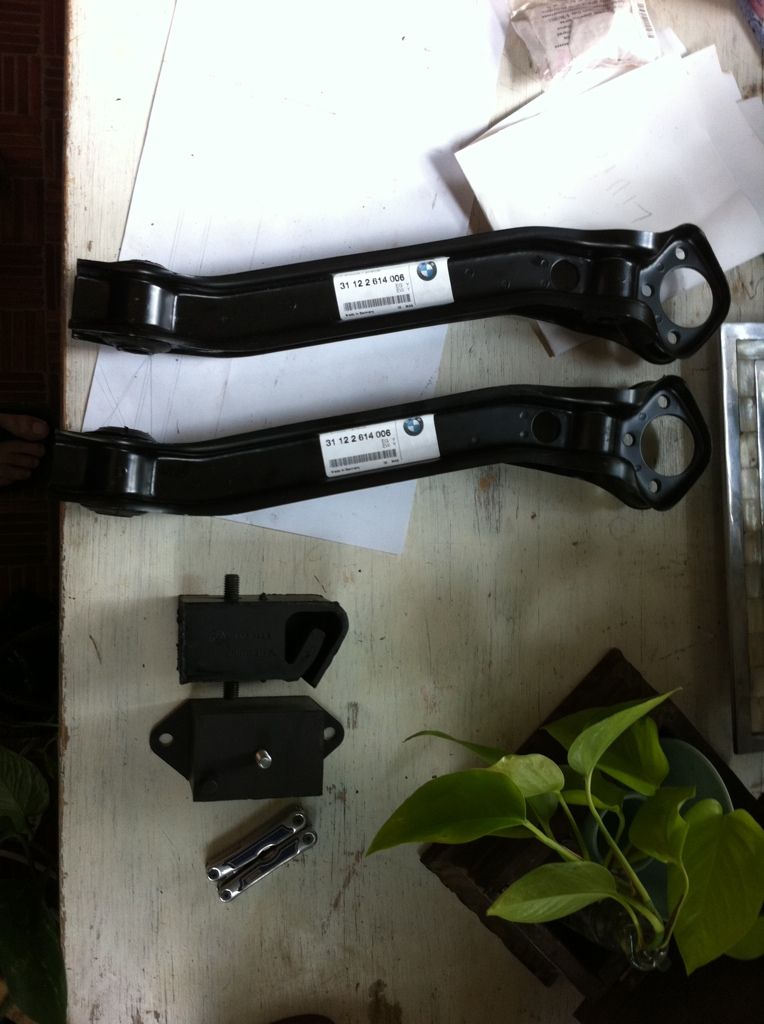
So I got down a dirty and replaced these with parts from my dood Steve aka Blunt.


Removing the compliance bushings is a breeze.  I lower the front of the sub frame by loosening the six bolts so it dips down in the front an inch or so.  Then just stick a 12" socket extension in the sleeve and push down..  out they come!  
Reinstalling is a bit trickier.  I used two coil brackets and some left over all thread/washers from the rear end work and it was a painless event.


In the end, the difference was actually quite amazing.


Friday, July 29, 2011

Rear Trailing Arm Bushings

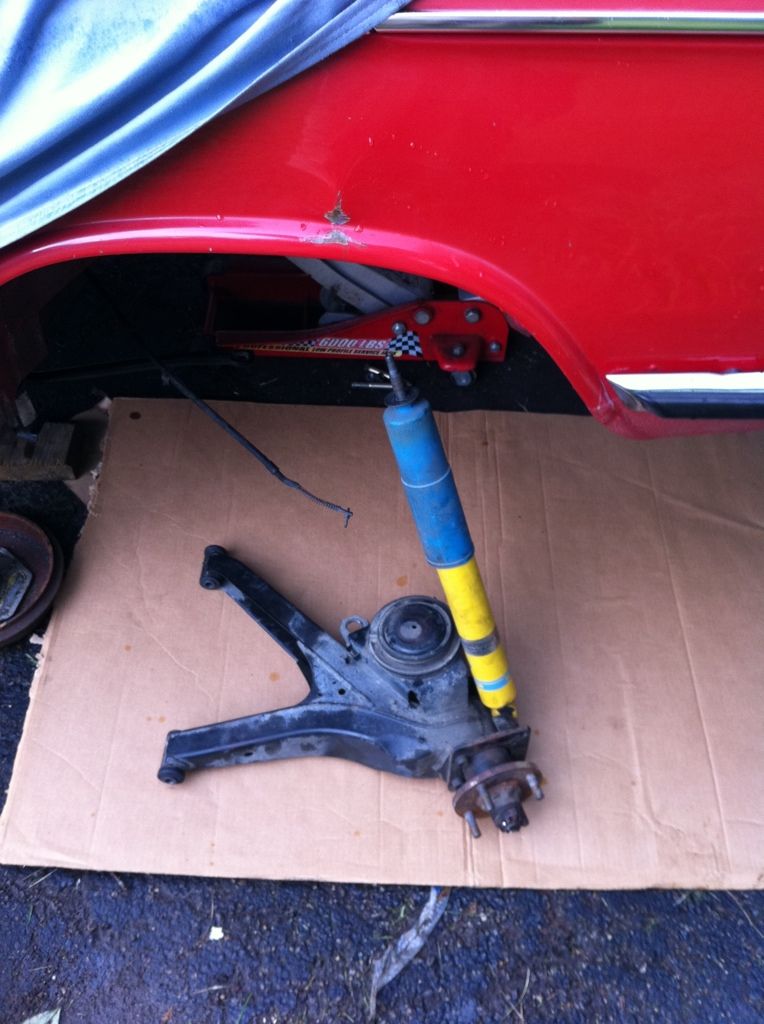
So, after many a visit to this region of the car, and none of which having to do with moving suspension parts, I finally decided to go to town on the rear trailing arm bushings.  I had the new bushings sitting on the shelf from last years rear bearing parts purchase, so all that was left was to DO IT!!!

I had had a chirp coming from the rear of the car for quite some time. It was most evident to me when coasting at low speed and there were humps or bumps on the road.  I could never find it, until now.


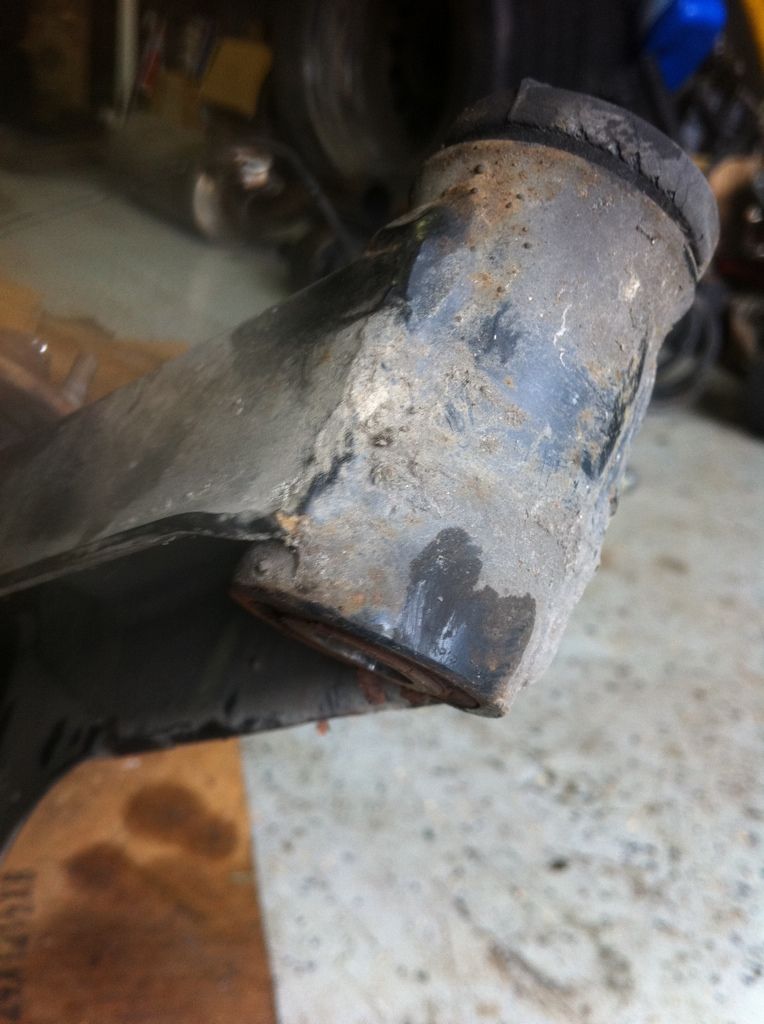
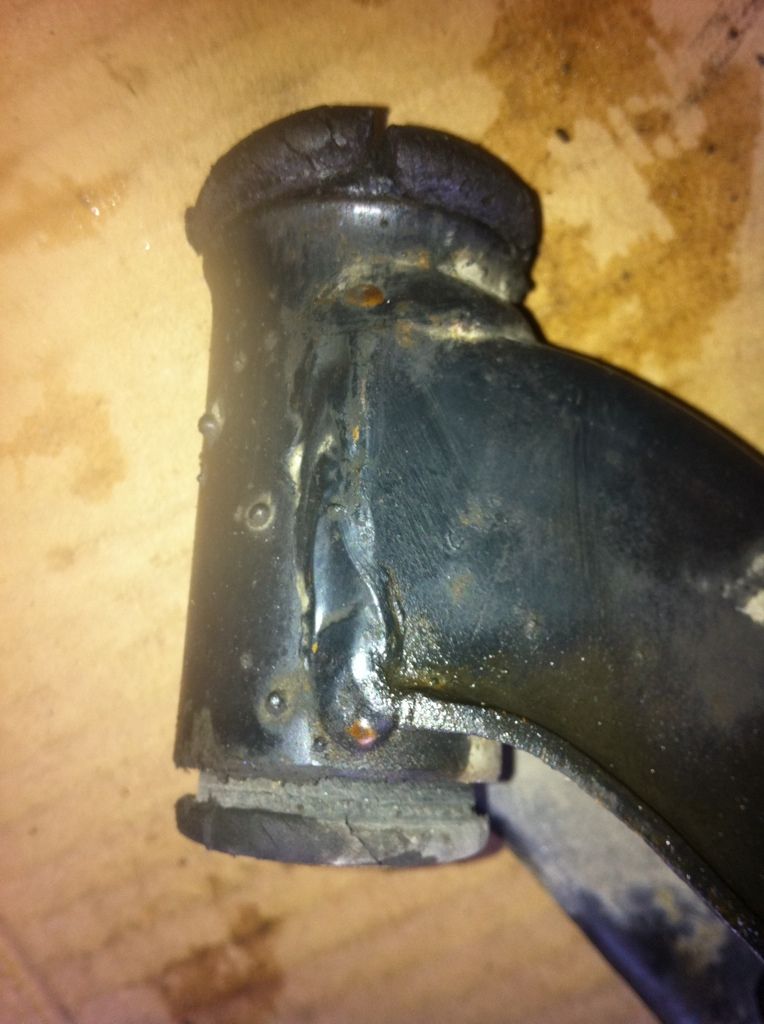
The metal of the sub frame was rubbing on the trailing arm, and during compression, it would produce the chirp!

These were long overdue...


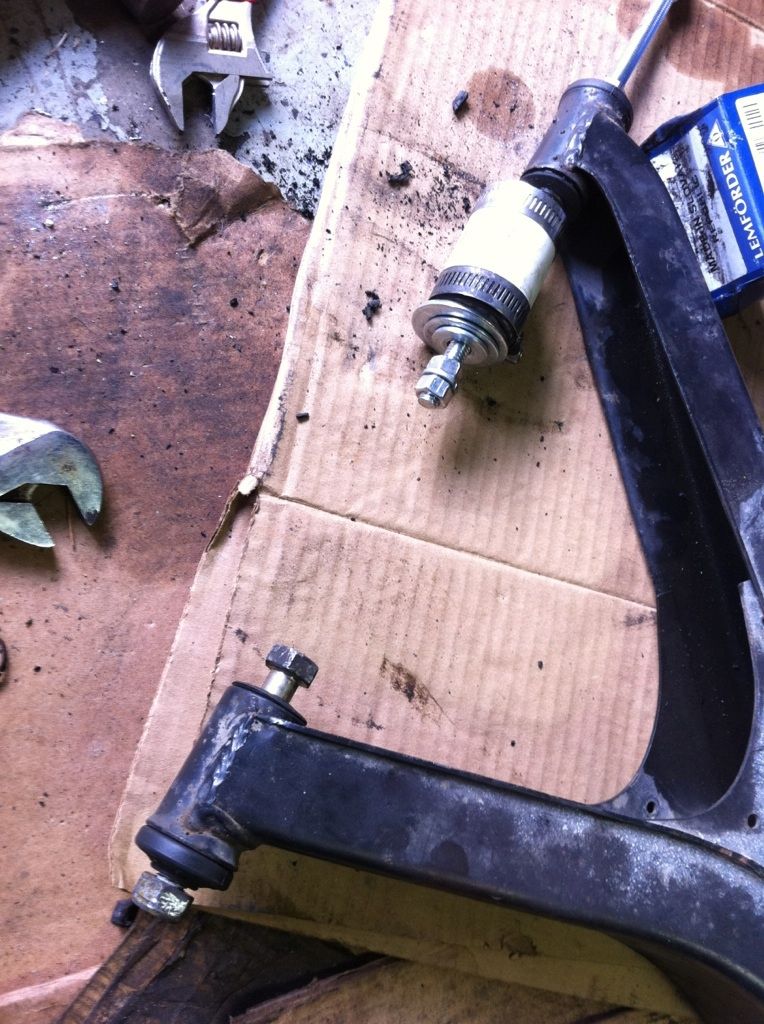
I made a removal/install tool for the job.  And even with a 20oz. Coke in the mix, it all cast less than 5 bucks..

3/8" threaded rod
5 X 3/8" nuts
2 X 3/8" lock washers
2 X 3/8" flat washers (25mm outer diameter to push the old bushing out.)
1 X 1/2" flat washer
1 X 5/8" washer
1 X 1" PVC coupler
2X used hose clamps for strength


Lock two nuts together on each end, one nut in the middle, put a wrench on the center nut, and spin the appropriate locked end nuts with an impact.  Done and done.


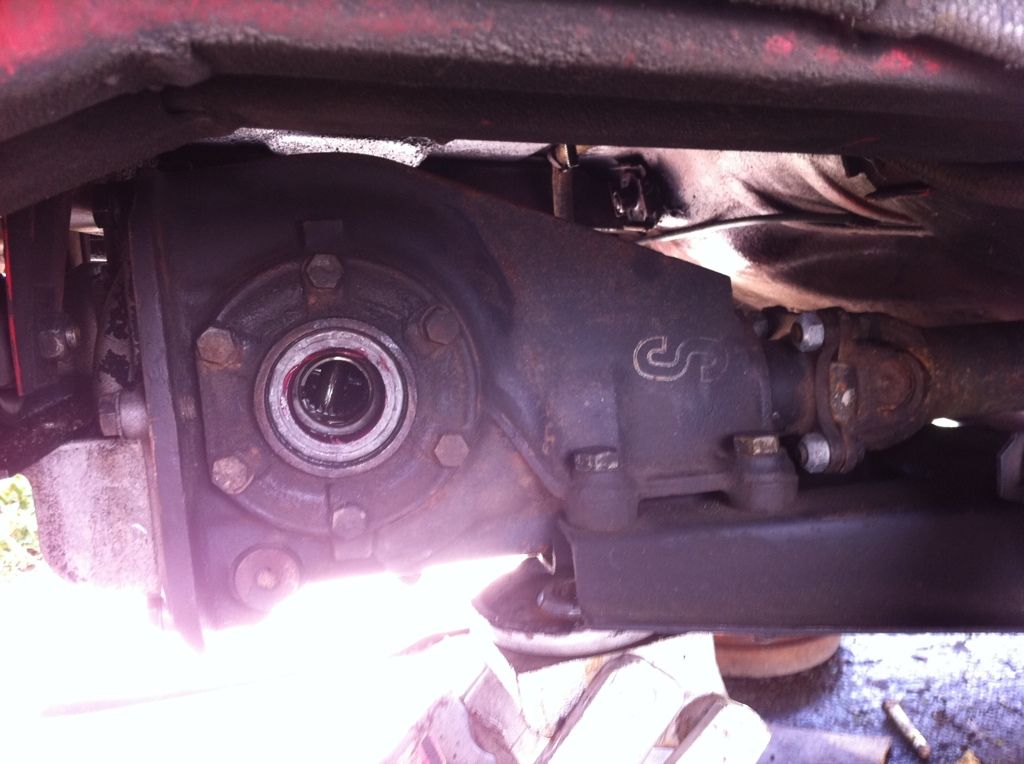
While I was in there, I added new differential output seals, shock to body bushings, and the fabled '76 only differential output flanges that eliminate the need for spacers on the axles for use of an e21 LSD.


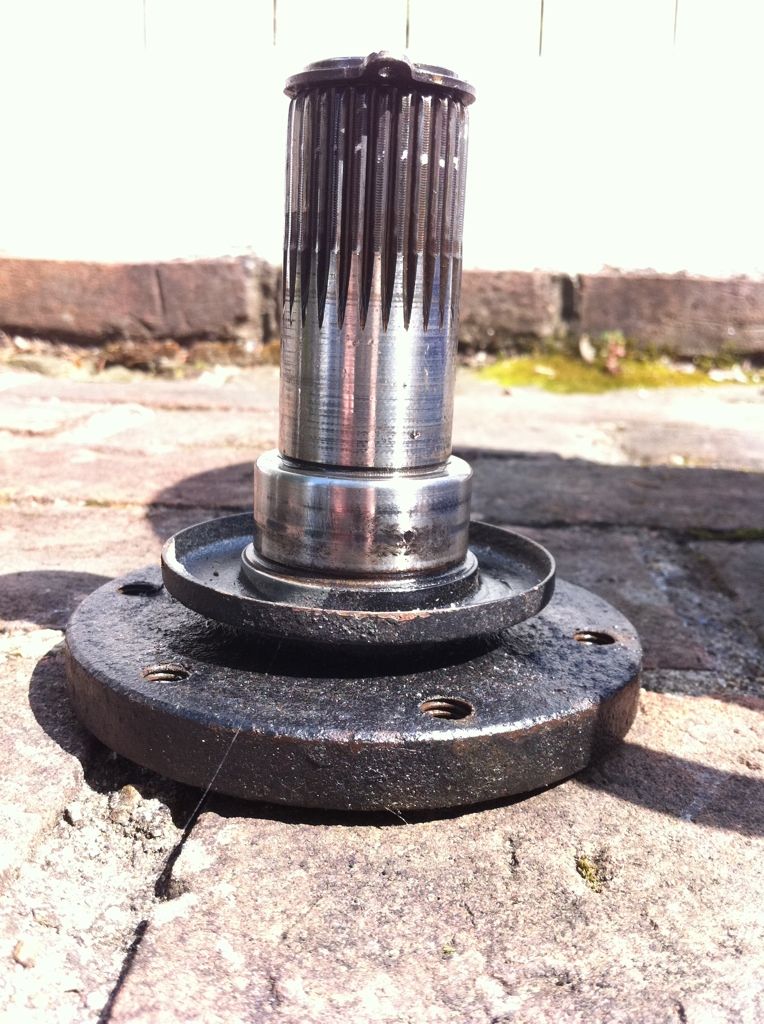
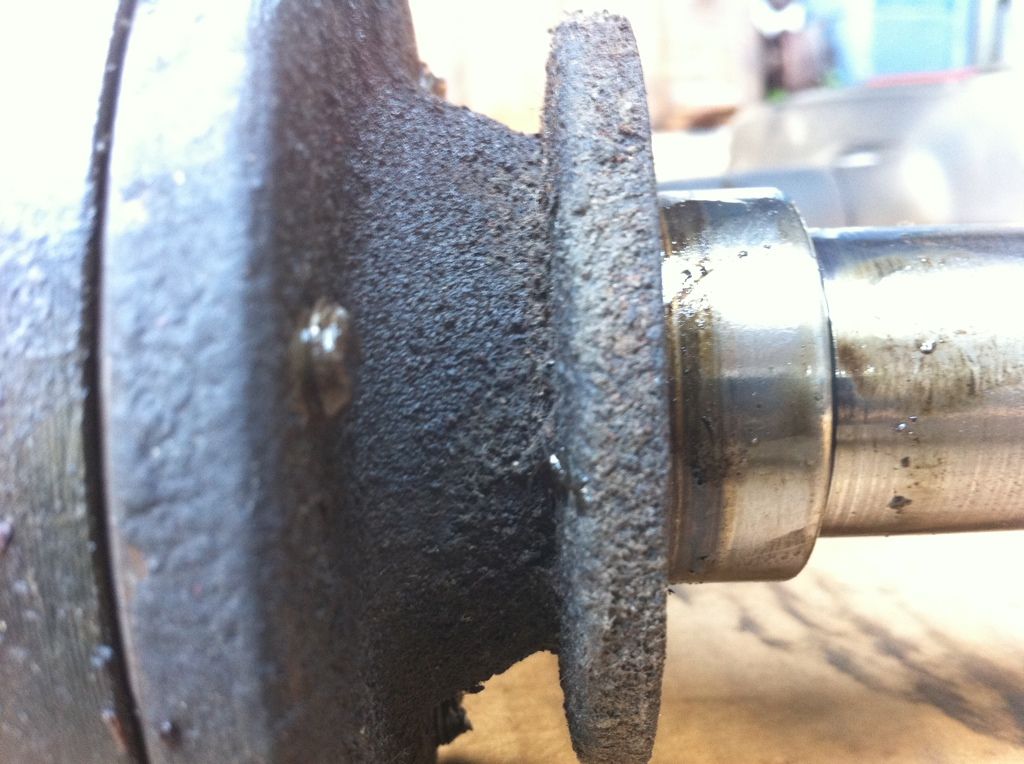
Here is the comparison of the two types of out put flanges that slip in to the e21 diff.  Typical 2002 flanges use a through bolt to secure them to the diff, making them useless on the LSD.  Early 2002 diffs MAY have the type with clips on the inside end, but they are too narrow to be spot on..  although they do work in this application.  You just run the risk of having the axle pop out of the diff when the suspension is fully extended, like when the car is on a lift, etc.   Which is mostly just a PIA.  I know from experience..

Here are the, narrow axles:


Here are the '76 only, "cupped" axles.  You can see the difference in the space between the dust cover and the back of the flange..


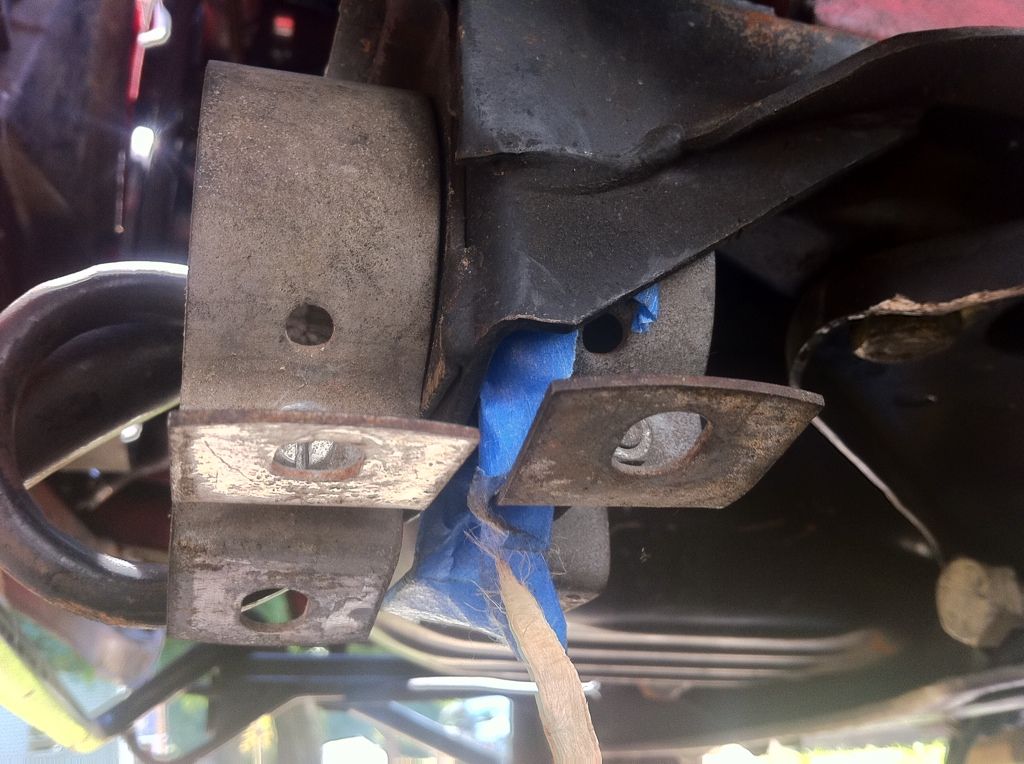
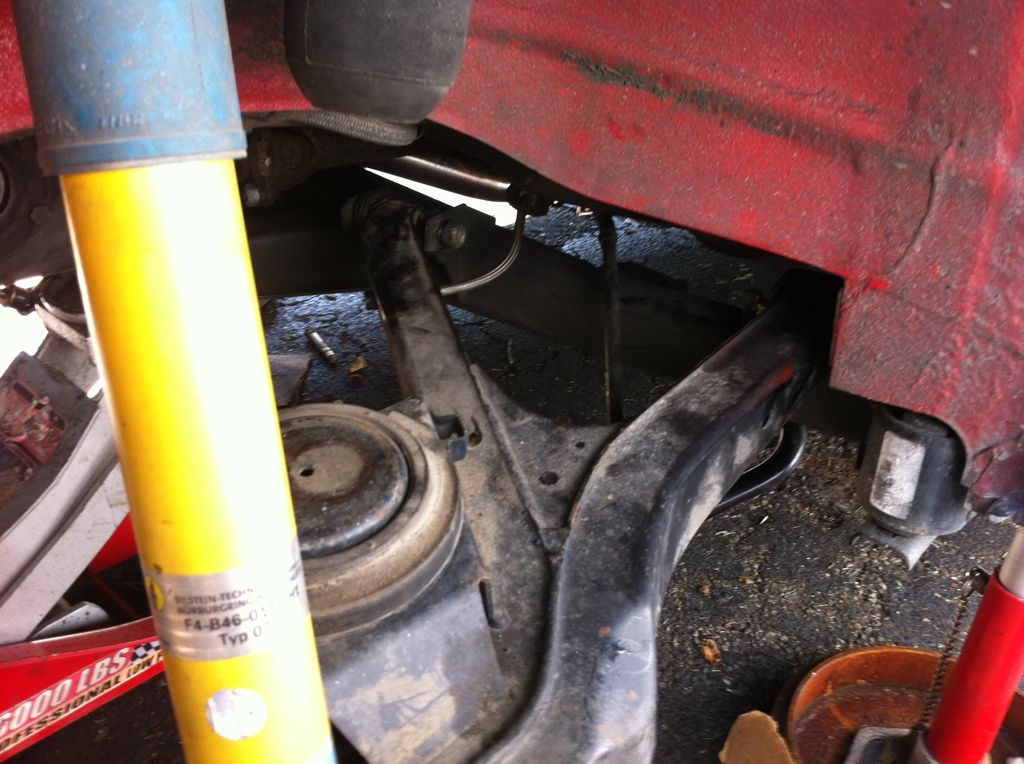
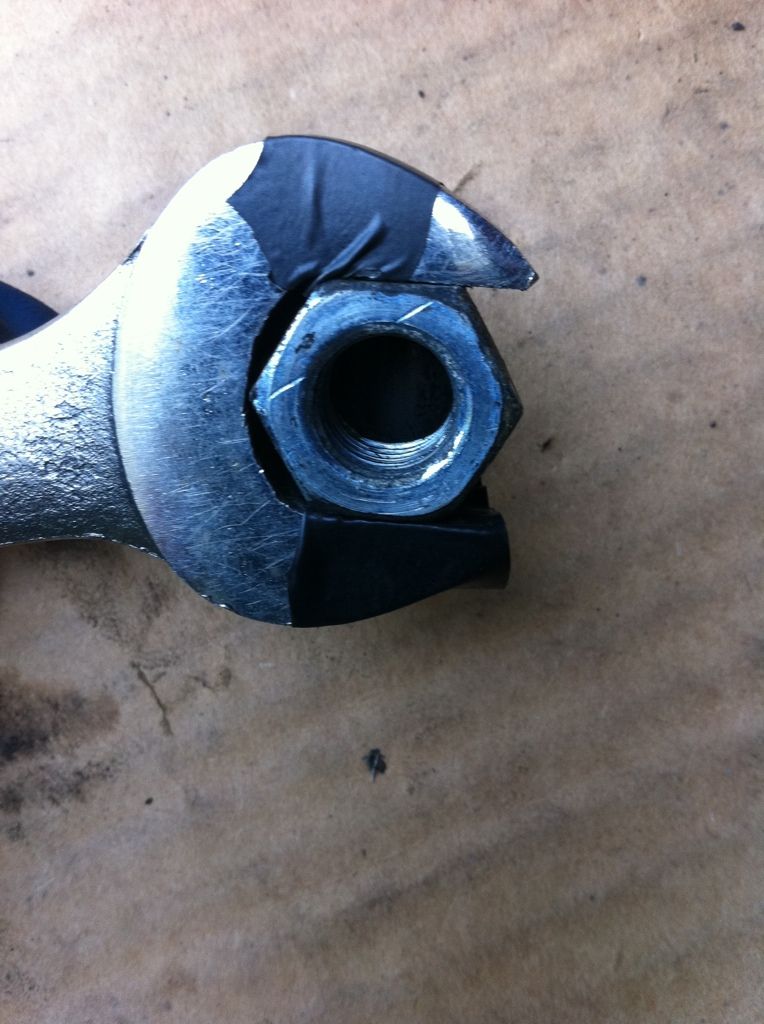
The reinstall was fine.  The only trick was holding the nut for the outer trailing arm bolt..  you can see there  how tight the work area is!


So I realized that a little tape goes a long way..


In regards to the trailing arm bushings, I can't believe how much tighter the rear feels, AND THE CHIRP IS GONE!!!

I highly recommend this very inexpensive bit of suspension rehab.