So, I was nervous here, as usual with uncharted territory. And once again I found myself rolling my eyes at how simple this process was.
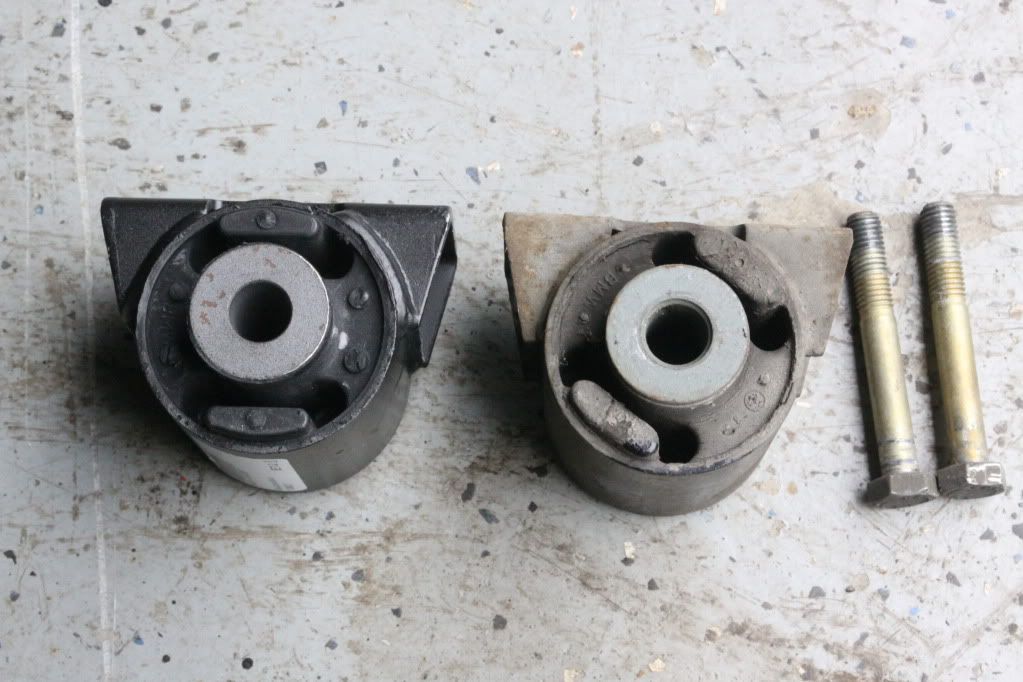
Old vs. New:
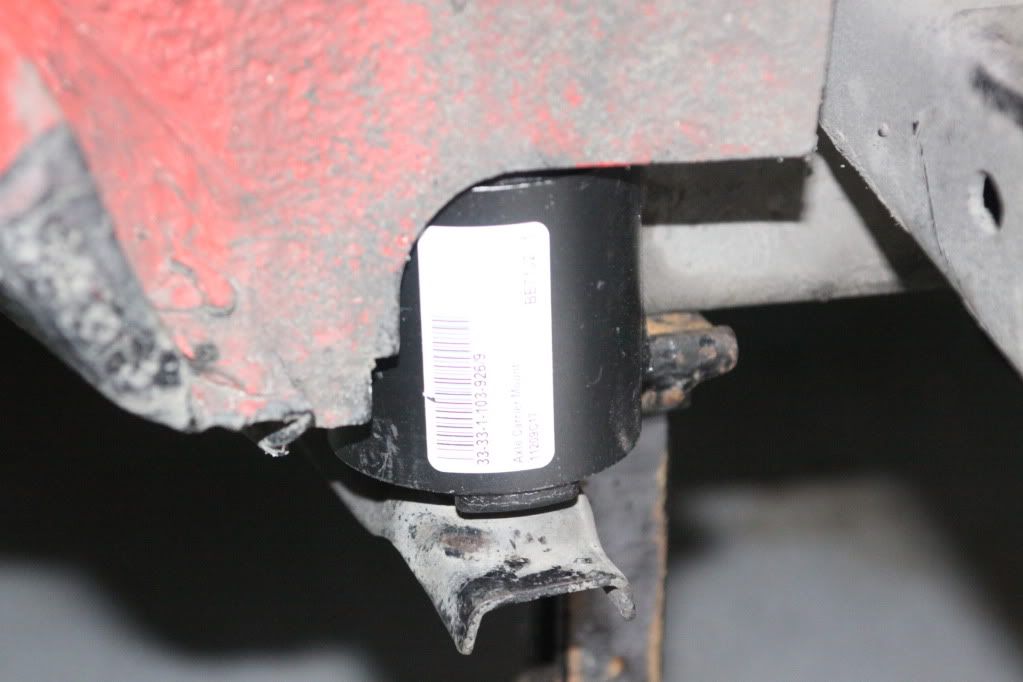
Mine had to be original, dated 1974!
Tools needed:
Jack
2 sets of jack stands if possible, but not 100% necessary
22mm socket
17mm socket
Heavy flat head screw driver
Hammer[/b]
1. Jack the car up to a comfortable working height and put jack stands under the rear subframe.
2. Lift it a bit more and move the stands to the rear jack points on the rockers, or use a second set here. If using a second set, move the fist set out of the way here (see picture)
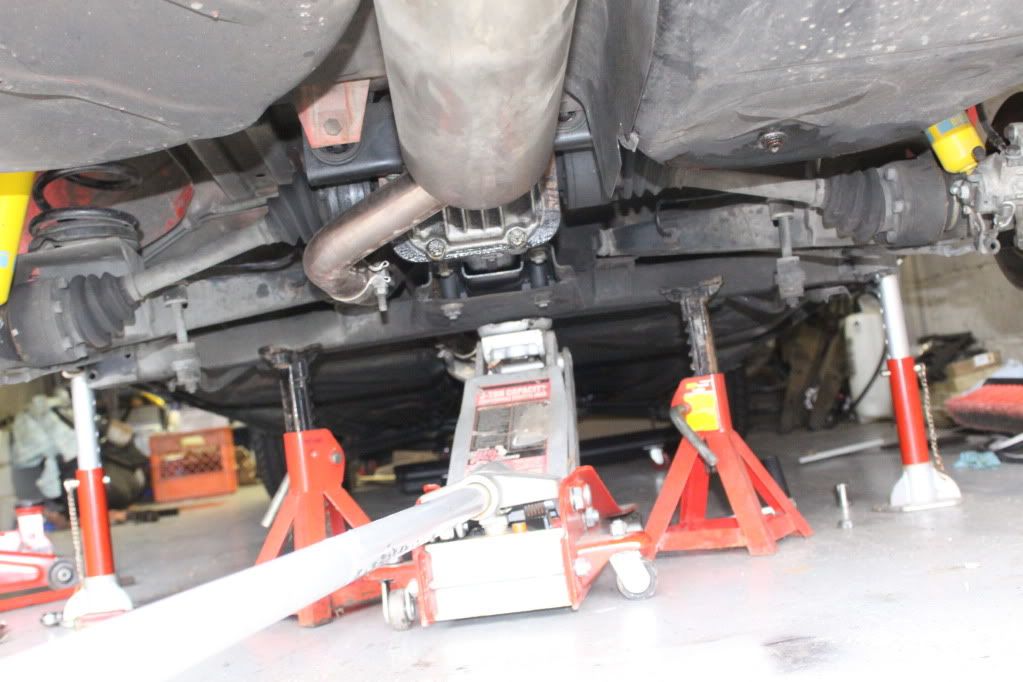
(don't judge me for the leaks. the diff is getting swapped and the tank was just drained and flushed..)
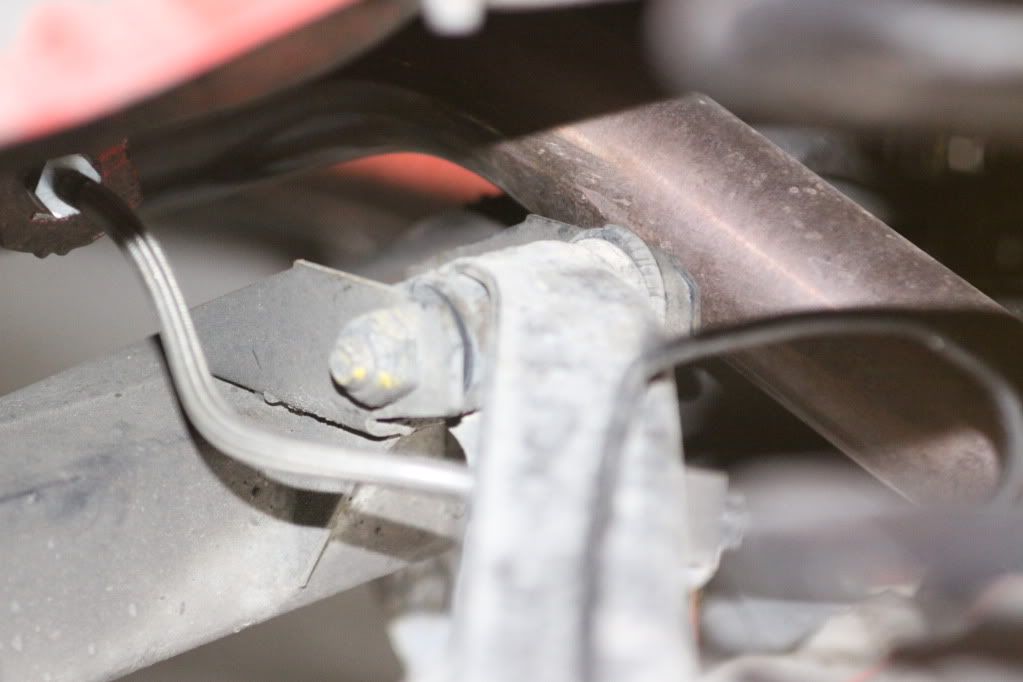
3. Remove mount through bolts with 22mm socket. Hammer up on the bolt to make removal possible.
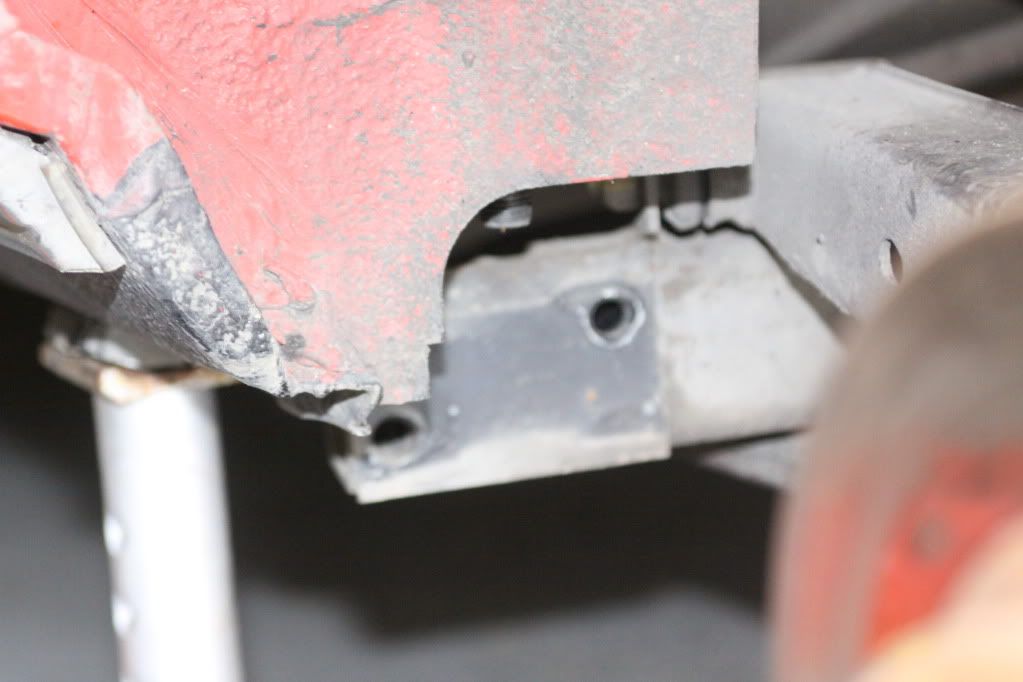
4. Carefully lower the jack about 1-2 inches to let the subframe drop just enough to get a screw driver in to hold the bolt heads and to align the mount in the wheel well cut out (see pic).
5. Remove the mounting bolts with the 17mm and the screwdriver to hold the heads.
6. Install new mounts in reverse process.
7. Remove rear seat to gain access to the large through bolts.
8. Get the bolts started into the new mounts. These guys are splined at the top and pressed into their holes. So with a light tough, twist them until you can feel the splines find their seat.
9. From inside the car, use a 3/8 socket extension or something long to drive the bolt into the spilined hole.
10. Start tightening the nut to pull the bolt into th splines, and then jack the subframe up to the body. Remove the started nut, replace the support strap on the bottom and tighten.
Done!
Next up, trailing arm bushings... Can this be done with them IN the car??
More on that at a later date?