3/22/10
We started at the back of the car, and got 75% done the first go round.
1. Get the junk out yo trunk.
2. Remove all remnants of the diving boards.
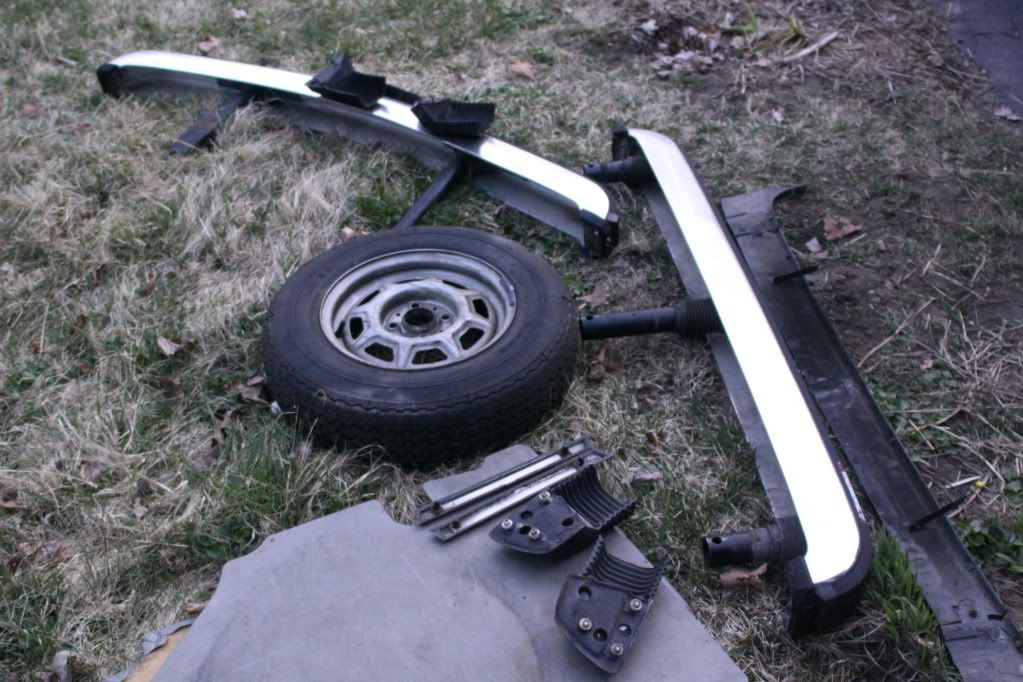
3. Remove the side trim.
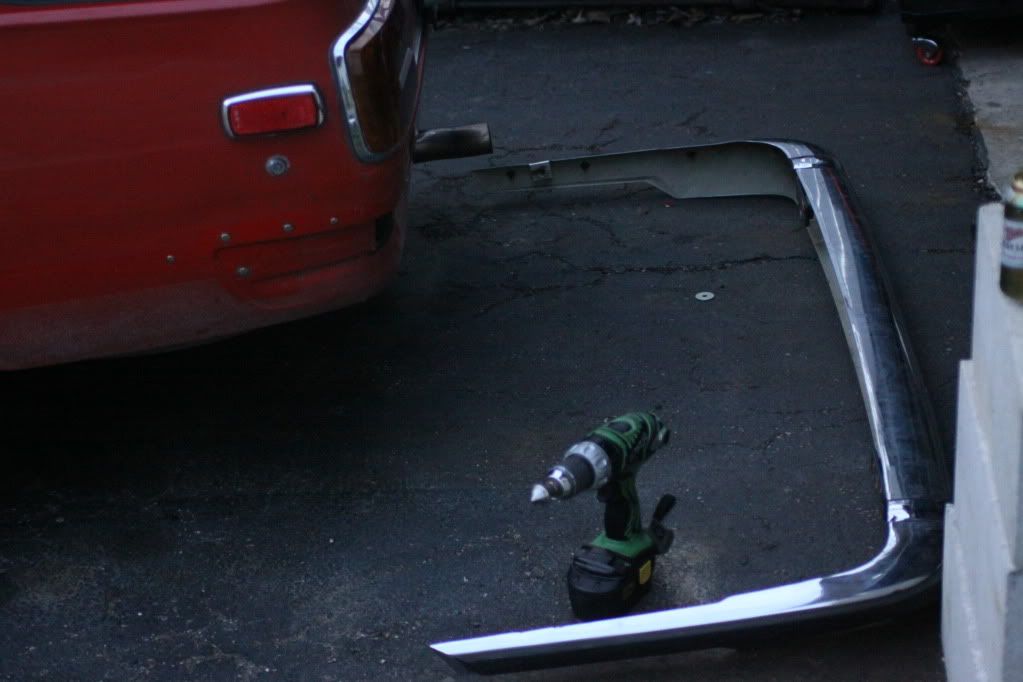
4. Clean the residue off the paint.
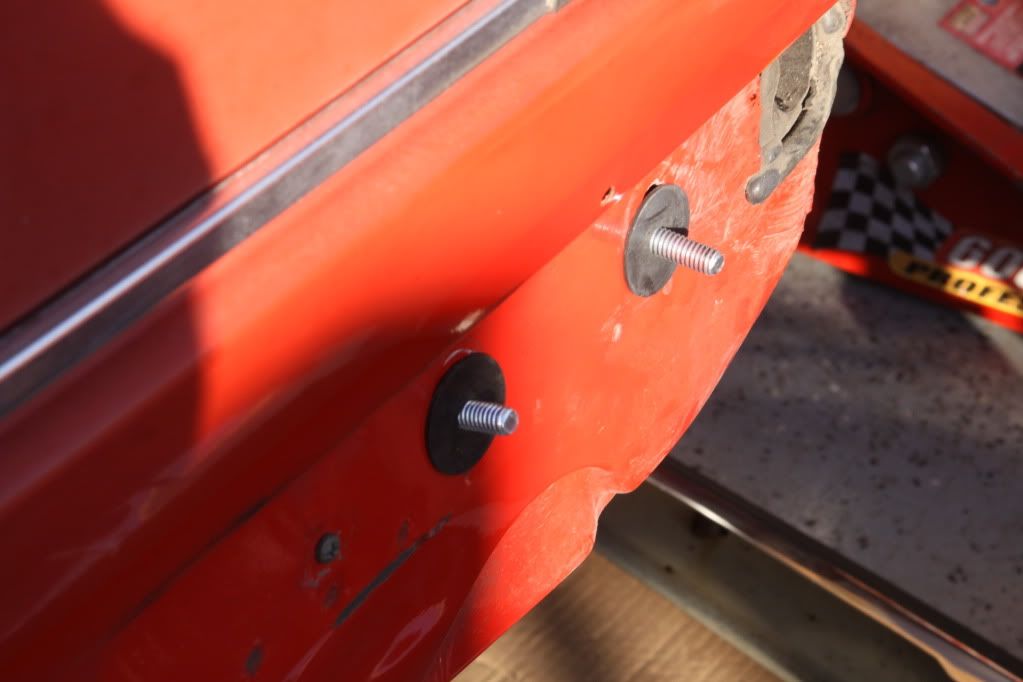
5. Remove the four body plugs for the new bumper bolts.
5.1 There was material on the body that had to be ground down, just above the seams of the new bumper on the inside edges of the big bumper shock holes. This material didn't allow the new bumper to travel up tight enough to the body for my liking. I ground it down with a wheel and then dabbed paint on the bare metal with a brush.
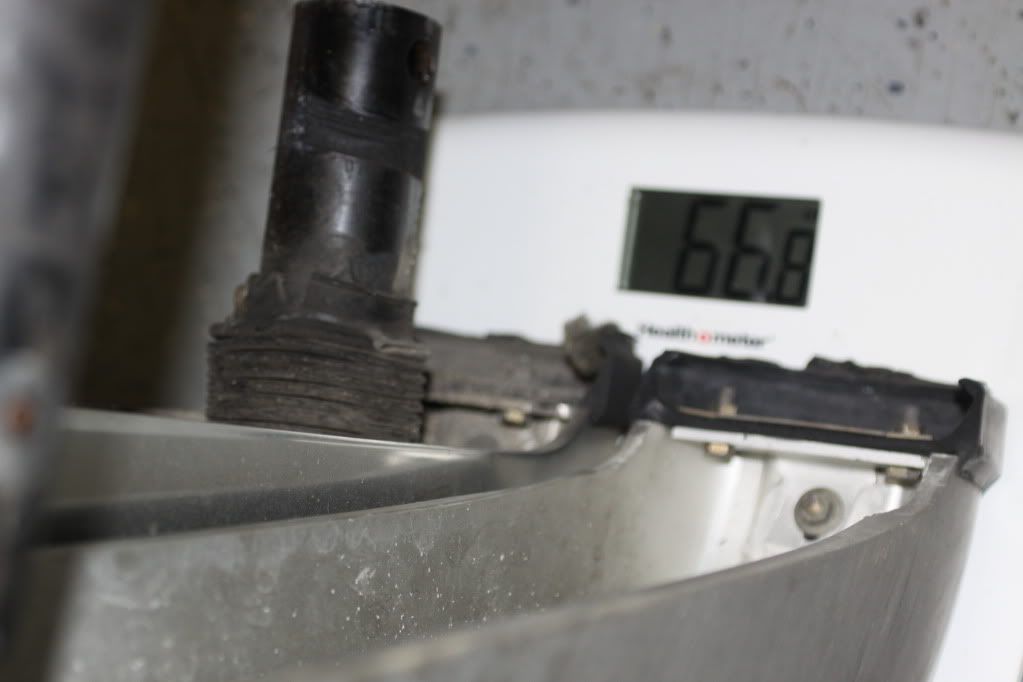
Now, there was added material in the square tails for structural support, so as you probably know, holes must be made. I used a 3/16 bit for pilot holes, then a one piece 1" hole saw (in conjunction with a 90 degree drill adapter for the gas tank side. Cut the shank of the hole saw down as short as it can go and still bottom in the 90 degree adapter.
6. Use a long, strong punch through from the outside of the car, through to the inner support area to be drilled. Get the BFH and give it a whack to dimple the metal where your holes will be. Be careful not to get too low in the slot, you will pay at hole saw time.
7. From the out side, drill the pilot holes for the hole saw.
8. Use the hole saw with a 90 degree adaptor, or reamer on the inside to get out to 1".

9. Tape the fender washer to the new bumper bracket bolts and insert them though the body. I used appropriately sized rubber washer on the out side of the body to bush the bracket. They also serve to hold the bolts in place.
10. Set one bolt back into the hole a bit (so it doesn't get in the way or pushed back on accident), and one all the way out. Put a socket/extension on the bolt that is all the way out and have it waiting for assembly.
11. Have a helper on one end and lift the bumper into place. Using the waiting socket, start the bolts and tighten them hand tight..
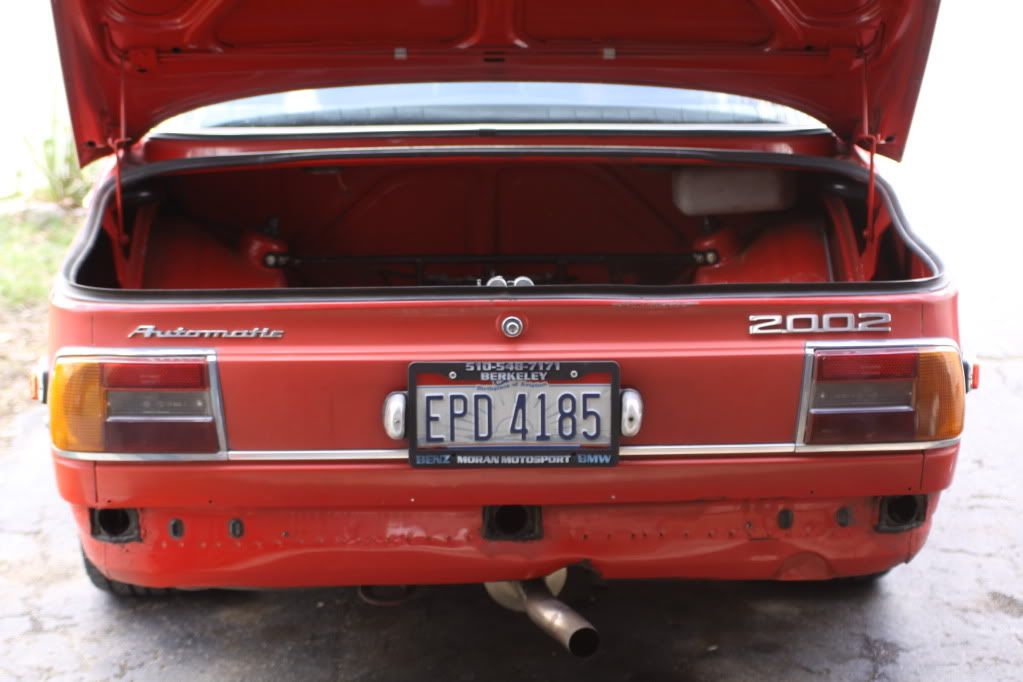
12. Position the bumper level to the body line across the back, just above the bumper. From studying many pictures, including the Italian Schwartz car on Ebay(see picture), I have decided that the bumper should be about 1/2" below the body line. This height will come into play when its time to get the bumper ends in line with the remaining side trim.

13. Time to get the ends square and mounted proper. This is critical because if the ends are pointing up or down, it destroys the whole look.
I used wide painters tape on the side of the car to help locate the correct angle of the bumper ends, as well as where to drill the hole for the end support bolt.
Stand back a good 20 ft from the car and have a helper hold the bumper end and move it up and down until you are content with its angle in relationship to the rest of the rubber knee line moldings. You may have to adjust the overall height of the bumper to get it all to come together. Once you have found the magic combo, Lock in your bumper brackets, and have your helper draw a line on the tape across the top of the bumper. As well, mark the center of the mounting tab.
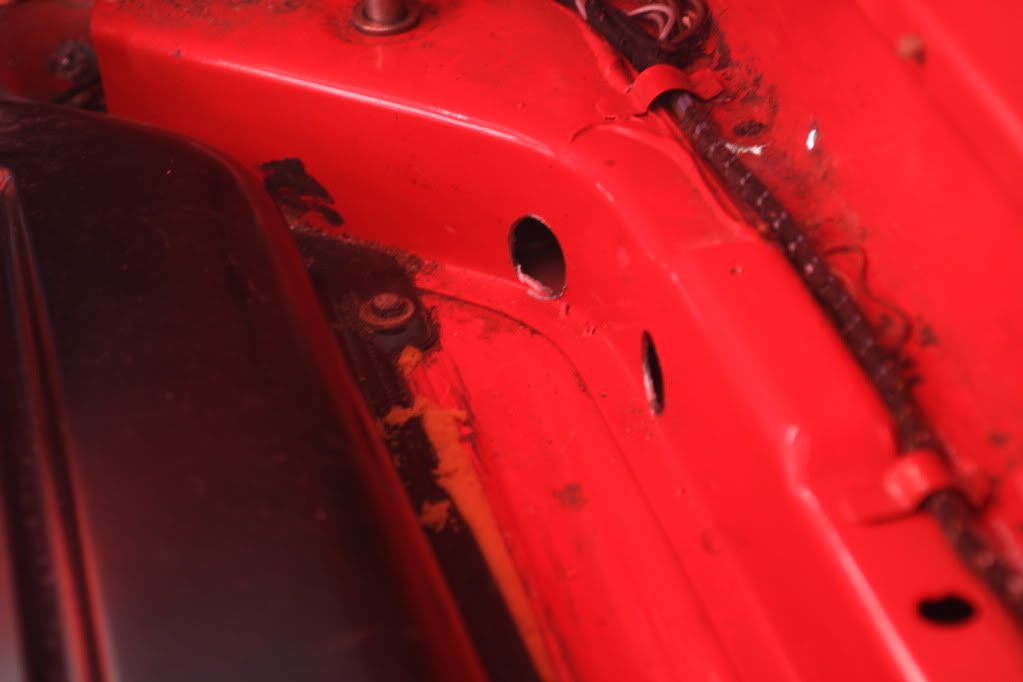
Let the bumper end relax down, loosen the brackets if need be, and mark the spot for drilling 14mm below the line for the top edge of the bumper, and below that center mark.
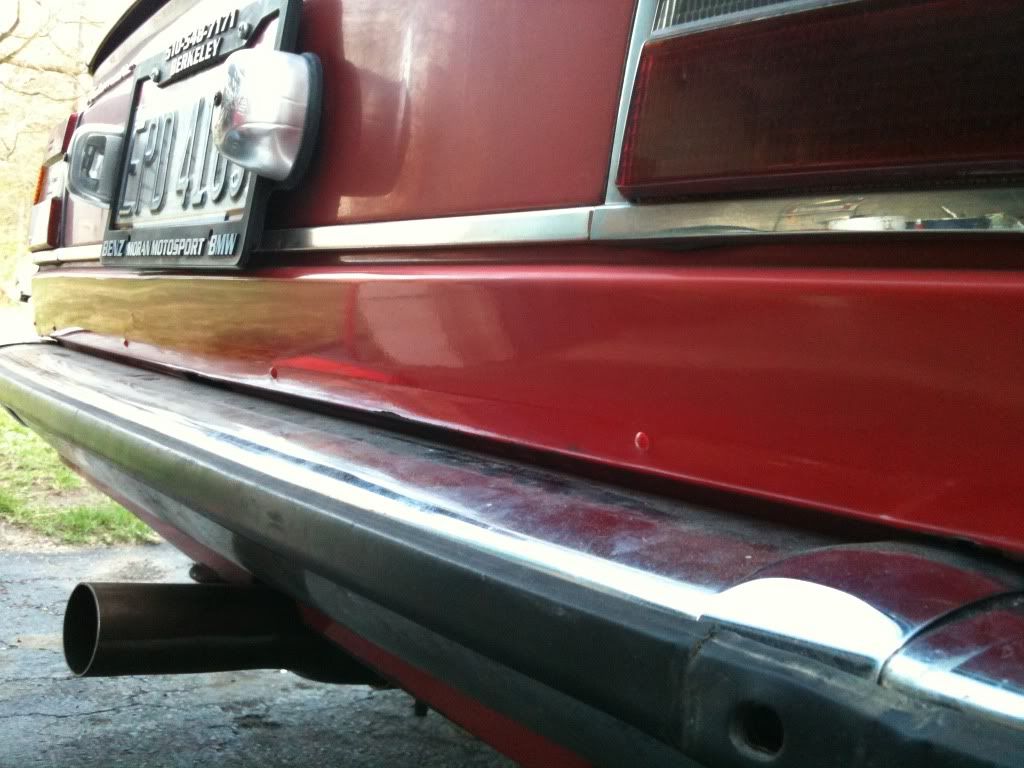
Now for the part that makes anyone but Blunt cringe, drilling a hole in a perfectly good quarter panel. Judging by a fender that I have with the hole in it for early bumpers, use a pilot bit followed 3/8" (or metric equivalent) drill bit and make the holes. The larger diameter hole allows a bit of slop for final adjustments.
If it helps, mine finished off with the ends of the bumper just lining up with the front hole left by the knee line trim.
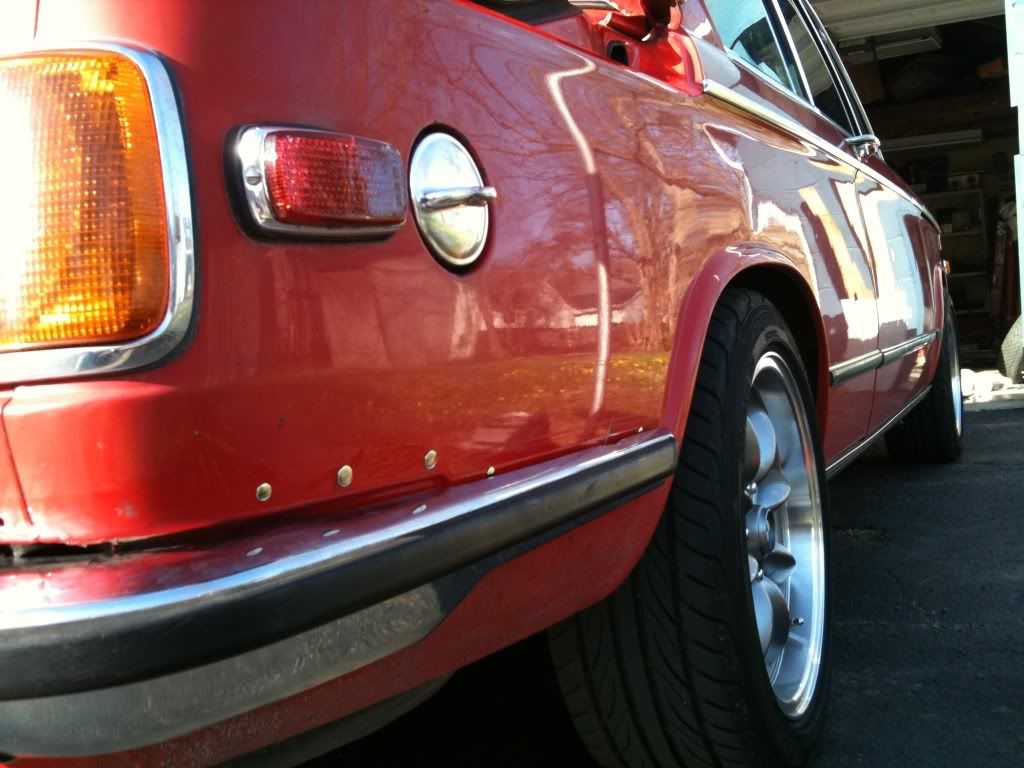
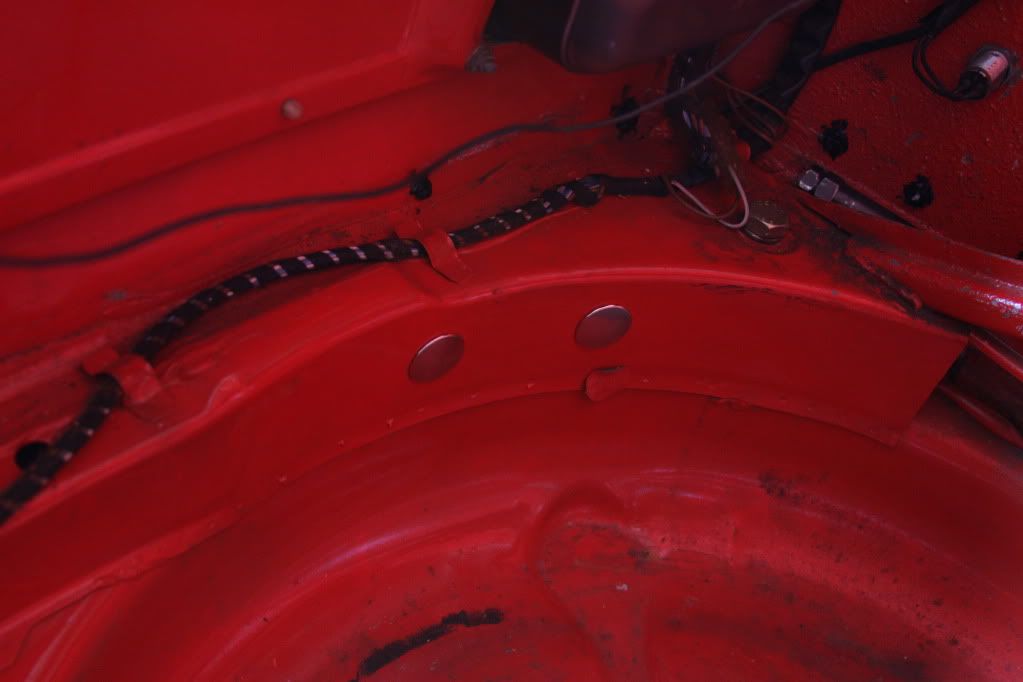
I found some great temporary solutions at home depot of all places. Plastic snap-in locking hole plugs. The sizes range from 1/8" to 1". They have a very low profile cap and are paintable. I ordered a bottle of 024 from paint scratch.com (THEY TAKE FORRRREVERRRRRR) to hit the plugs with until I can afford a complete and proper repaint and weld it all up.
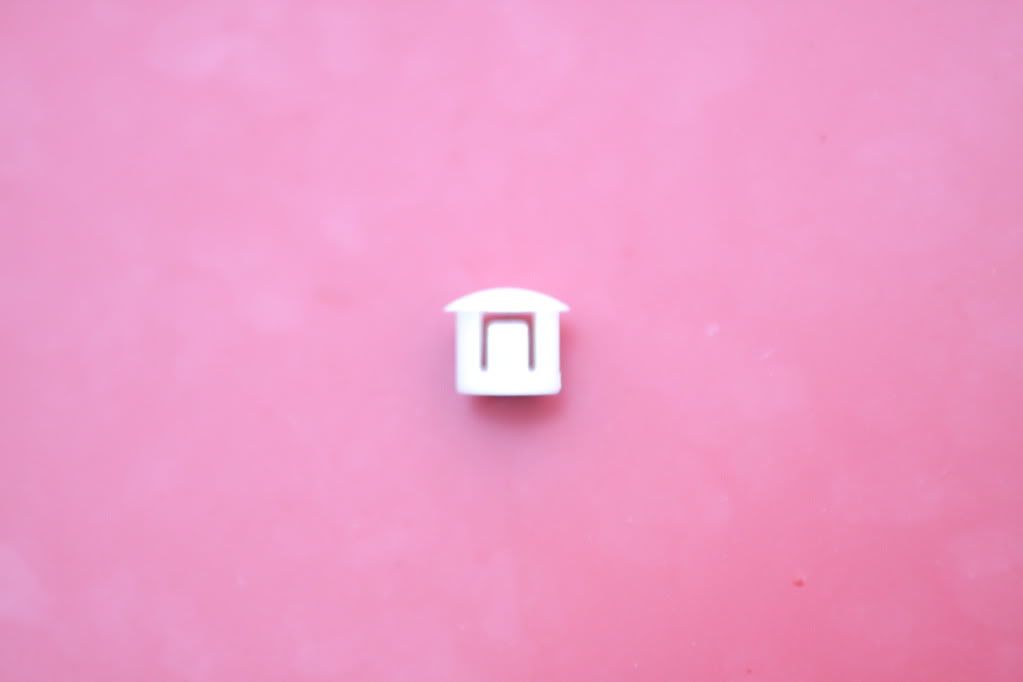
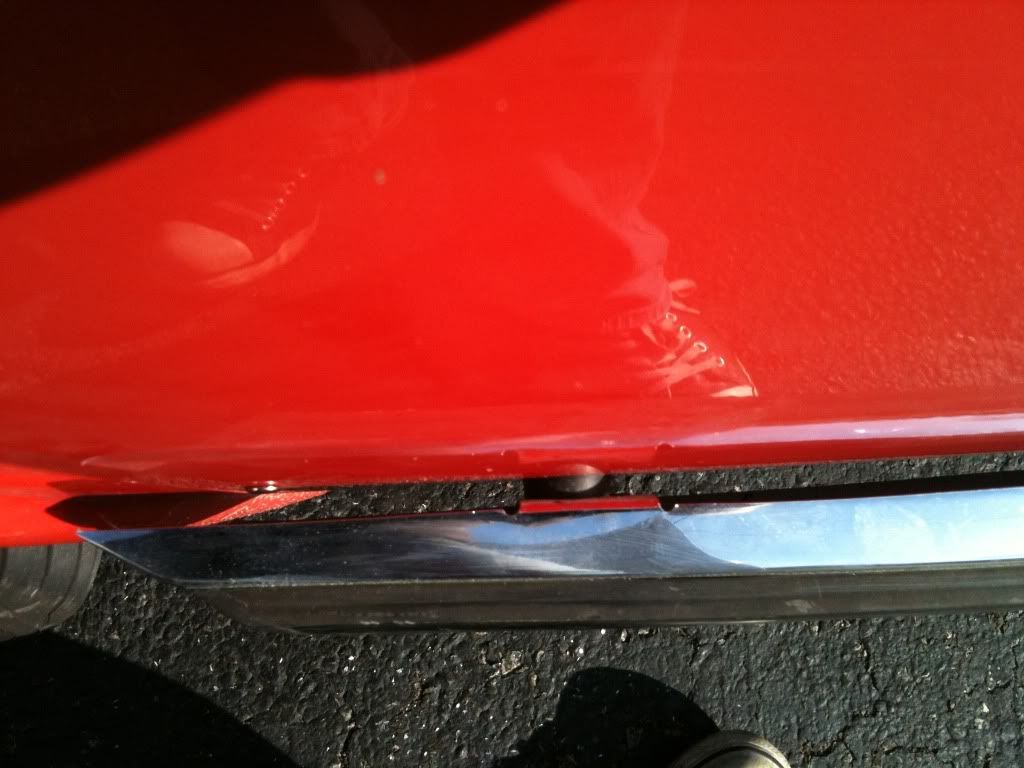
I recieved the paint and got busy on the hole plugs. The back of the car took 12 of the 3/16" variety, and 4 of the 5/16".
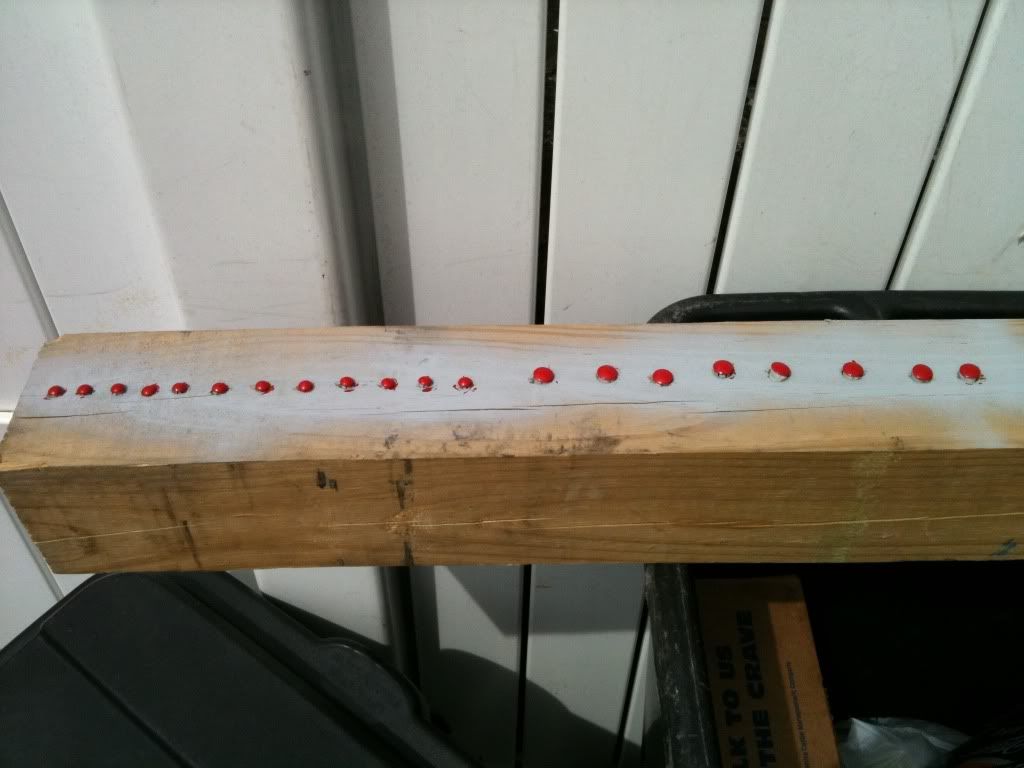
On the inside I sealed the deal with a wad of silicon sealer around each one to ward off water sprites. And then I added 1" chrome plugs to the inside bolt holes to finish them off after painting the bare metal.