So on to the front.. Its been a couple of months, but I'm now ready for the challenge.
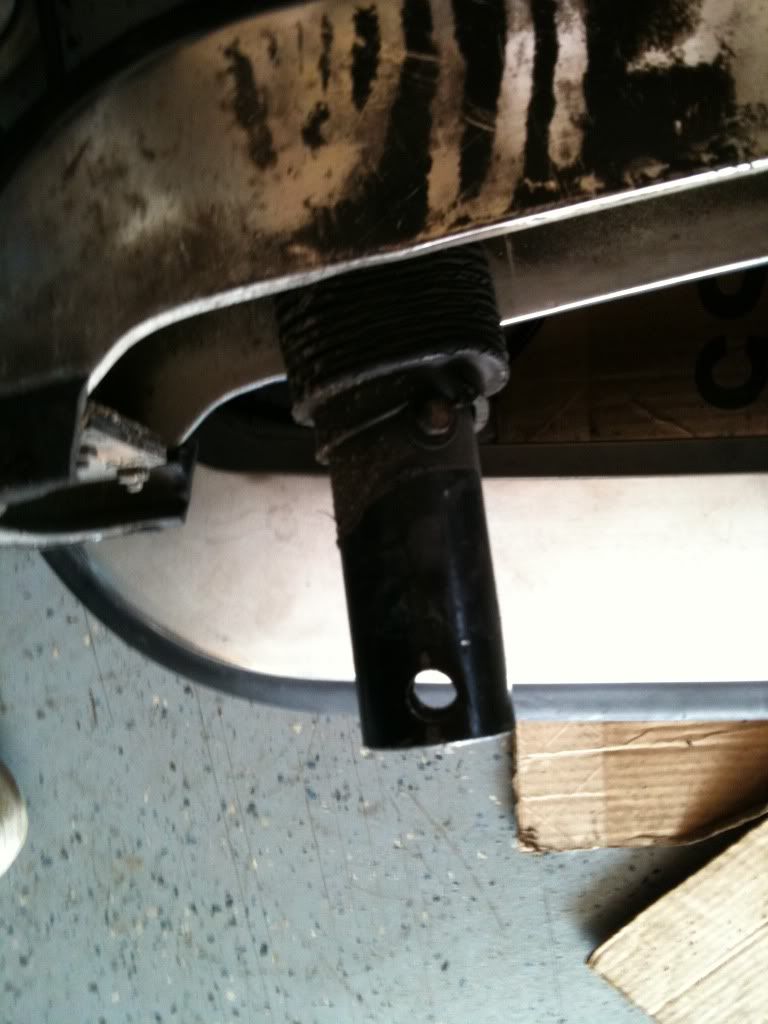
Here is the shock:
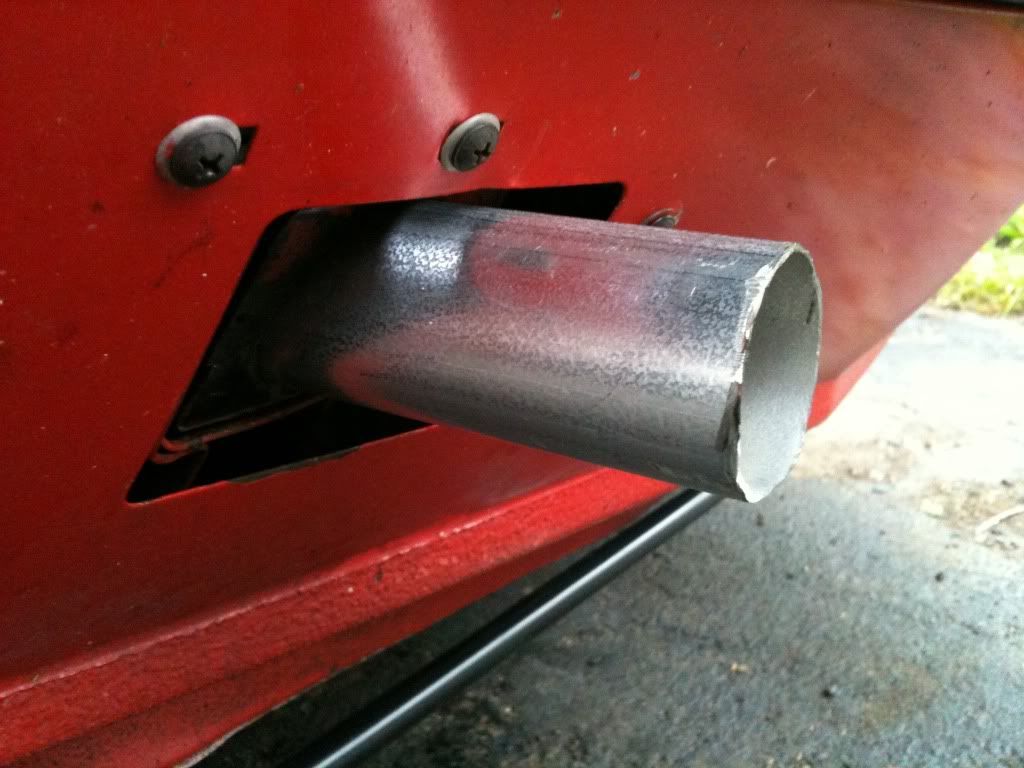
Here is its replacement: 1 3/4" tail pipe from Pep Boys..

This will be fused with an early bumper bracket to accept the early bumper in the stock location on the later car..then covered by the natually existing shock cover!

5/21/10
Got a little more work done, the big push comes tomorrow. If the dang rain will stay away!!!

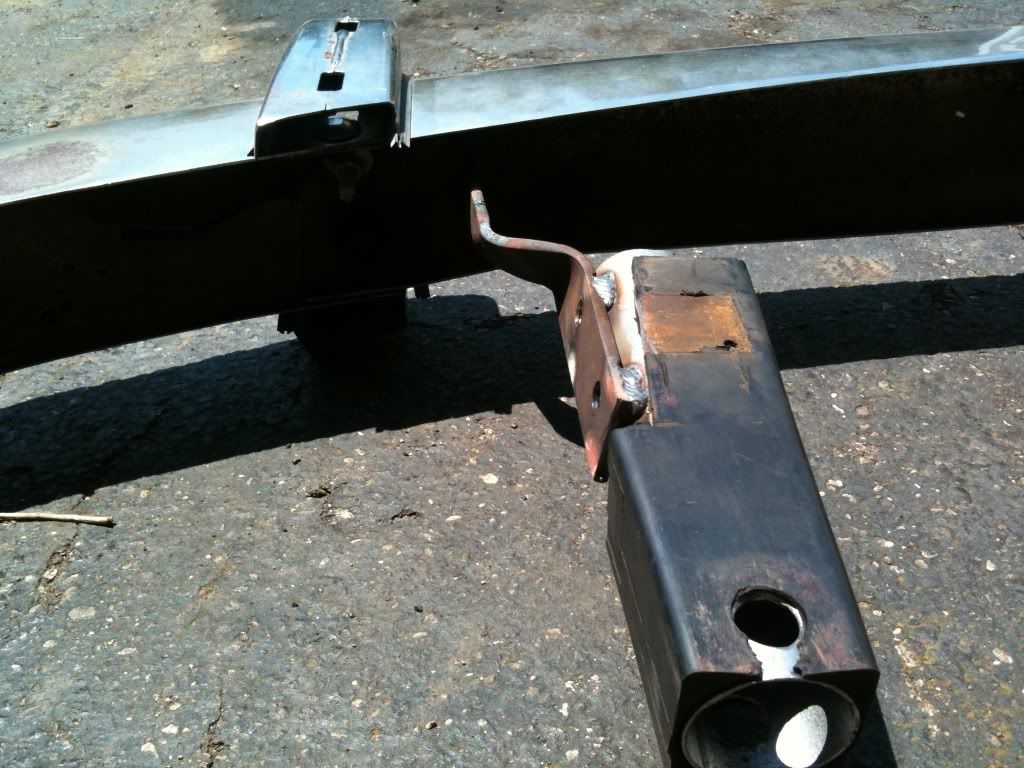
I had to shorten the tubing and trim off the sides of the rubber shock surrounds to accept the early brackets into the frame..I'll break it down.
1. Mark the tubing to protrude about 1/4" out from the top of the rubber sleeves, while flush at the back. Mark the hole locations on the tail end for the big mounting bolt. Pull them out and cut/drill as needed.
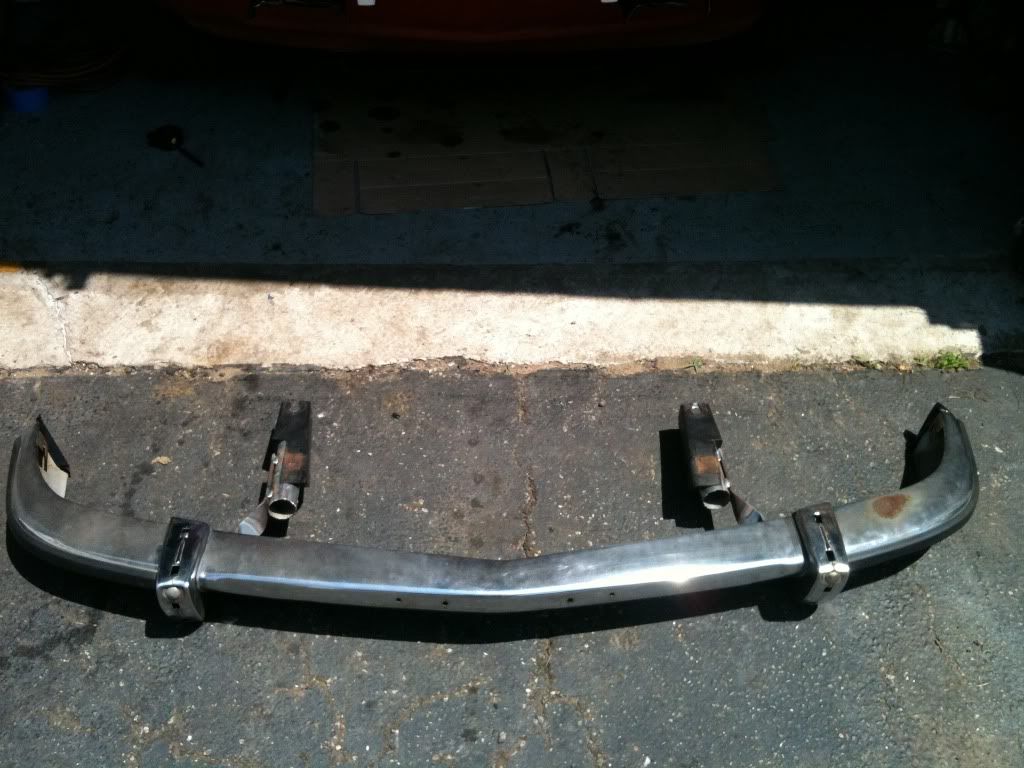
2. Trim the original brackets to 3.5" from the last bend. Mount them to the bumper and adjust them to the outsides as far as possible.
3.Cut the rubber sleeves 4" deep on the out sides and leave as much as you can of the circle to keep the support for the tubing. But you must cut off the entire side to make the next step possible..
4. Insert the sleeves with the tubing, Thread in the large mounting bolts, and then install the bumper with the trimmed original mounts. The flat brackets go on the OUTSIDE of the tubes. Use a floor jack to support it in the center so you can move around and get it positioned properly. (I ended up at 2.5" off the nose of the car at the INSIDE edge of the over riders.) Getting the bumper level with the floor jack will have the flat brackets aiming down, but there is room in there next to the sleeves due to the trimming off of the out sides. Once you have the bumper positioned to your liking, put painters tape on the fender at the bumper ends and mark on the tape where the bumper edge falls Then mark a line on the flat bracket, at the end of the tubing. This mark is how you will line up the parts for welding (or drilling bolt holes) to get the proper distance from the nose..
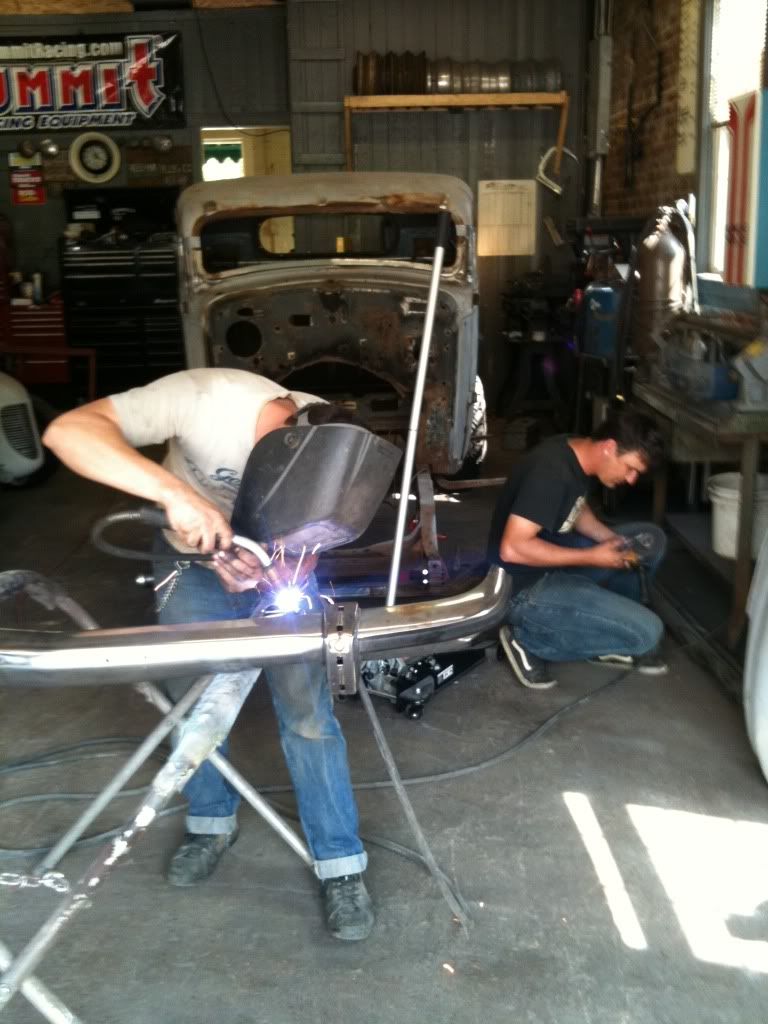
5. Remove the parts and either weld or through bolt the tubing and the flat brackets together using the marks on the flat brackets for reference, and with the parts in parallel. The next step corrects the angle..
6. Install the assembly onto the car. Install the large mounting bolts (Depending on your math, you may need to heat and twist the assembly to get the bolt holes lined up). Once this is complete, and the bumper is on the car, it will be angled down. So, with the floor jack under the center of the bumper, apply a bit of pressure (it will be fine, really. Don't be shy). Heat the flat brackets at the folds and let the weight of the car bend the bumper up into place until level.
7. Move on to drilling and mounting the end bolts..
OH. And don't lose your balance while squatting down around hot parts.. you never know what you'll grab to catch yourself..

My Friend Noodles at Cornfield Customs helped with some welding and bending..
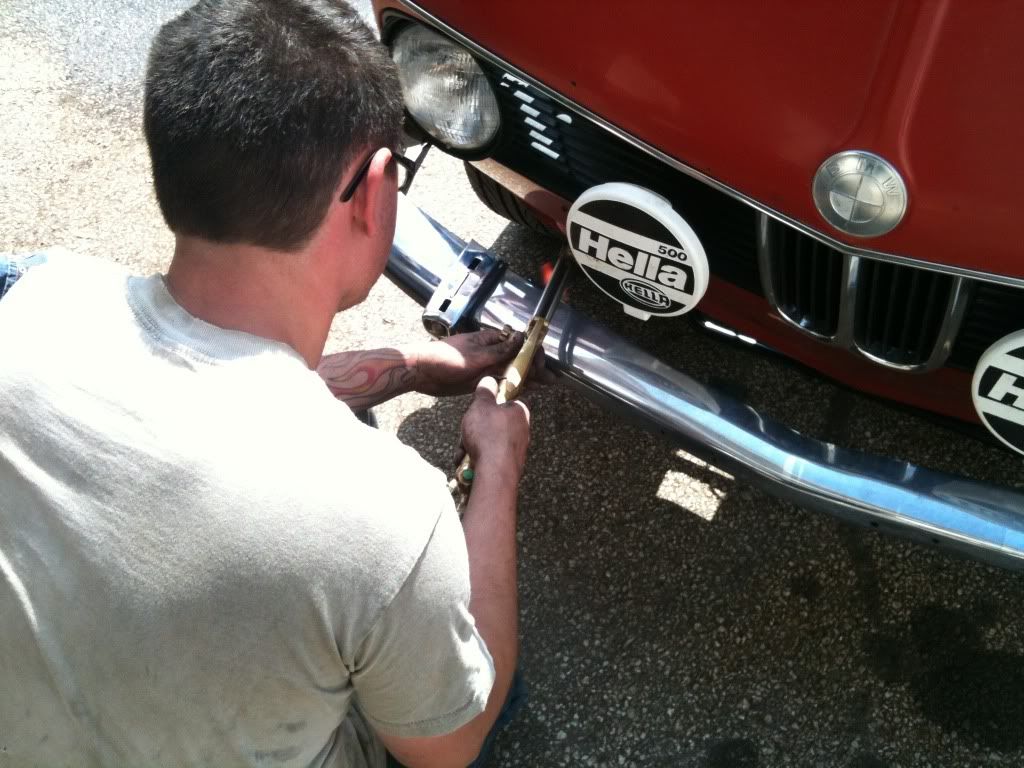
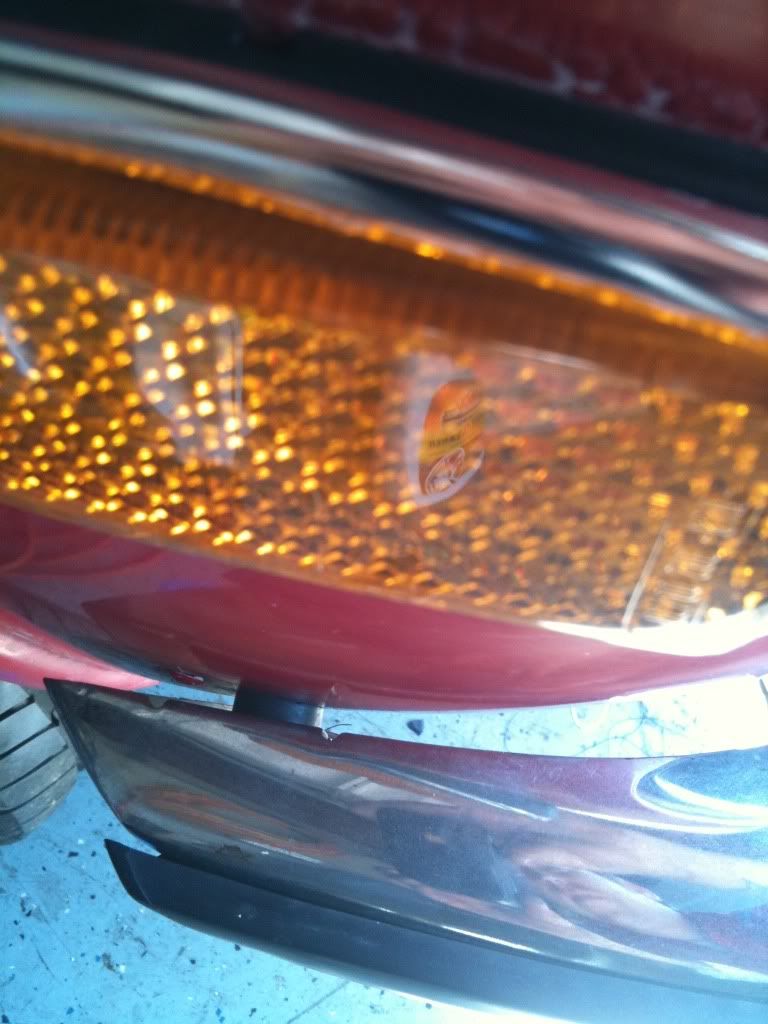
The finished product..

(I hammered out that dent..)
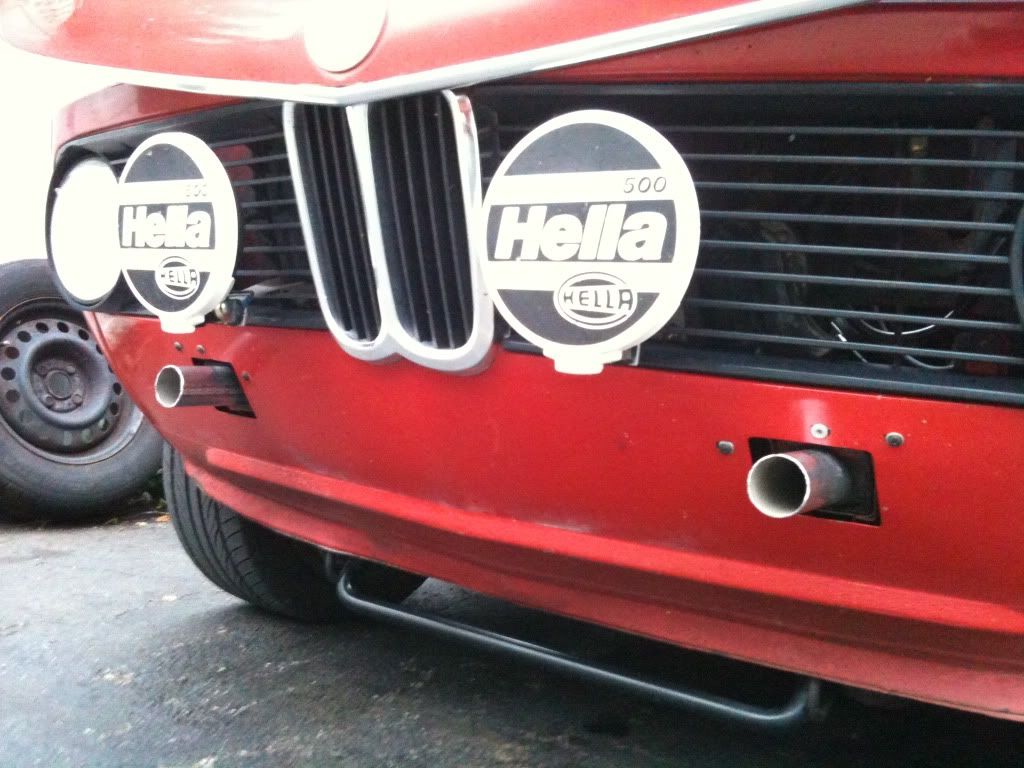
Next was trimming the original shock covers and drilling the end bold holes. I used my iPhone app to level the ends at the same measurement as the knee line trim.
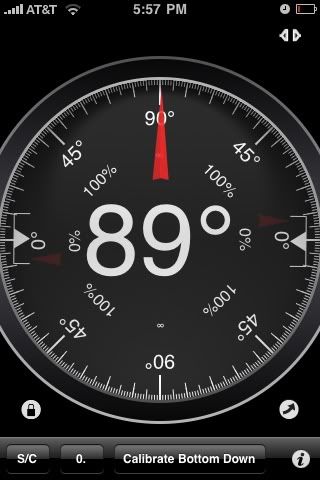
I got it level and marked the top and center of the mounting slot. Then measured 7/8" down for the holes..

The final product on the car is great!! The bumper is right at 2.5" from the nose at the insides of the bumperettes..
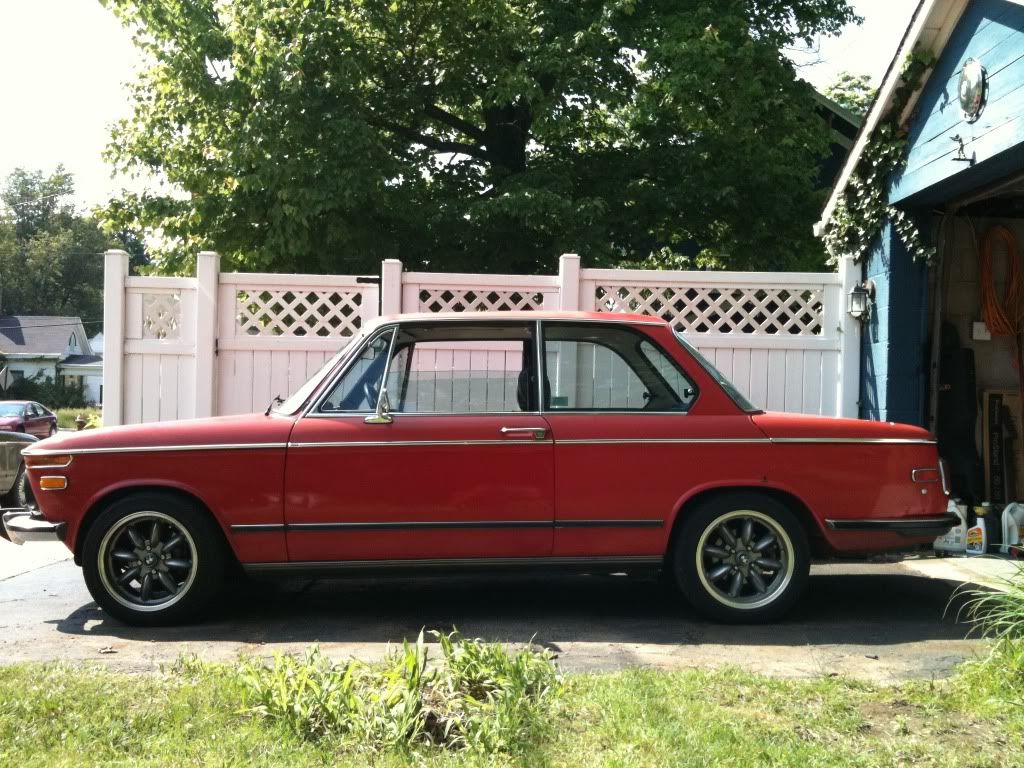
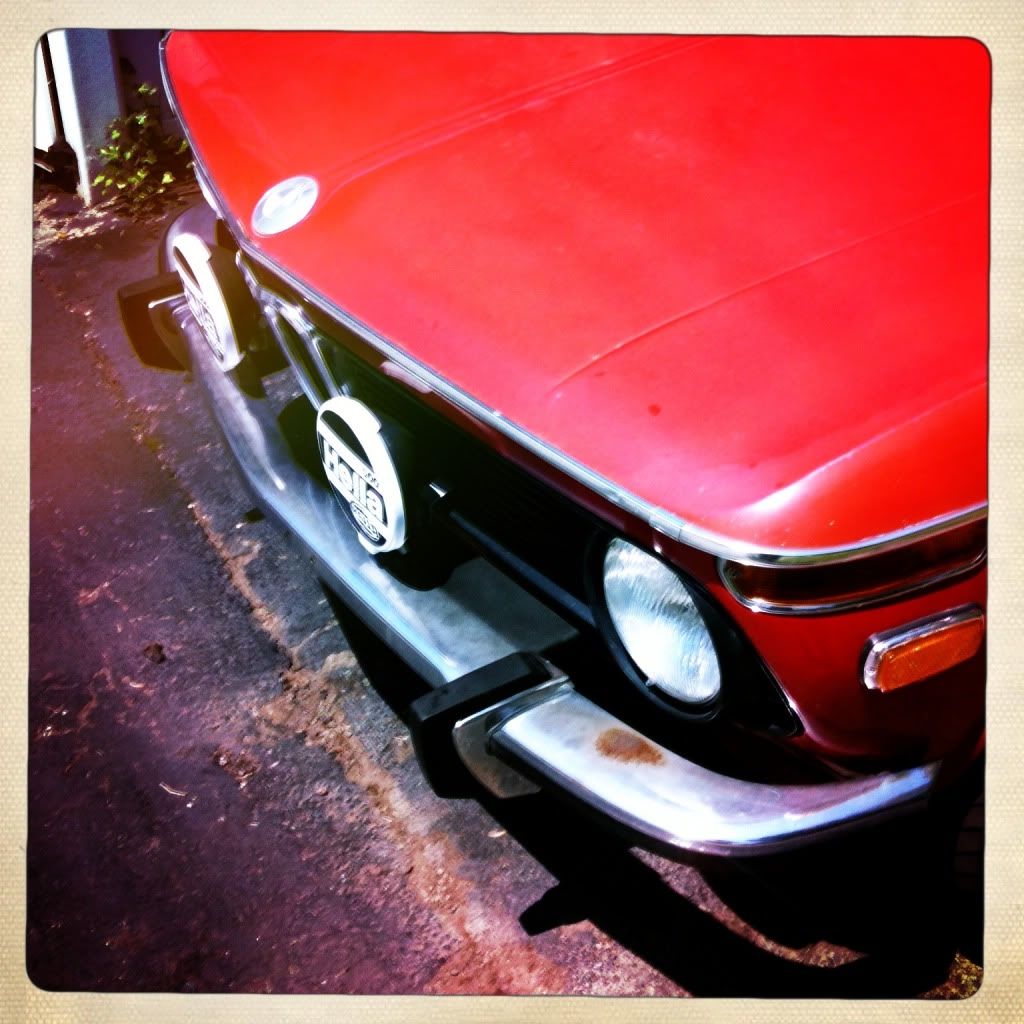
Its a go!